Import your first repo
editImport your first repo
editThe easiest way to get started with Code is to import a real-world repository.
Before you begin
editYou must have a Kibana instance up and running.
If you are in an environment where you have multiple Kibana instances in a cluster, see the config instructions for multiple Kibana instances.
Enable Code app
editWhile in beta, you can turn on Code by adding the following line to kibana.yaml:
xpack.code.ui.enabled: true
Import your first repository
edit- In Kibana, navigate to Code.
-
In the Repository URL field, paste the following GitHub clone URL:
https://github.com/Microsoft/TypeScript-Node-Starter
https is recommend for cloning most git repositories. To clone a private repository, use SSH.
-
Click Import.
A new item in the list displays the cloning and indexing progress of the
TypeScript-Node-Starterrepo.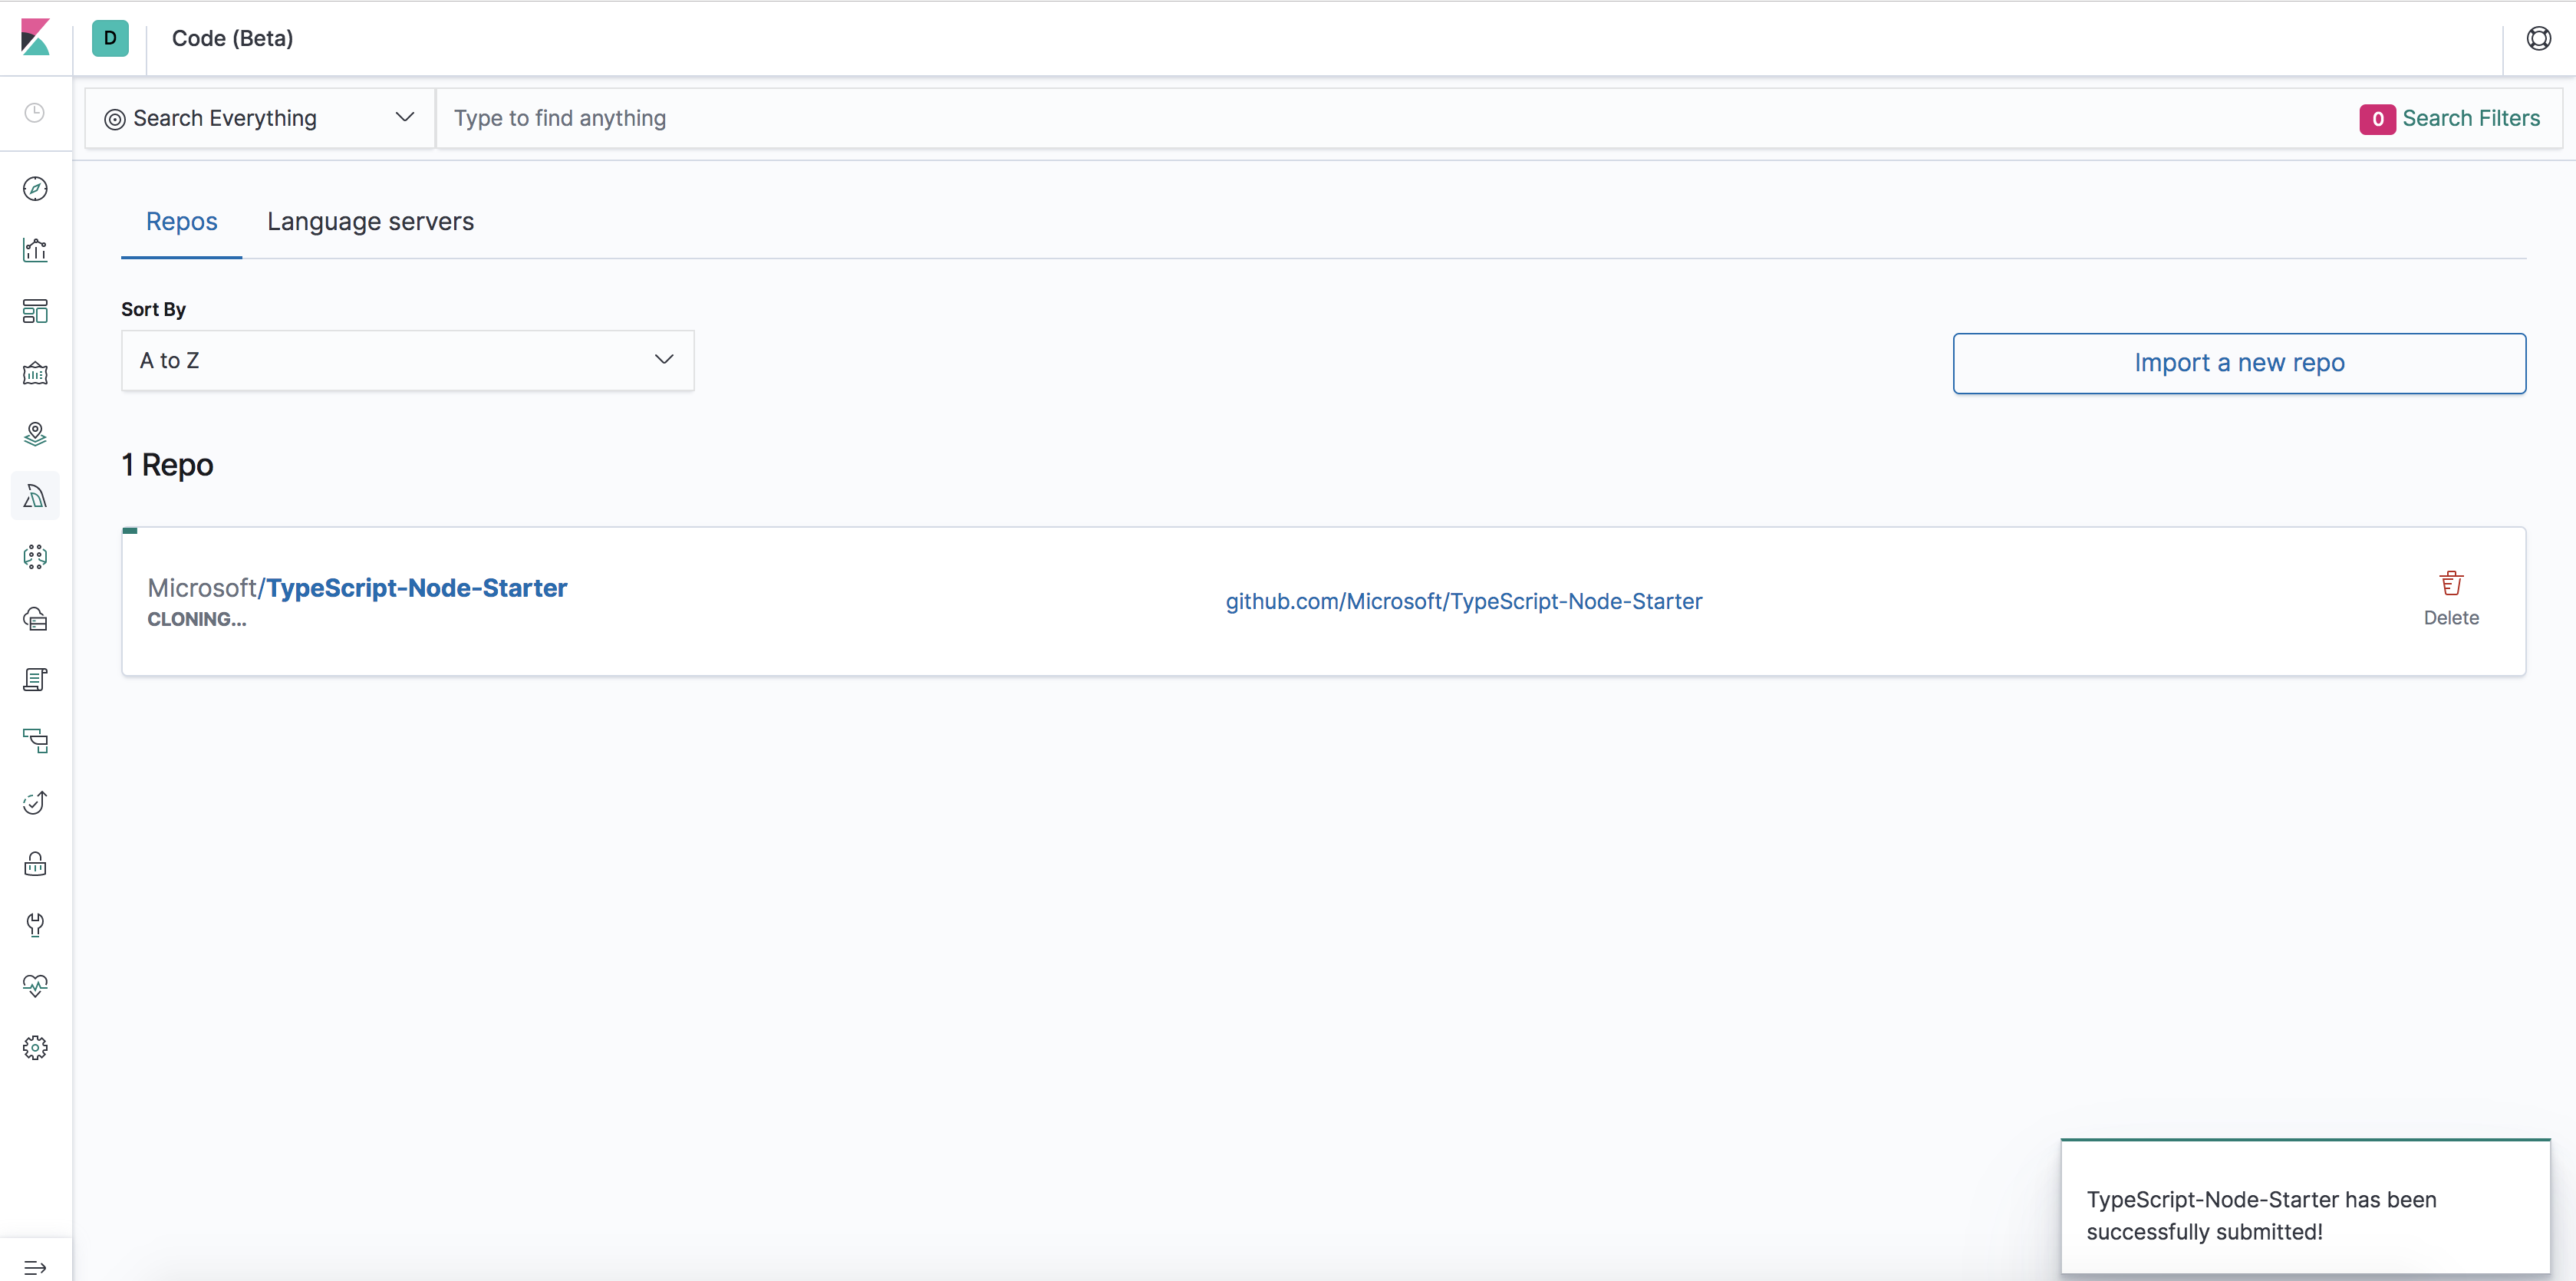
-
After the indexing is complete, navigate to the repo by clicking its name in the list.
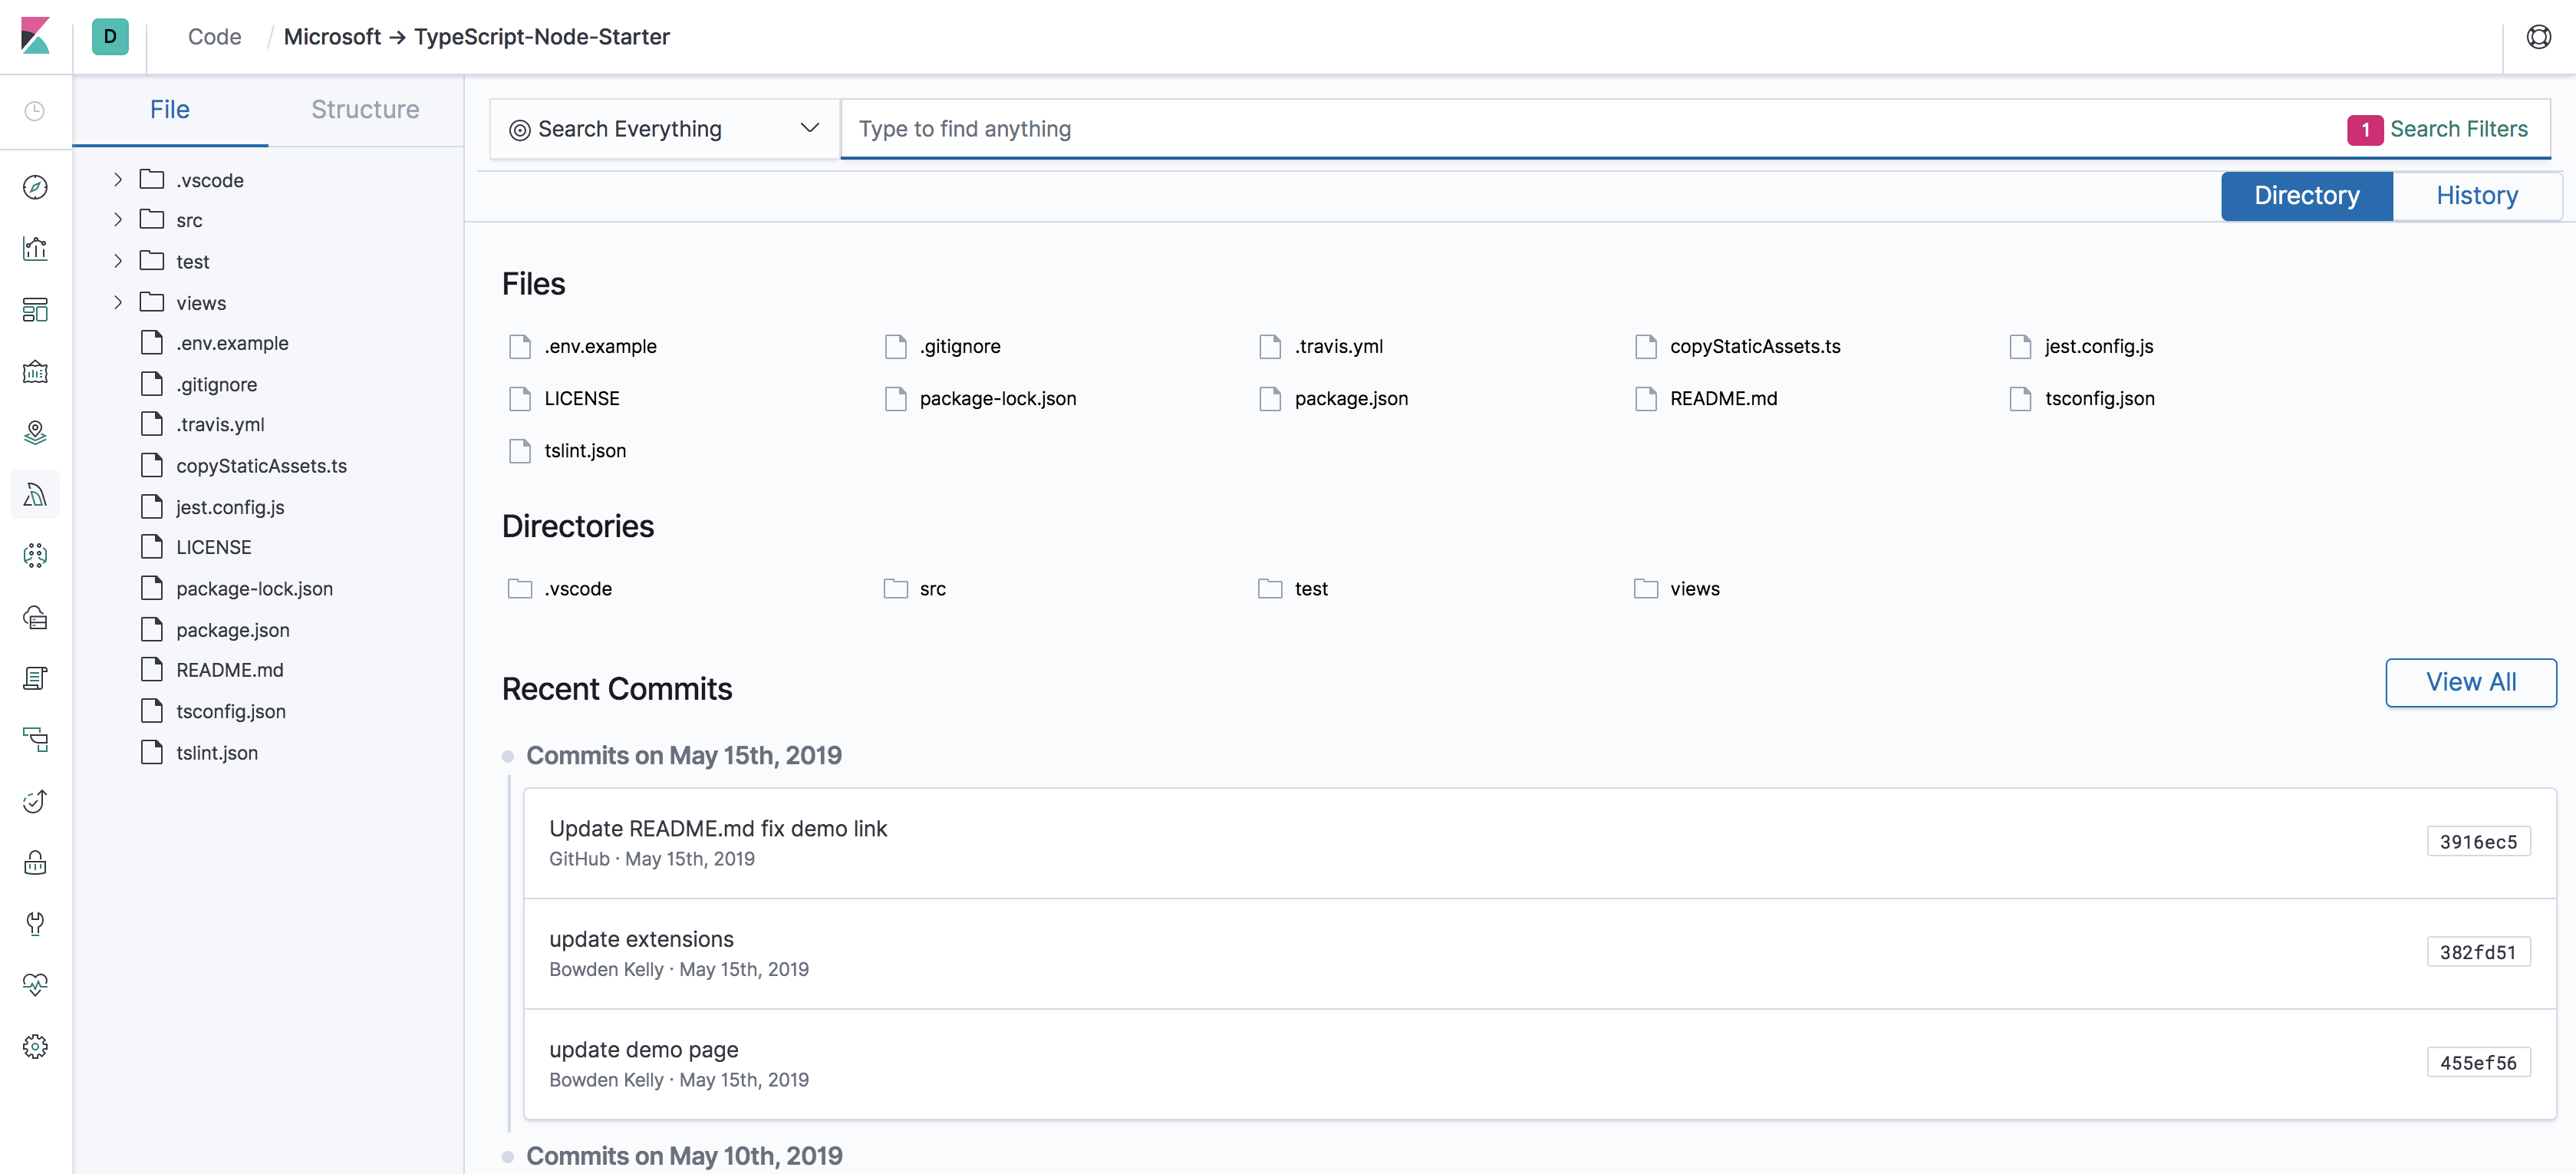
Congratulations! You just imported your first repo into Code.