How to Build Application Search with Ruby on Rails and Elastic
When people interact with their computer or phone, often times it looks like this: activate the screen, open the browser, type cryptic strings into an empty search bar, scan the results for a moment, then click on a top result. Search has given tremendous power to Internet users. One can find their desired information or product and they can find it fast. Miraculous, indeed, but with great power comes great expectations.
If you have a website or application, your users will demand similar expediency. The Elastic App Search Service (formerly Swiftype App Search) is a product that can help you streamline the information or product acquisition phase of the users'; web experience. You want that, too, because more rewarding interactions will help you accomplish your business goals. No one wants to wade through pages of results! They want magical boxes that transport them to exactly what they are seeking - or something even better. This tutorial will demonstrate how to start building such an experience.
The completed sample application is live here: gemhunt.swiftype.info. Try it out!
The unfinished code is available on GitHub.
You can access the completed branch to see the finished source code.
Requirements
- A recent version of Ruby installed on your device. Need help? See Ruby.
- Half an hour or less.
- An active Elastic App Search Service account or free trial. Sign up here!
Getting Search-y
We are going to build a simple, engaging search experience on top of Ruby on Rails.
In doing so we shall learn how to…
- Set-up a sample search application.
- Create an Engine within App Search.
- Configure the App Search Ruby Client.
- Ingest documents.
- Alter the schema.
- Fine-tune Search relevance.
In the end, we will have a powerful, slick and intuitive, search-based Rails application. As one gains comfort with Search development, they can use their own data and modify the application as they see fit. Perhaps this sample application will become the foundation for something magnificent.
Setup
To get started, clone the tutorial repository and run bin/setup. This will install bundler and the required gems, setup the SQLite database and populate it with seed data. The sample seed data that we will search over is composed of JSON. The JSON contains a set of popular RubyGems. Everyone loves RubyGems! We can examine the raw data within data/rubygems.json.
$ git clone [email protected]:Swiftype/app-search-rails-tutorial.git
$ cd app-search-rails-tutorial

$ bin/setup
To make sure everything is in order, start the app with rails server.
$ rails server
=> Booting Puma
=> Rails 5.2.0 application starting in development
=> Run `rails server -h` for more startup options
Puma starting in single mode...
* Version 3.11.3 (ruby 2.5.1-p57), codename: Love Song
* Min threads: 5, max threads: 5
* Environment: development
* Listening on tcp://0.0.0.0:3000
Use Ctrl-C to stop
Once the server has started, point your browser at localhost:3000.
It should look something like this:
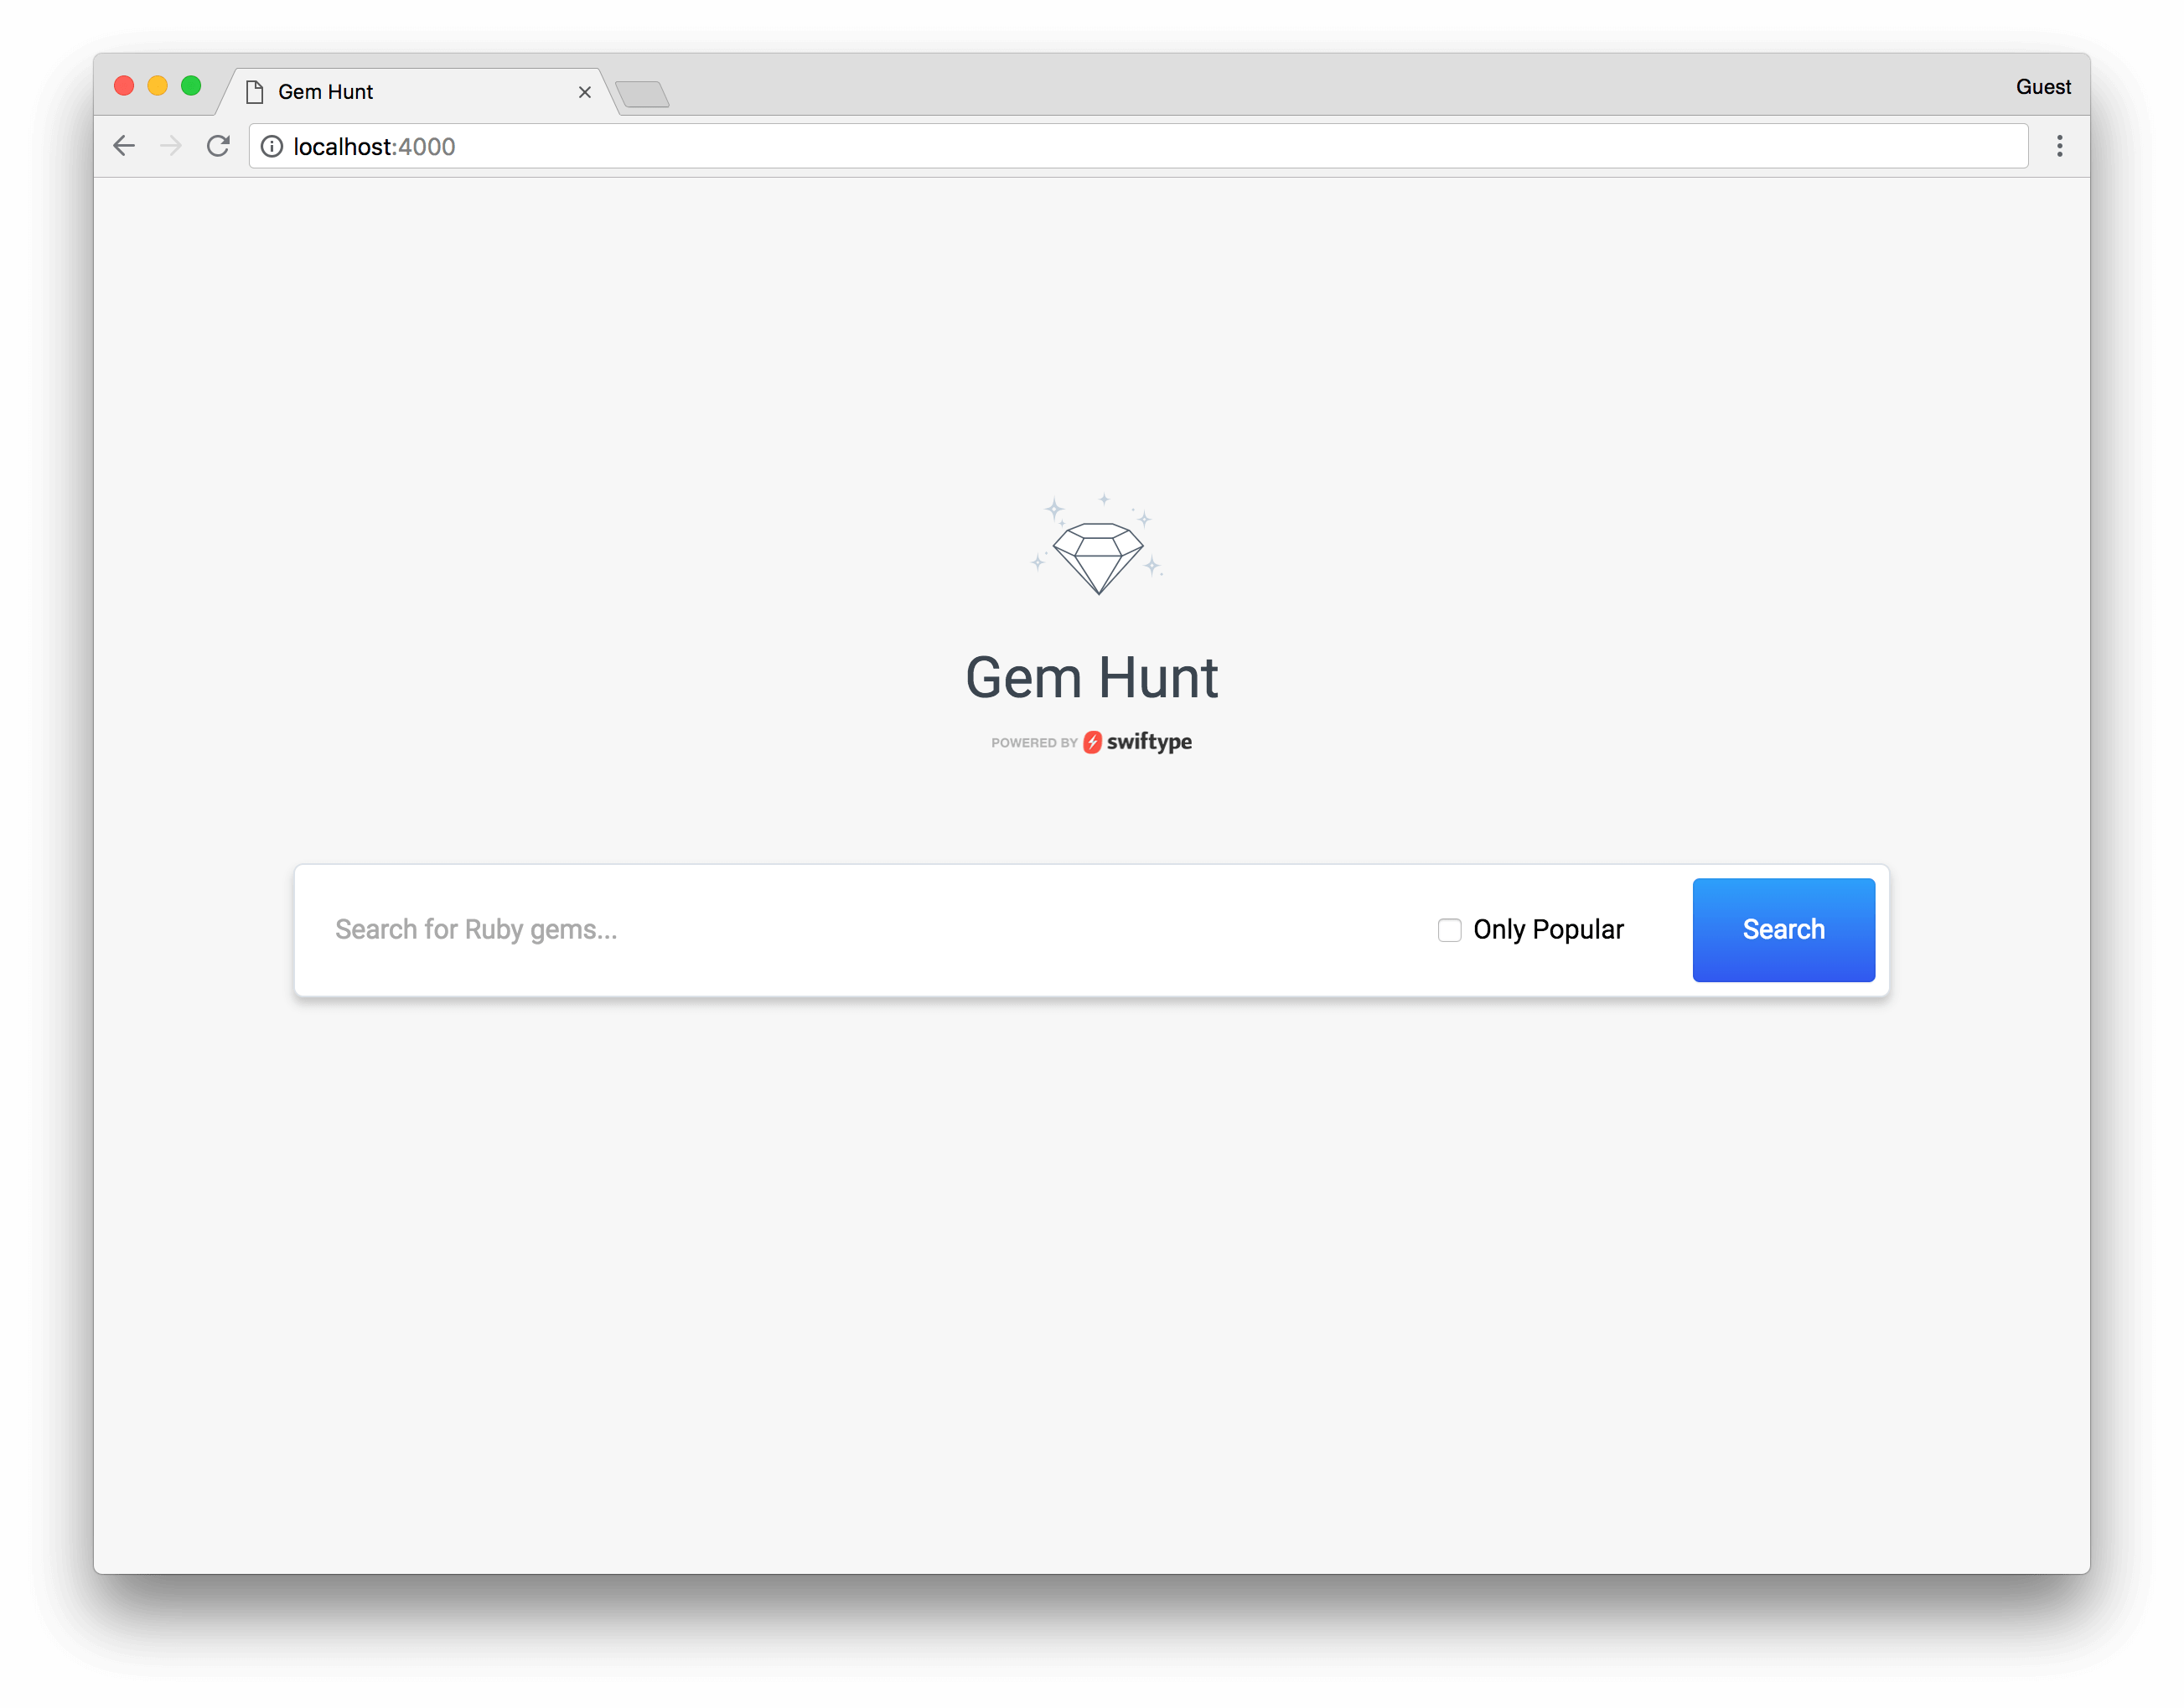
Looks gooood ~ now, try a query. Hmm. That is not optimal. No matter what we query, a gigantic, linear list of RubyGems comes back. It seems we are just showing the set of data! Although it is paginated and styled in a crisp and tidy way, this is not valuable. It would be better if visitors could search!
Enter App Search
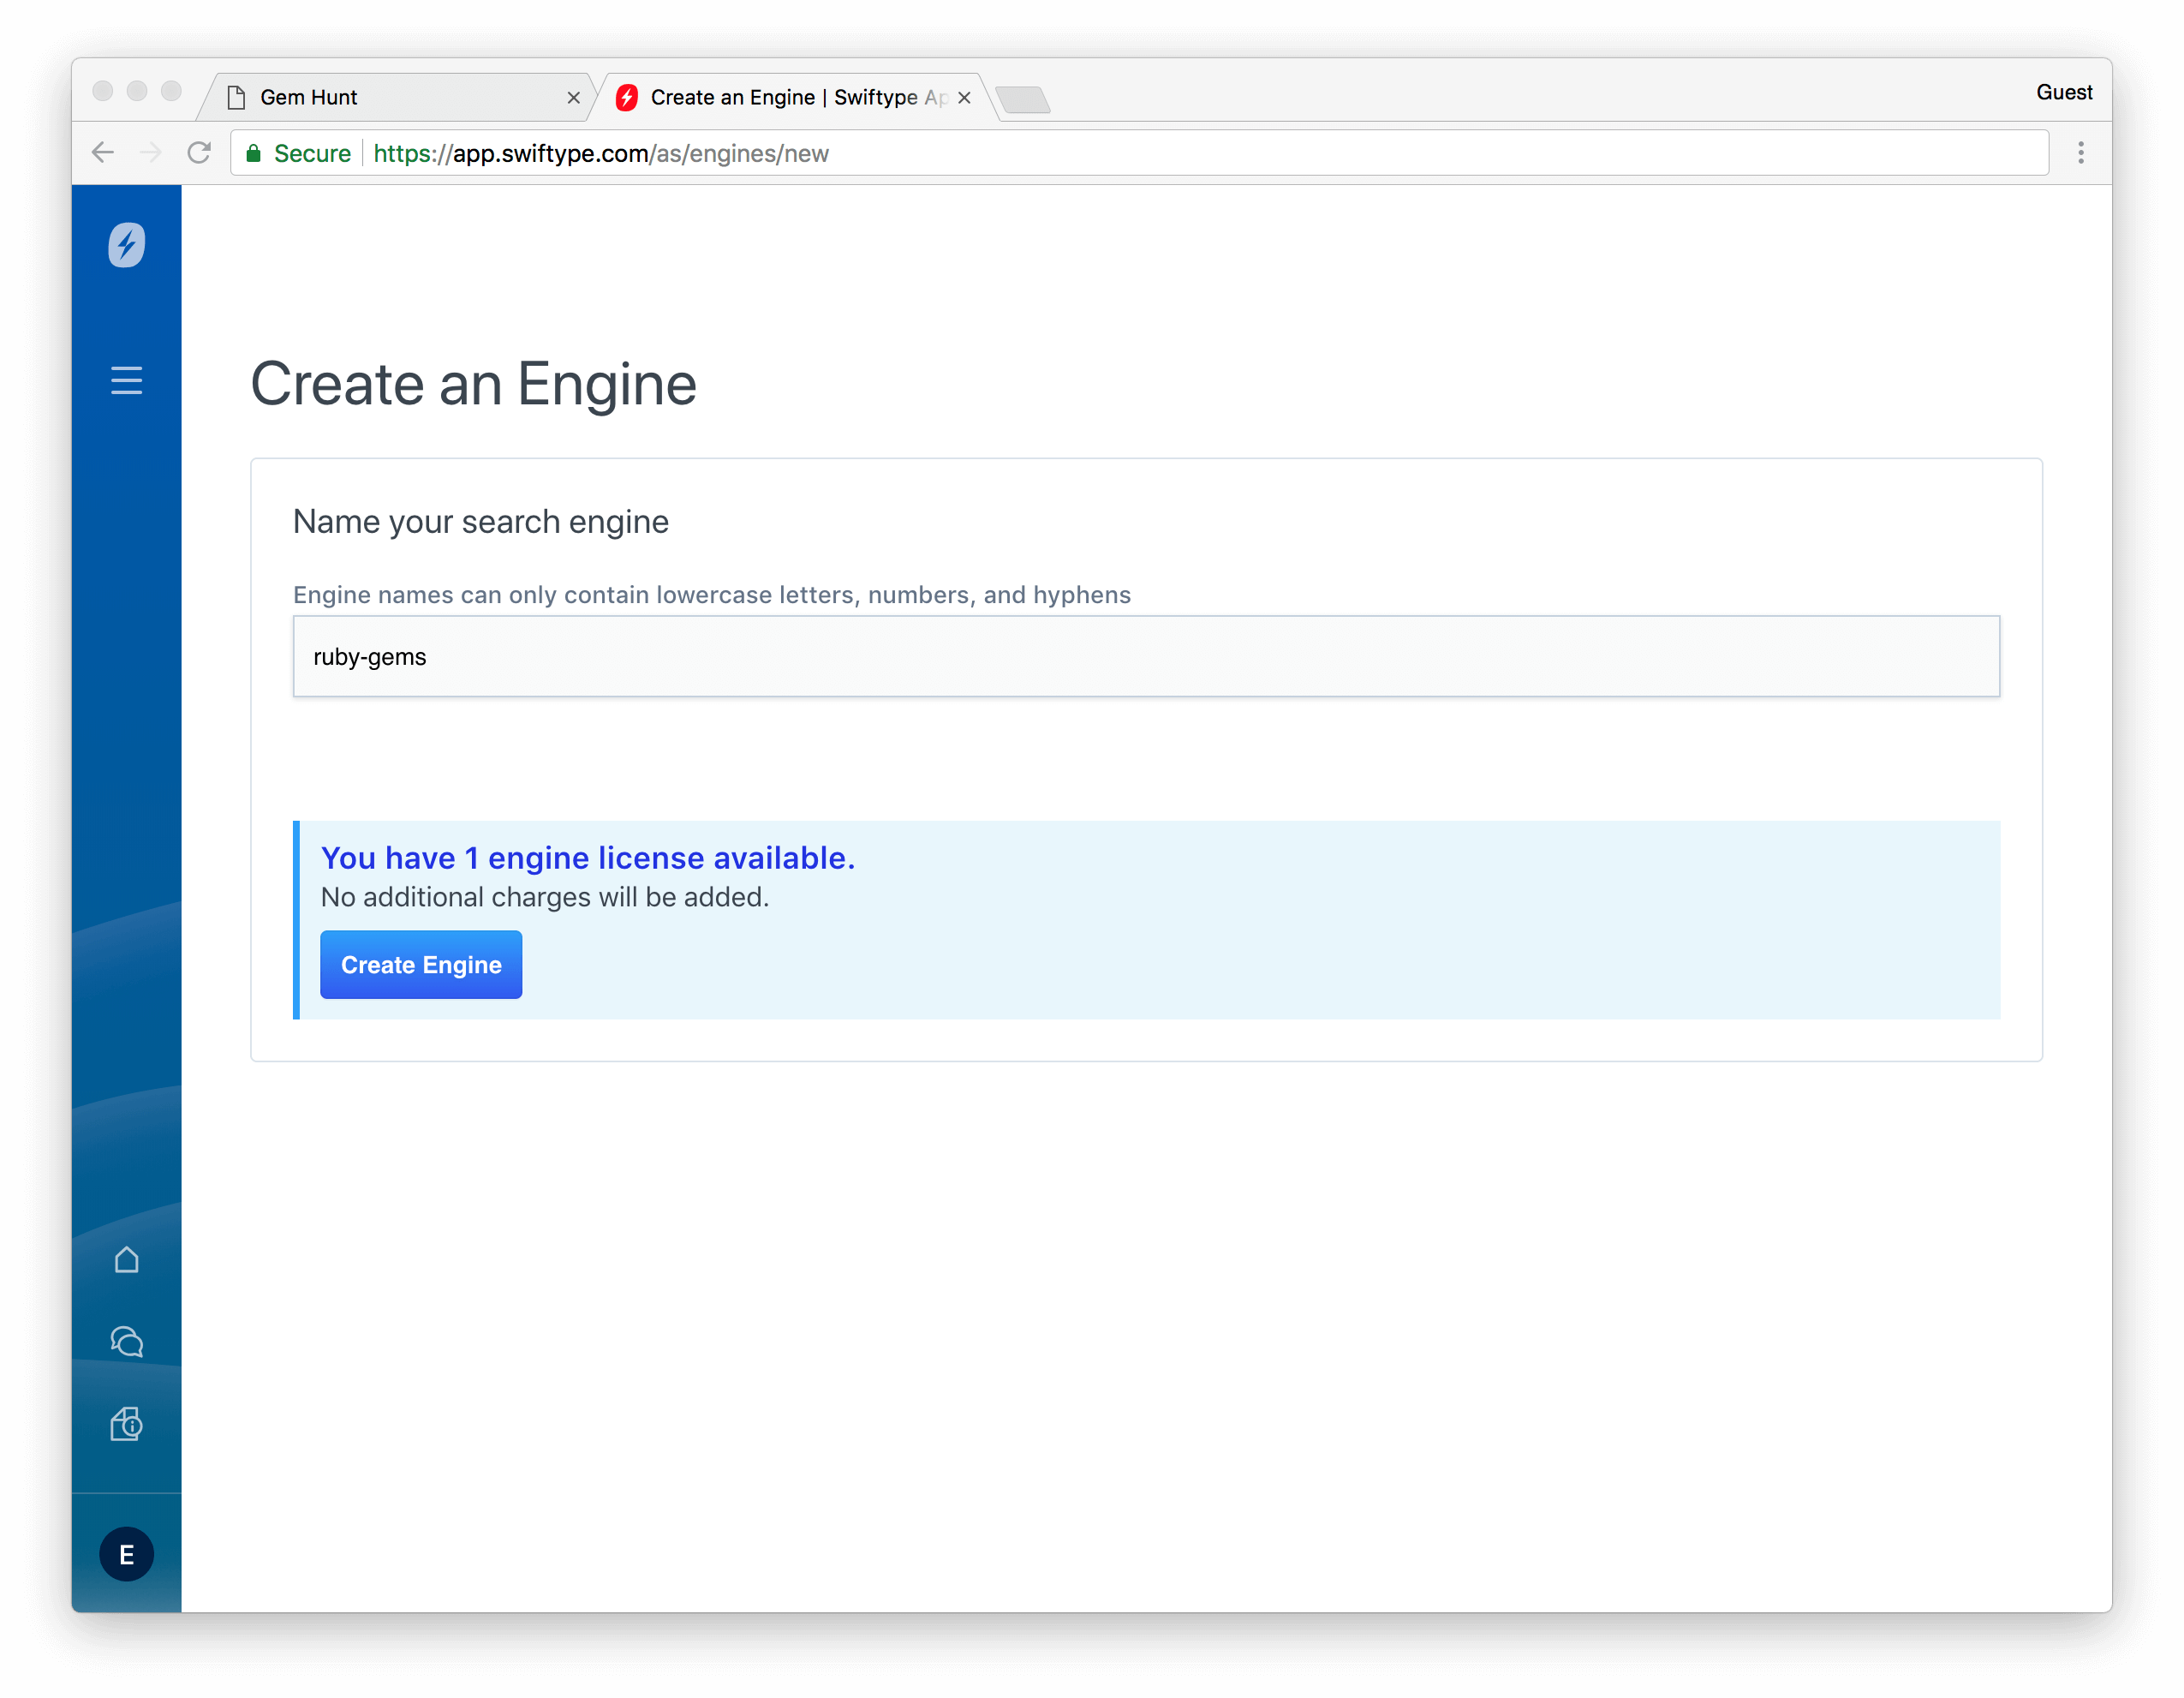
Begin a free trial of the Elastic App Search Service by creating an account. Once we have logged in for the first time, we will be prompted to create an Engine.
An Engine is a repository that houses our indexed documents. The App Search platform interacts with the Engine, providing search analytics and tools to help curate results, manage synonyms and much more. An Engine contains documents; documents are often objects, products, profiles, articles -- they can be many things.
Given that we are going to fill our Engine with RubyGems, how about we keep it simple and call it ruby-gems.
Install & Configure Elastic App Search Client
We provide an official Ruby Client. Through it, we can access the App Search API from within Ruby-based applications. We want to use it!
Open up the Gemfile and add:
gem 'swiftype-app-search', '~> 0.3.0'
Then, run bundle install to install the gems.
$ bundle install
Next, we will need credentials to authorize against the App Search API. We will need the Host Identifier and the Private API Key.
The Host Identifier is a unique value that represents an account. The Private API Key is a standard, all-access key that can manipulate any resource except those dealing with other credentials. Given its powerful nature, we want to keep it secret - and safe.
There are many different ways to keep track of API Keys and other secret information in your development environment. The dotenv gem is a strong choice. However, to keep things nice and clear - albeit, not as secure - we have placed the values within a swiftype.yml file. The swiftype.yml file is included within our .gitgnore. Should you want to host your application somewhere, you will need to bring the credentials with you.
The tutorial's setup script created config/swiftype.yml for us. We should now fill in our Host Identifier and Private API Key.
# config/swiftype.yml

app_search_host_identifier: [HOST_IDENTIFIER] # It should start with "host-"
app_search_api_key: [API_KEY] # It should start with "private-"
Initialize ~
With your new Engine, matching key, and Host Identifier, we can create a new initializer within config/initializers so that we may bring App Search to life:
# config/initializers/swiftype.rb

Rails.application.configure do
  swiftype_config = YAML.load_file(Rails.root.join('config', 'swiftype.yml'))

  config.x.swiftype.app_search_host_identifier = swiftype_config['app_search_host_identifier']
  config.x.swiftype.app_search_api_key = swiftype_config['app_search_api_key']
end
The client will be used in several places. We should wrap it in a small class. To do that, we will craft a new lib directory within app/ for our new Search class.
# app/lib/search.rb

class Search
  ENGINE_NAME = 'ruby-gems'

  def self.client
    @client ||= SwiftypeAppSearch::Client.new(
      host_identifier: Rails.configuration.x.swiftype.app_search_host_identifier,
      api_key: Rails.configuration.x.swiftype.app_search_api_key,
    )
  end
end
We are almost ready to ingest some documents. Before we do that, we need to restart Spring so that it will pick-up our new app/lib directory…
$ bundle exec spring stop
Bring on the Documents
For now, our documents exist within our local SQLite database. We need to move these documents into App Search, into our Engine. The act of doing so is known as ingestion. We want to ingest the data, so that it may be indexed - or structured - and searched upon.
If we have documents in two places: the Engine and the database, then we need to establish truth. The application database is our "Source of Truth". As users interact with our application, the state of database items will change. Our Engine needs to be aware of those changes.
We can take advantage of Active Record Lifecycle Callbacks to keep the two data sets in sync. To do so, we will add an after_commit callback to notify App Search of any new or updated documents committed to the database and an after_destroy callback for when a document is removed.
# app/models/ruby_gem.rb

class RubyGem < ApplicationRecord
  validates :name, presence: true, uniqueness: true

  after_commit do |record|
    client = Search.client
    document = record.as_json(only: [:id, :name, :authors, :info, :downloads])

    client.index_document(Search::ENGINE_NAME, document)
  end

  after_destroy do |record|
    client = Search.client
    document = record.as_json(only: [:id])

    client.destroy_documents(Search::ENGINE_NAME, [ document[:id] ])
  end

 # ...

end
As this is an example case, we are calling the Elastic App Search API in a synchronous way. The optimal method when dealing with external services like the App Search API is to use an asynchronous callback to avoid hanging up other application requests. For more information on asynchronous call writing, check out the ActiveJob framework provided by Rails.
Catchy Hooks
Before we apply more code changes to the application, a demonstration of our callbacks.
Open up a rails console from within the project directory.
$ rails console
...
Running via Spring preloader in process 15983
Loading development environment (Rails 5.2.0)
irb(main):001:0>
Within the console, we can explore our documents. Reveal yourself, puma!
irb(main):008:0> puma = RubyGem.find_by_name('puma')
=> # ...
Next, we can make a small change to the document named puma that we have found...
irb(main):009:0> puma.info += ' Also, pumas are fast.'
=> # ...
... and then save the document.
irb(main):010:0> puma.save
=> true
The call to save should trigger the after_commit callback. Moments later, if we open the documents panel in the App Search Dashboard, we should see a document that corresponds to the puma gem.
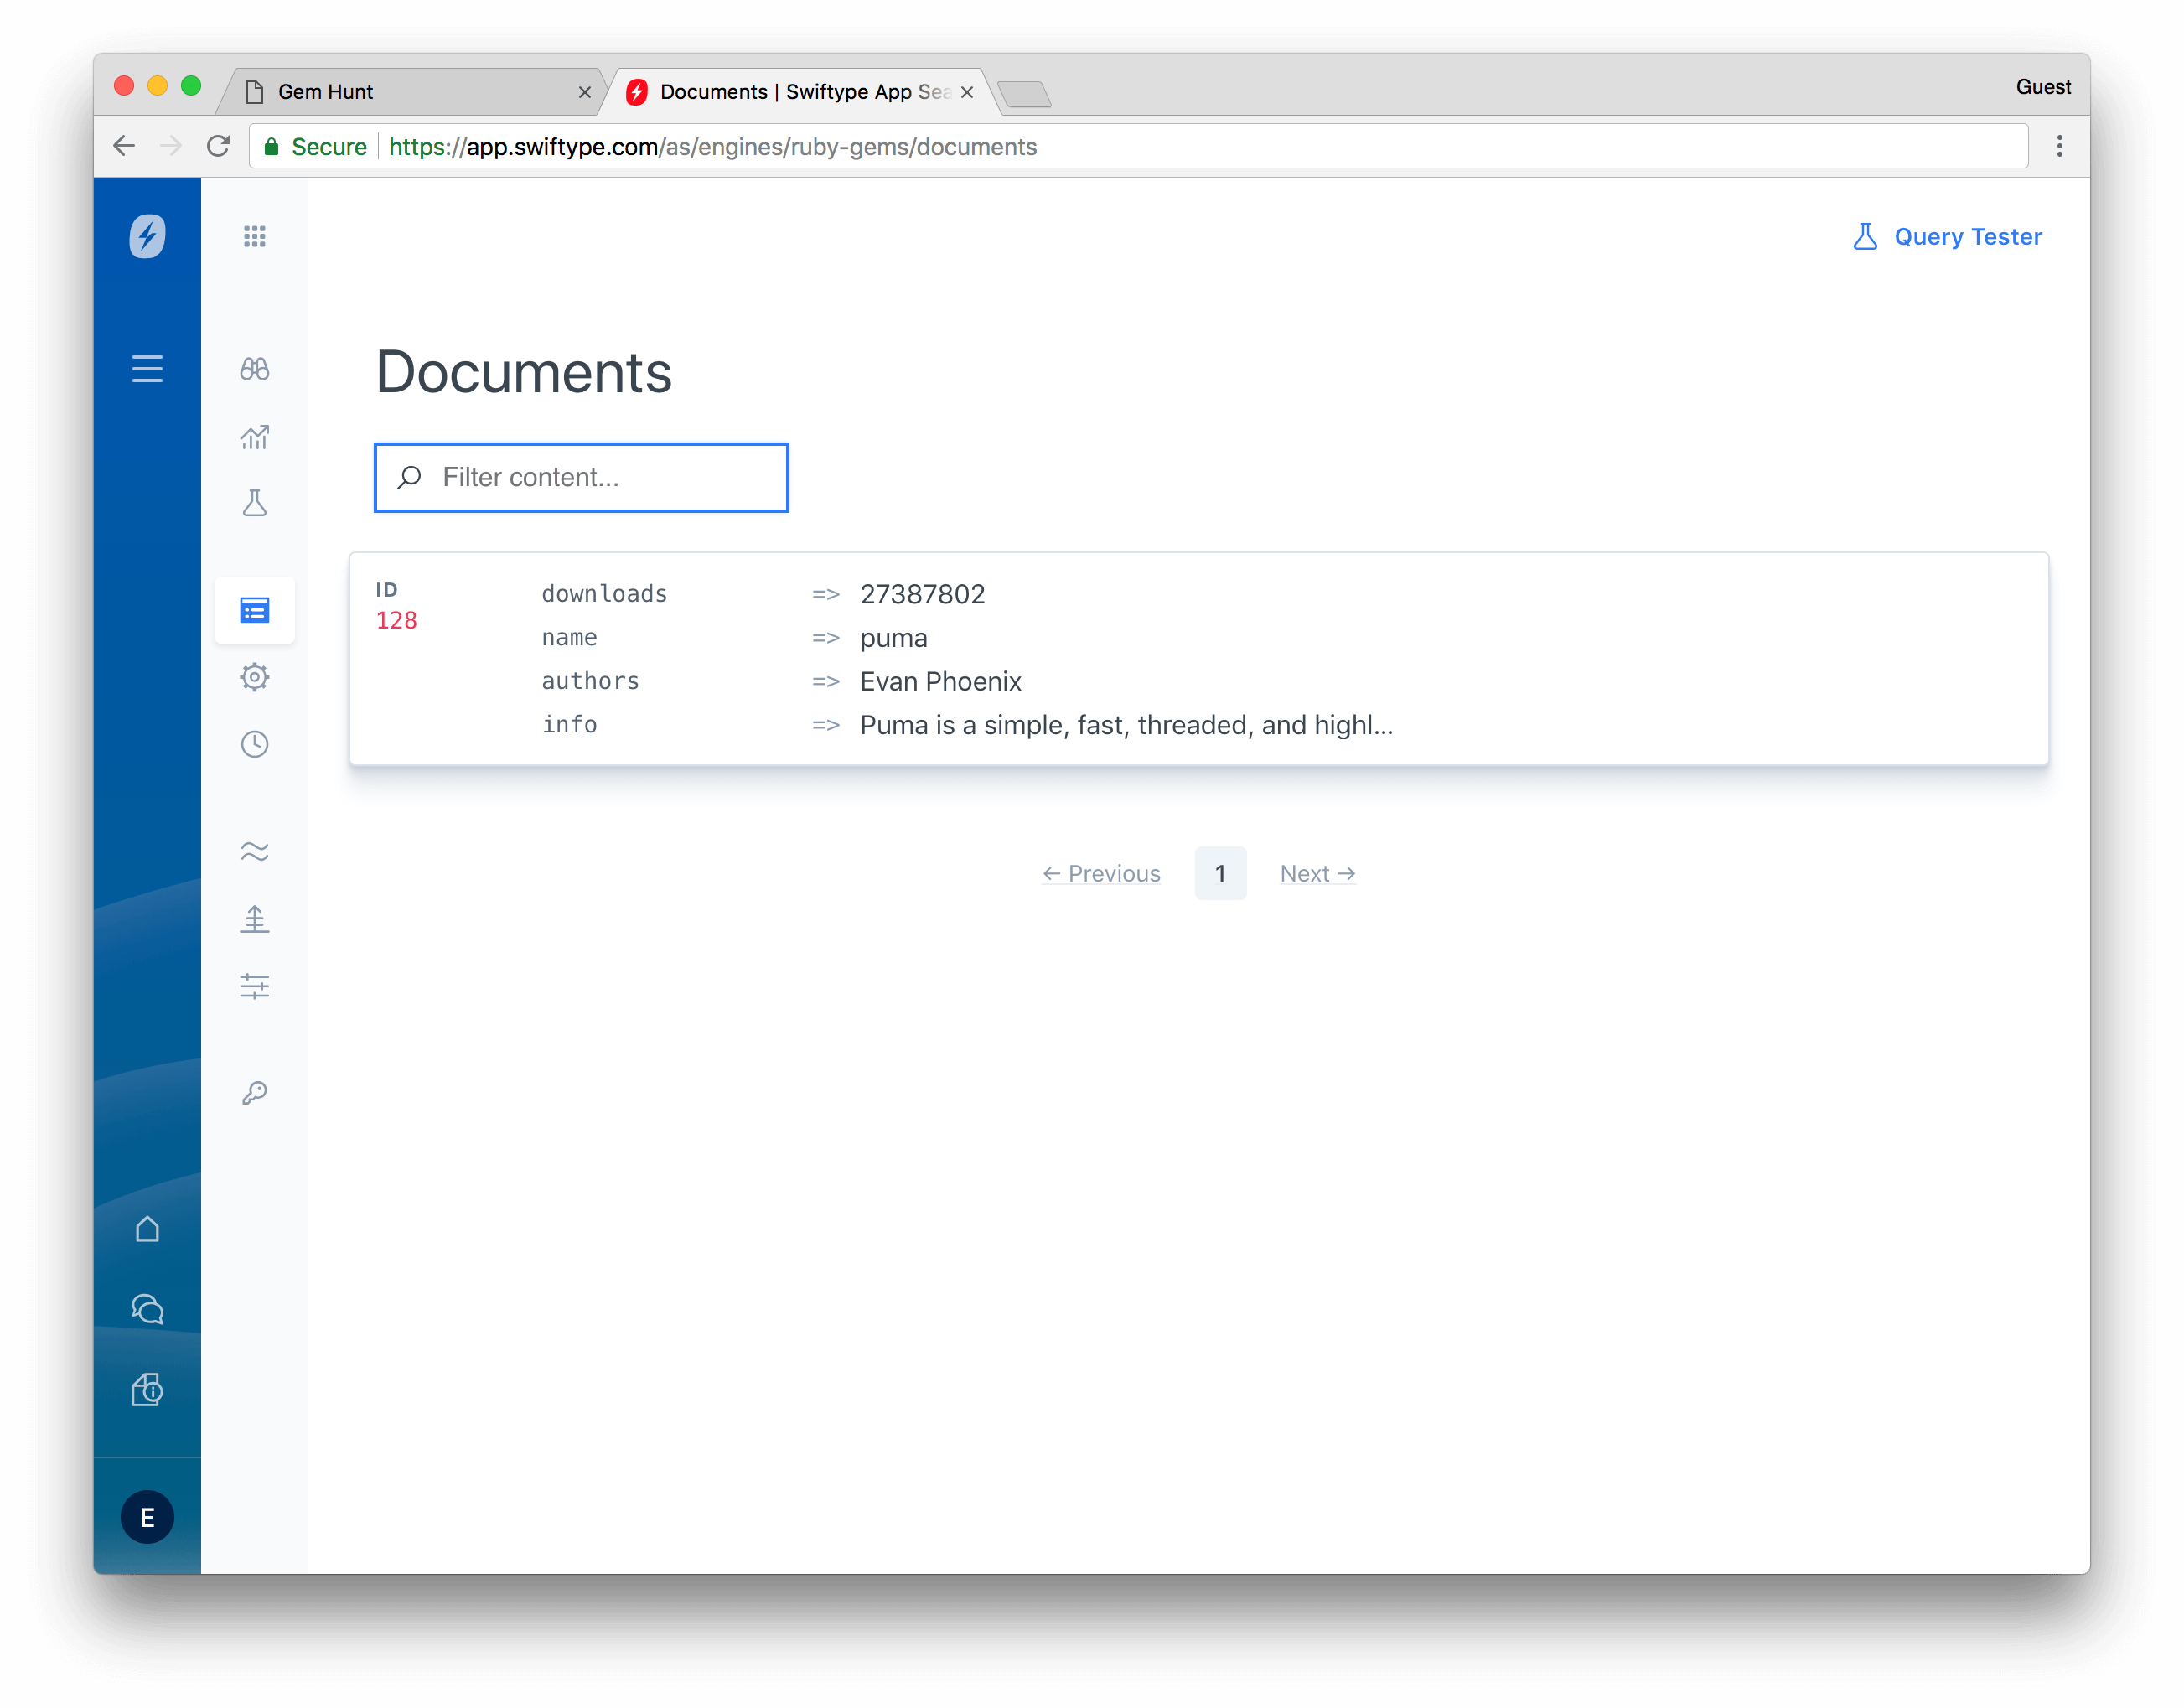
Our first indexed document! Huzzah! Although, we have many documents yet to index...
Mass Ingestion
If we were building an App Search application from scratch, we would not need to worry about ingesting our existing data; the after_commit hook would handle new documents as they are added. However, our example application already has more than 11,000 RubyGem documents.
To ingest them all for indexing without waiting for individual after_commit hooks on each record, we can write a rake task.
We will place our app_search.rake task within the lib/tasks/ directory that lives under the project root. Do note that this is not our app/lib/ directory:
# lib/tasks/app_search.rake

namespace :app_search do
  desc "index every Ruby Gem in batches of 100"
  task seed: [:environment] do |t|
    client = Search.client

    RubyGem.in_batches(of: 100) do |gems|
      Rails.logger.info "Indexing #{gems.count} gems..."

      documents = gems.map { |gem| gem.as_json(only: [:id, :name, :authors, :info, :downloads]) }

      client.index_documents(Search::ENGINE_NAME, documents)
    end
  end
end
The next step is to run this task from the command line. Consider watching the log file in another terminal to see it in action. Seeing documents race into your Engine is fun!
To do so, type: tail -F log/development.log within another terminal window, then use rails to initiate the task:
$ rails app_search:seed
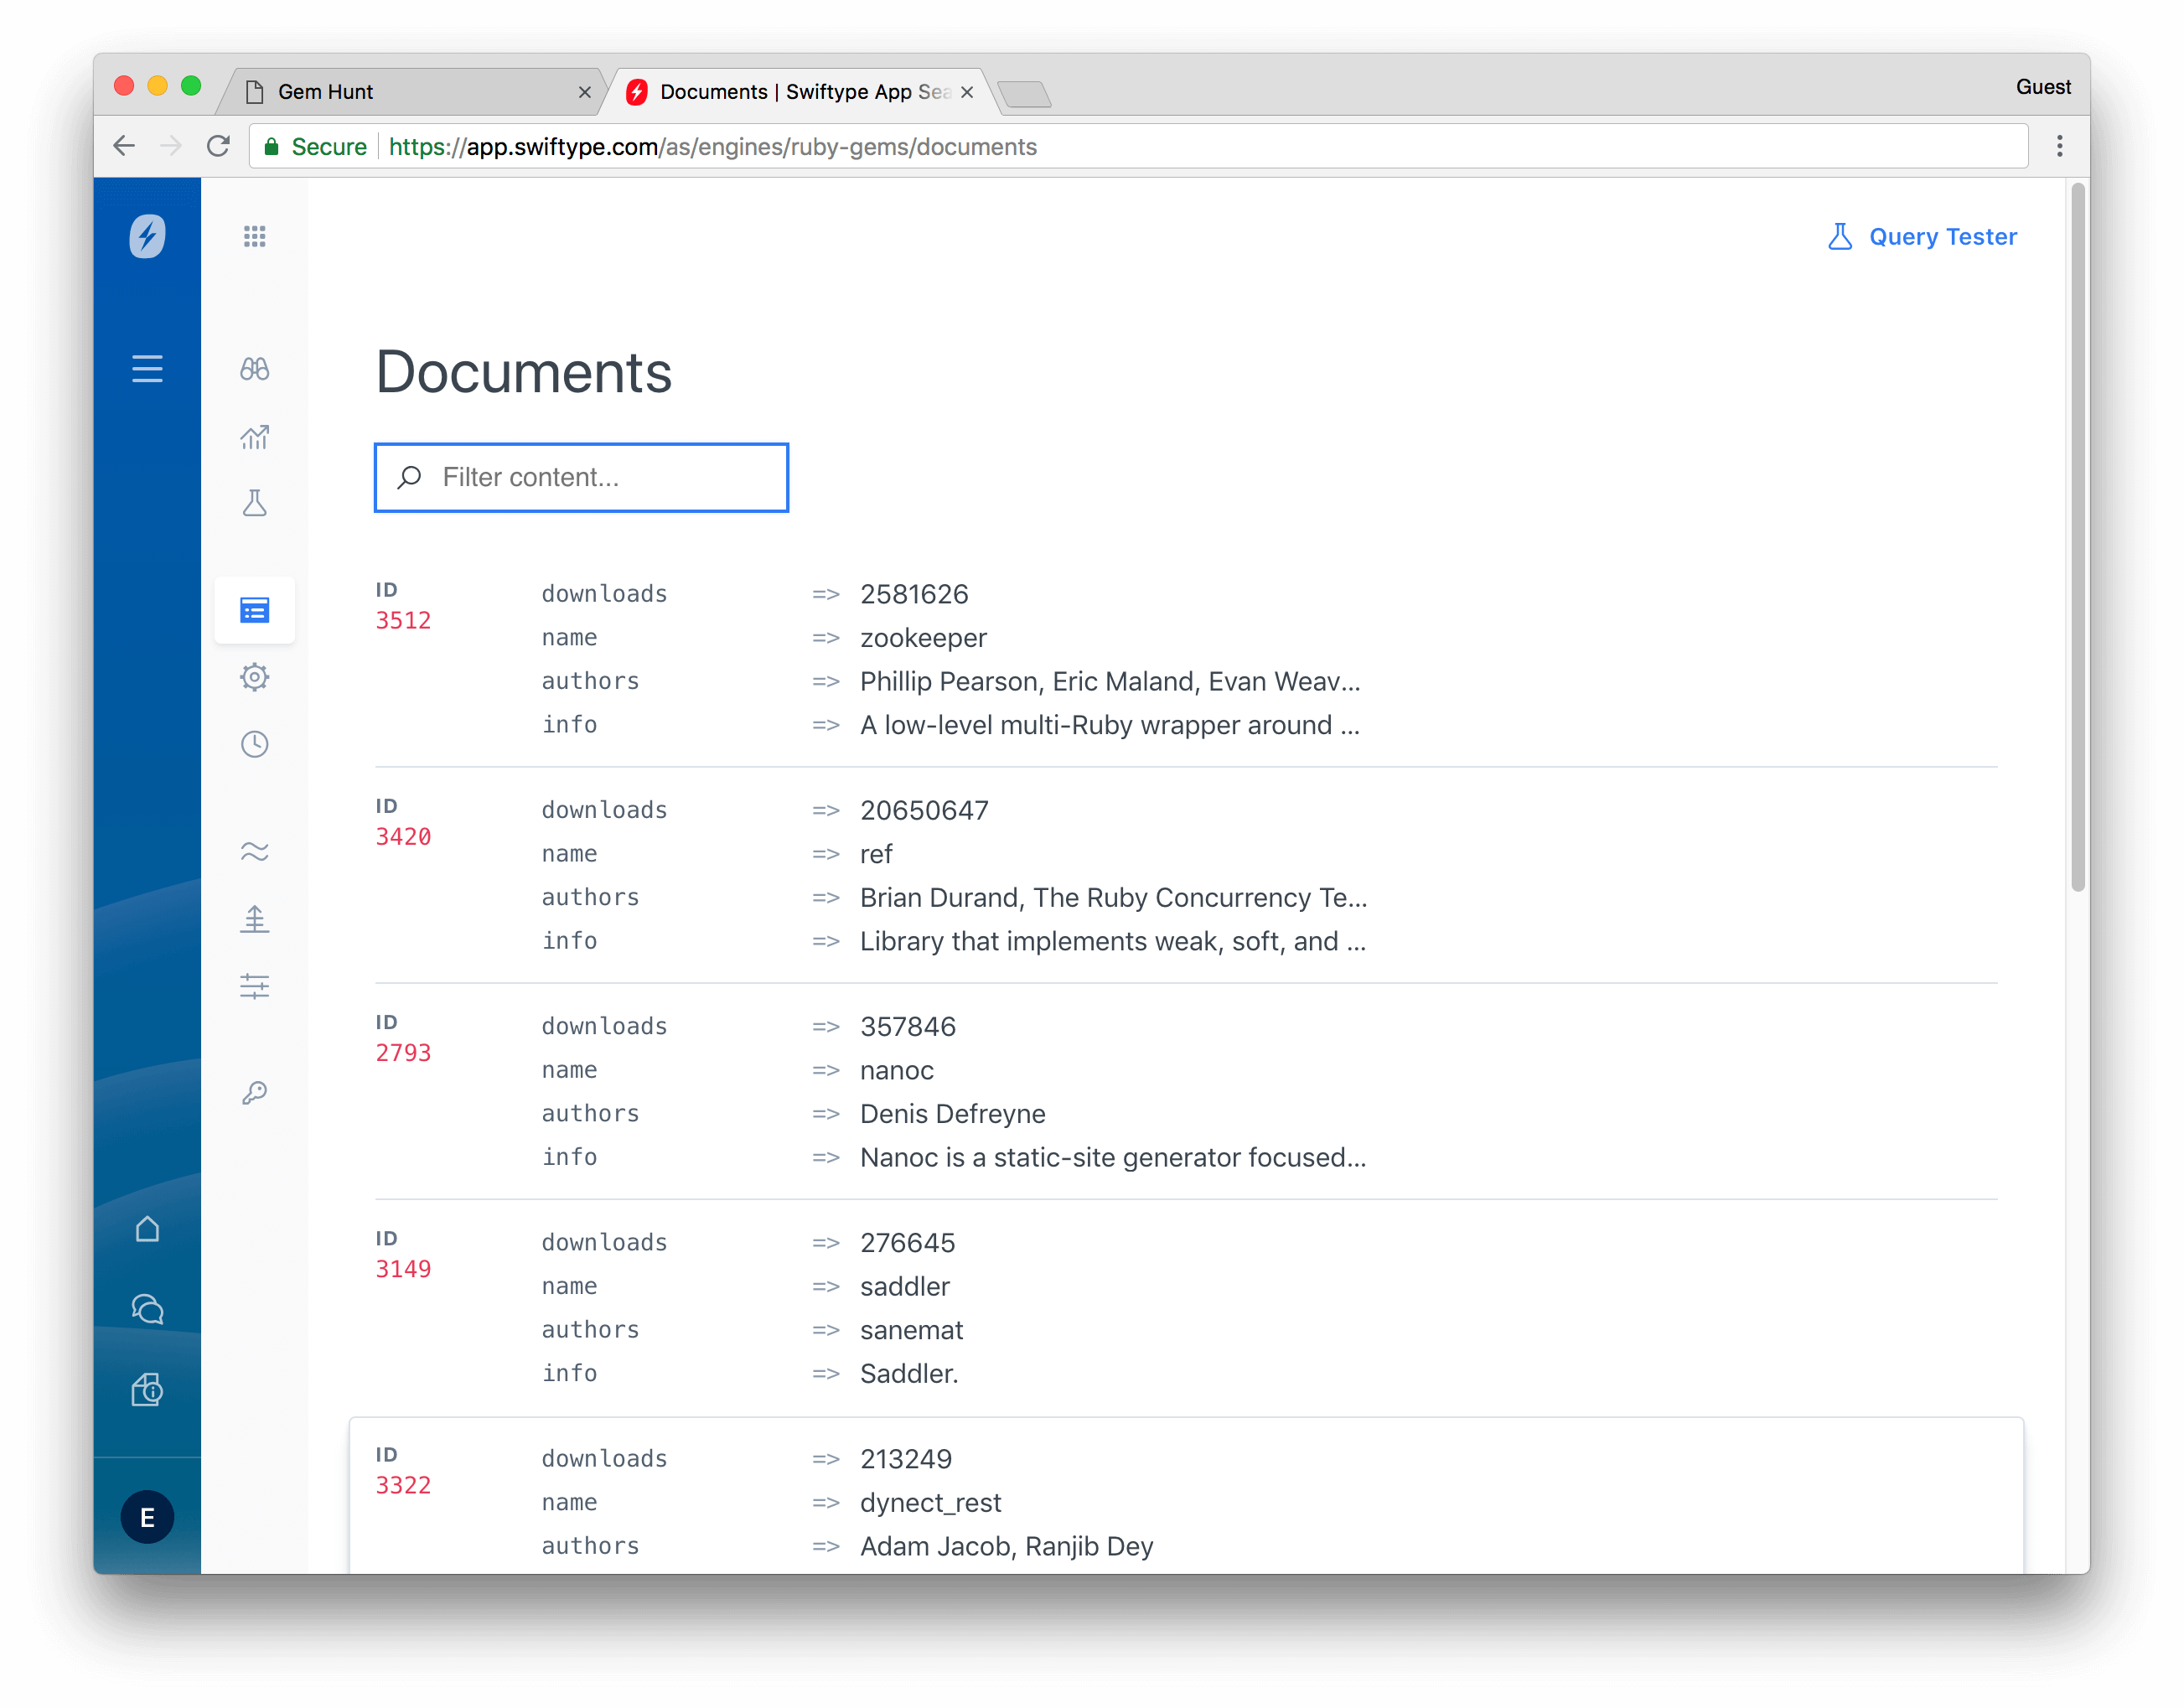
Ingestion begins! If you take another look at the documents panel in the App Search Dashboard, you should see that all of your documents are now indexed within your Engine. Check out your schema, too, and perhaps try some sample queries from the dashboard:
Search!
We now have an Engine bubbling with documents. It is time to alter our RubyGemsController#index. This is when search starts to come to life! We will re-construct the controller so that we transform our current return all-the-things; text box into a true search bar.
# app/controllers/ruby_gems_controller.rb

class RubyGemsController < ApplicationController

  PAGE_SIZE = 30

  def index
    if search_params[:q].present?
      @current_page = (search_params[:page] || 1).to_i

      search_client = Search.client
      search_options = {
        page: {
          current: @current_page,
          size: PAGE_SIZE,
        },
      }

      search_response = search_client.search(Search::ENGINE_NAME, search_params[:q], search_options)
      @total_pages = search_response['meta']['page']['total_pages']
      result_ids = search_response['results'].map { |rg| rg['id']['raw'].to_i }

      @search_results = RubyGem.where(id: result_ids).sort_by { |rg| result_ids.index(rg.id) }
    end
  end

  def show
    @rubygem = RubyGem.find(params[:id])
  end

  private

  def search_params
    params.permit(:q, :page)
  end
end
Open up localhost:3000 and try it out! Neat! We can search, a little…! But we want to search well.
The Following is Highly Relevant
Results appear, which is good. However, searching with a query string of rake returns the rake gem as the 14th result. This is not ideal! What can we do!?
By default, App Search treats all fields with equal importance. We know from experience that users will search by the name of the gem. We should give that field more importance than the others. If we give the name field a higher weight than info and authors, then it will have the greatest impact on the final document score. The document score, the relevance, is what governs the response order.
# app/controllers/ruby_gems_controller.rb

# ...

def index
  if search_params[:q].present?
    @current_page = (search_params[:page] || 1).to_i

    search_client = Search.client
    search_options = {
      search_fields: {
        name: { weight: 2.0 },
        info: {},
        authors: {},
      },
      page: {
        current: @current_page,
        size: PAGE_SIZE,
      },
    }

    search_response = search_client.search(Search::ENGINE_NAME, search_params[:q], search_options)
    @total_pages = search_response['meta']['page']['total_pages']
    result_ids = search_response['results'].map { |rg| rg['id']['raw'].to_i }

    @search_results = RubyGem.where(id: result_ids).sort_by { |rg| result_ids.index(rg.id) }
  end
end

# ...
Note: If you provide the search_fields option to the Searching API, you must include every field you would like to be included in the search. This is why we added info and authors, even though we are not passing any search options for those fields.
Weights are powerful. You can read more about them within our App Search searching guide. If we try another search, we can see that the rake gem is first result! Relevance is improved. But there is even more that we can do.
Change the Field
We want to add an option to our search interface that filters out RubyGems that do not have many downloads. We want to see what is Popular.
First, we will need to make a small change to our Engine's schema to filter the downloads field within a numeric range. Our Engine schema displays the type of data that is contained within each document field. By default, App Search assumes every field is Text. Fields can be: Text, Number, Date, or Geo Location.
To address this, we can change the downloads field to type Number from within the Schema tab of the App Search Dashboard.
Before:
downloads: Text
After:
downloads: Number
Be sure to click Change Types after making the change.
Note: Changing these fields begins a reindex of your data. This might take some time, depending on the size of your Engine. You are unable to change Fields during a reindex.
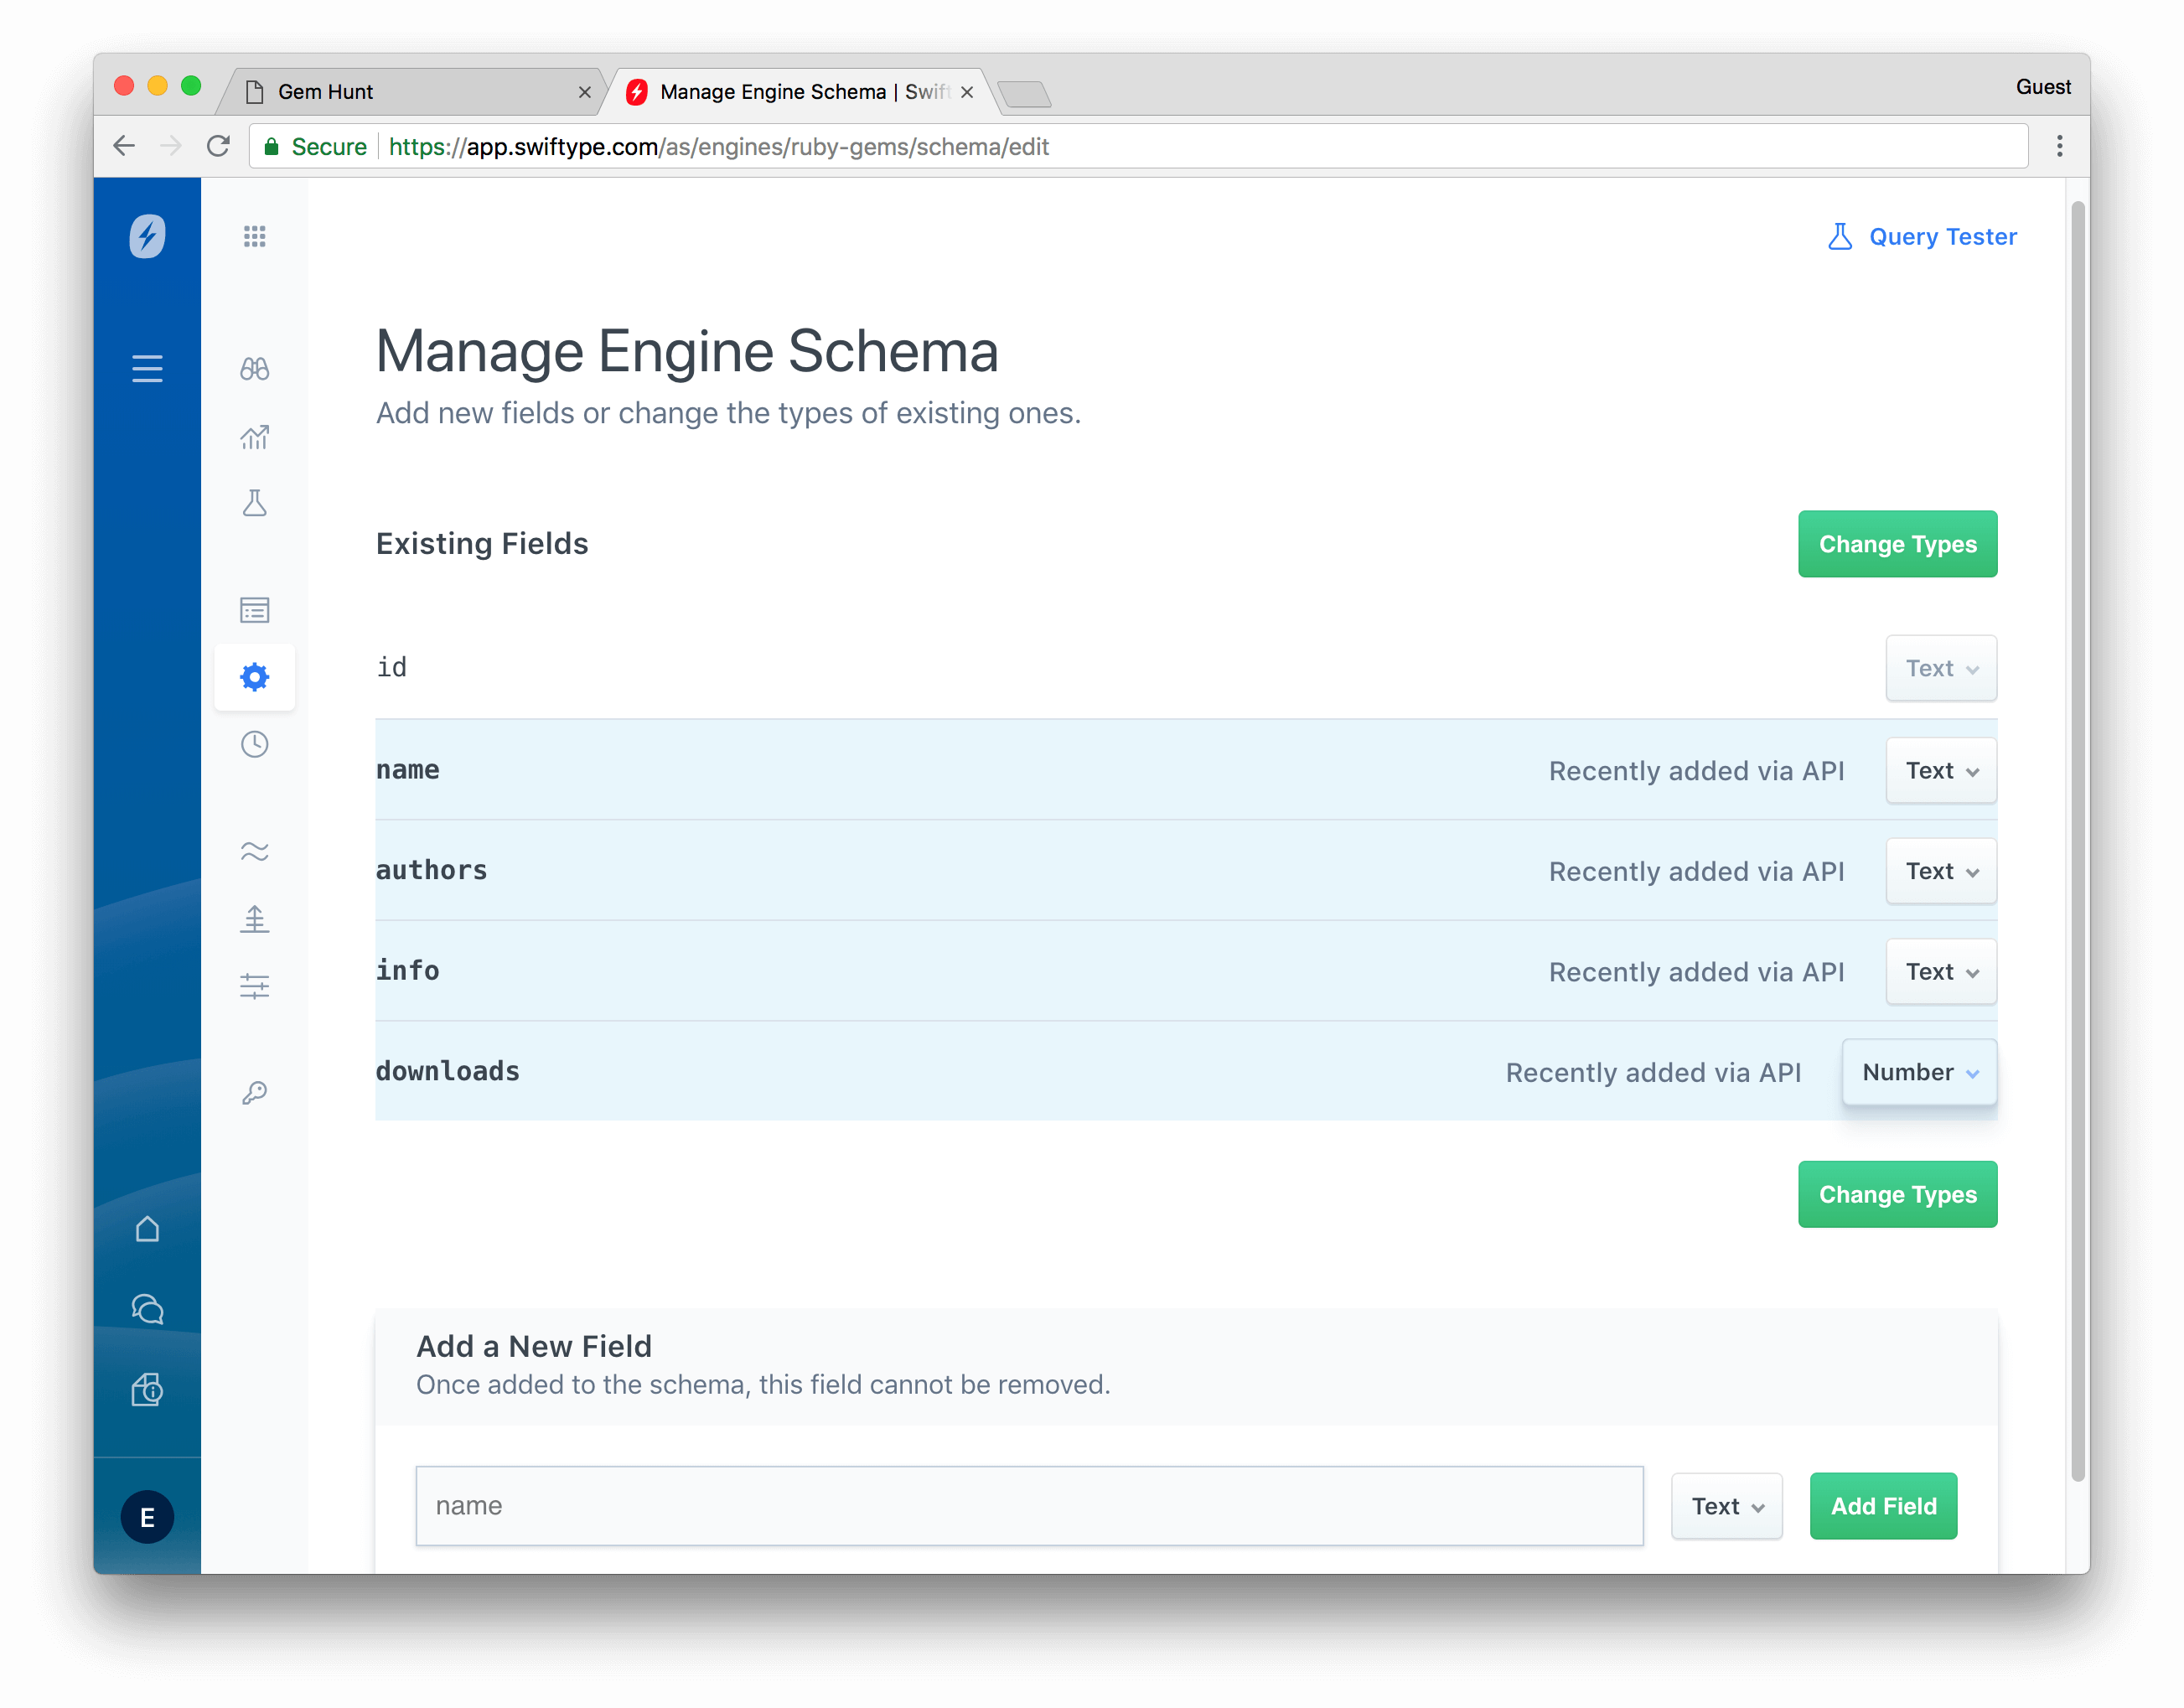
App Search will now consider the downloads field to be a Number.
Chart Topping
Our designer - as usual - is ahead of the game. The application already contains a check-box to emphasize Only Popular results. This form_tag is what will allow us to define a :popular parameter within our controller:
# app/views/ruby_gems/index.html.erb
# ...

  <%= form_tag({}, {method: :get}) do %>
    <div class="form-group row">
      <%= text_field_tag(:q, params[:q], class: "form-control", placeholder: "My favorite gem...") %>
    </div>
     <div class="form-check">
       <%= check_box_tag('popular', 1, params[:popular], class: 'form-check-input') %>
       <label class="form-check-label" for="popular">Only include gems with more than a million downloads.</label>
     </div>
    <div class="form-group row">
      <%= submit_tag("Search", class: "btn btn-primary mb-2") % >
    </div>
  <% end %>

#...
Back in our controller, we will do just that. Elastic App Search allows us to pass filters along with our search options. In this case, our filter will prioritize results that have at least1,000,000 views. When a field is a Number, numerical filtering like this becomes possible.
# app/controllers/ruby_gems_controller.rb

  # ...

  def index
    if search_params[:q].present?
      @current_page = (search_params[:page] || 1).to_i

      search_client = Search.client
      search_options = {
        search_fields: {
          name: { weight: 2.0 },
          info: {},
          authors: {},
        },
        page: {
          current: @current_page,
          size: PAGE_SIZE,
        },
      }

      if search_params[:popular].present?
        search_options[:filters] = {
          downloads: { from: 1_000_000 },
        }
      end

      # ...

    end

  private

  def search_params
    params.permit(:q, :page, :popular)
  end
When we venture back to our application, we can try some nifty queries. Let us search for heyzap-authlogic-oauth. With the checkbox un-checked, it is the first result. With the box checked we return more popular gems with a wider audience, like authlogic and oauth. That is more like it! Our sample is complete. But we have just scratched the surface when it comes to building search.
Summary
Excellent search is delightful for users. Whether you want search to help people explore products, find relevant content or helpful documents, or are basing your entire application around robust discovery through geolocation or time frames, Elastic App Search is a wise choice. With all the tools that the App Search APIs present to you, the power to craft imaginative and intuitive search experiences is at your finger-tips.