New to Elasticsearch? Join our getting started with Elasticsearch webinar. You can also start a free cloud trial or try Elastic on your machine now.
In this step-by-step guide, you’ll learn how to set up an AWS EC2 instance and install both Elasticsearch and Kibana on it.
When to use Elasticsearch with EC2?
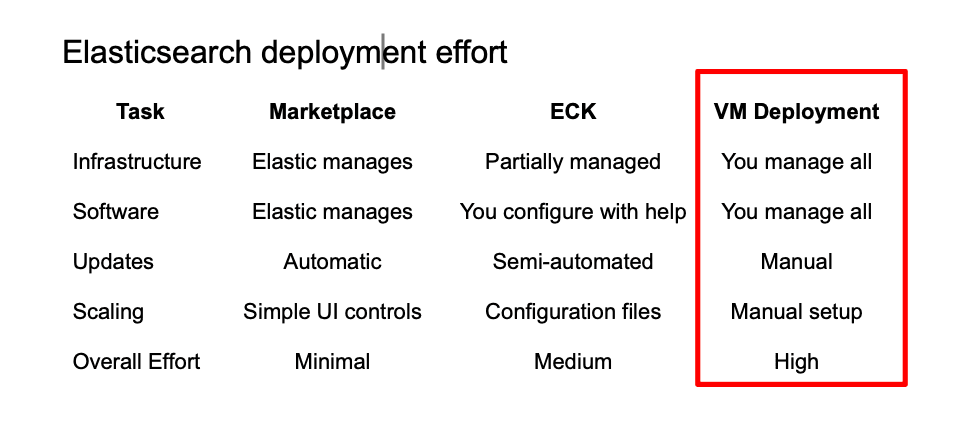
Installing Elasticsearch on an AWS Elastic Compute Cloud (EC2) instance is a good starting point for its simplicity and transparency over resources. Here is how it compares to other options:
- Full Control: Unlike Elastic Cloud, EC2 lets you configure everything—from JVM settings to plugins—without restrictions.
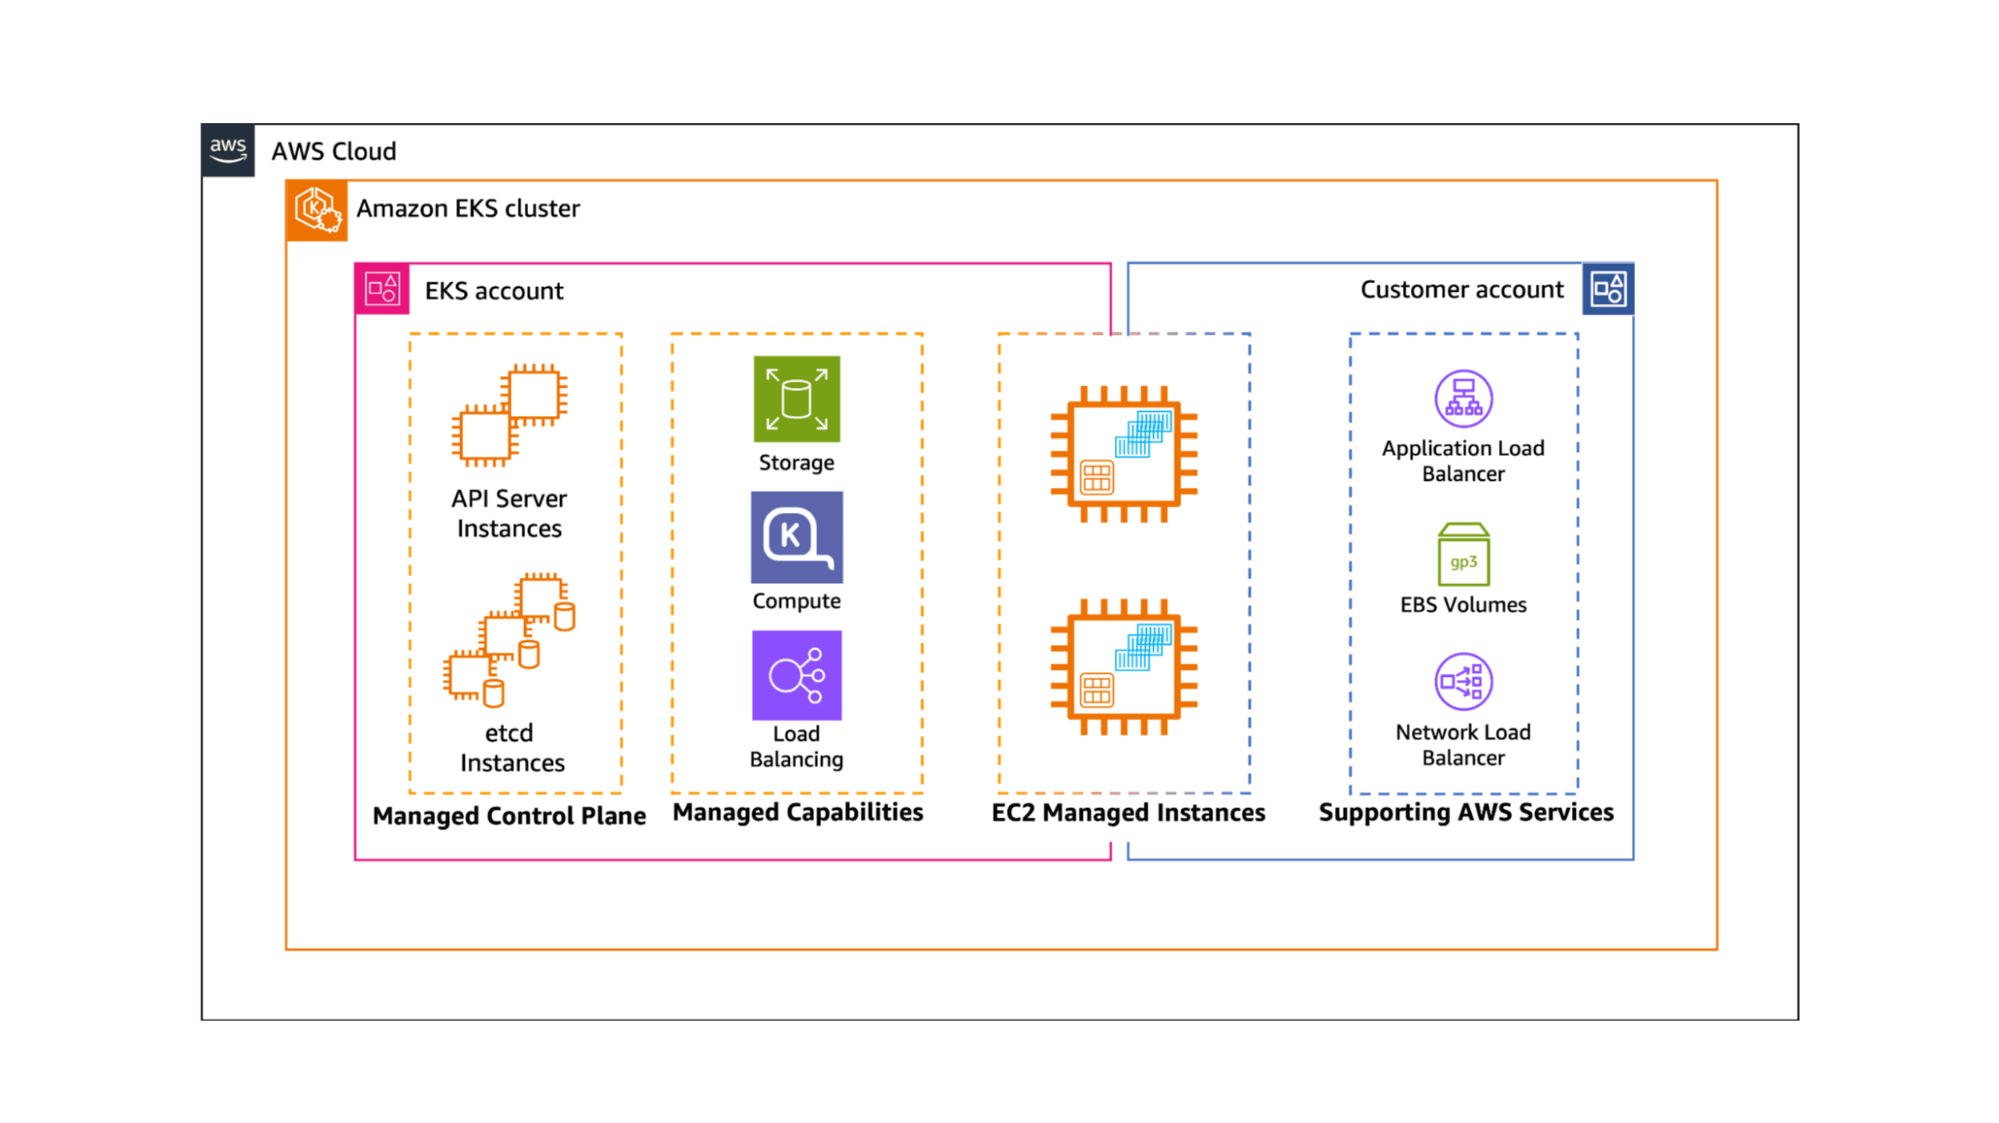
- Simplicity: Easier to start than ECK on EKS, which provides scaling tools but has a steeper learning curve.
- Transparent Resources: You choose instance type, storage, and network settings, giving predictable performance and cost.
- Flexible Security: Manage firewall rules, SSL certificates, and passwords directly.
- Easy Prototyping: Great for learning, testing, or single-node deployments before moving to multi-node clusters or managed solutions.
If you want to handle as little infrastructure as possible, take a look at our AWS Marketplace Elastic Cloud article.
Setting up an EC2 Instance
We’ll create an EC2 instance to host Elasticsearch and Kibana. The process involves selecting an operating system image (Amazon Linux 2023), choosing an instance type and storage based on your needs, opening a port for Kibana, and creating a key pair for secure access.
1. Log in to AWS.
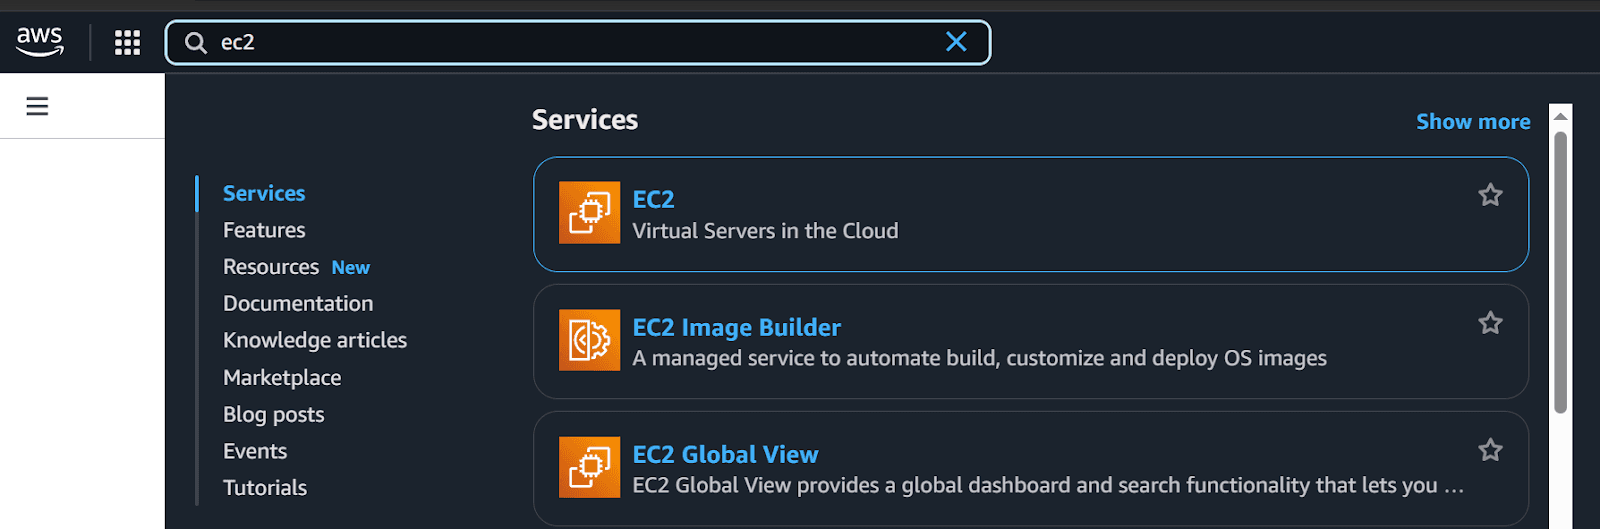
2. Search for EC2 in the search bar.
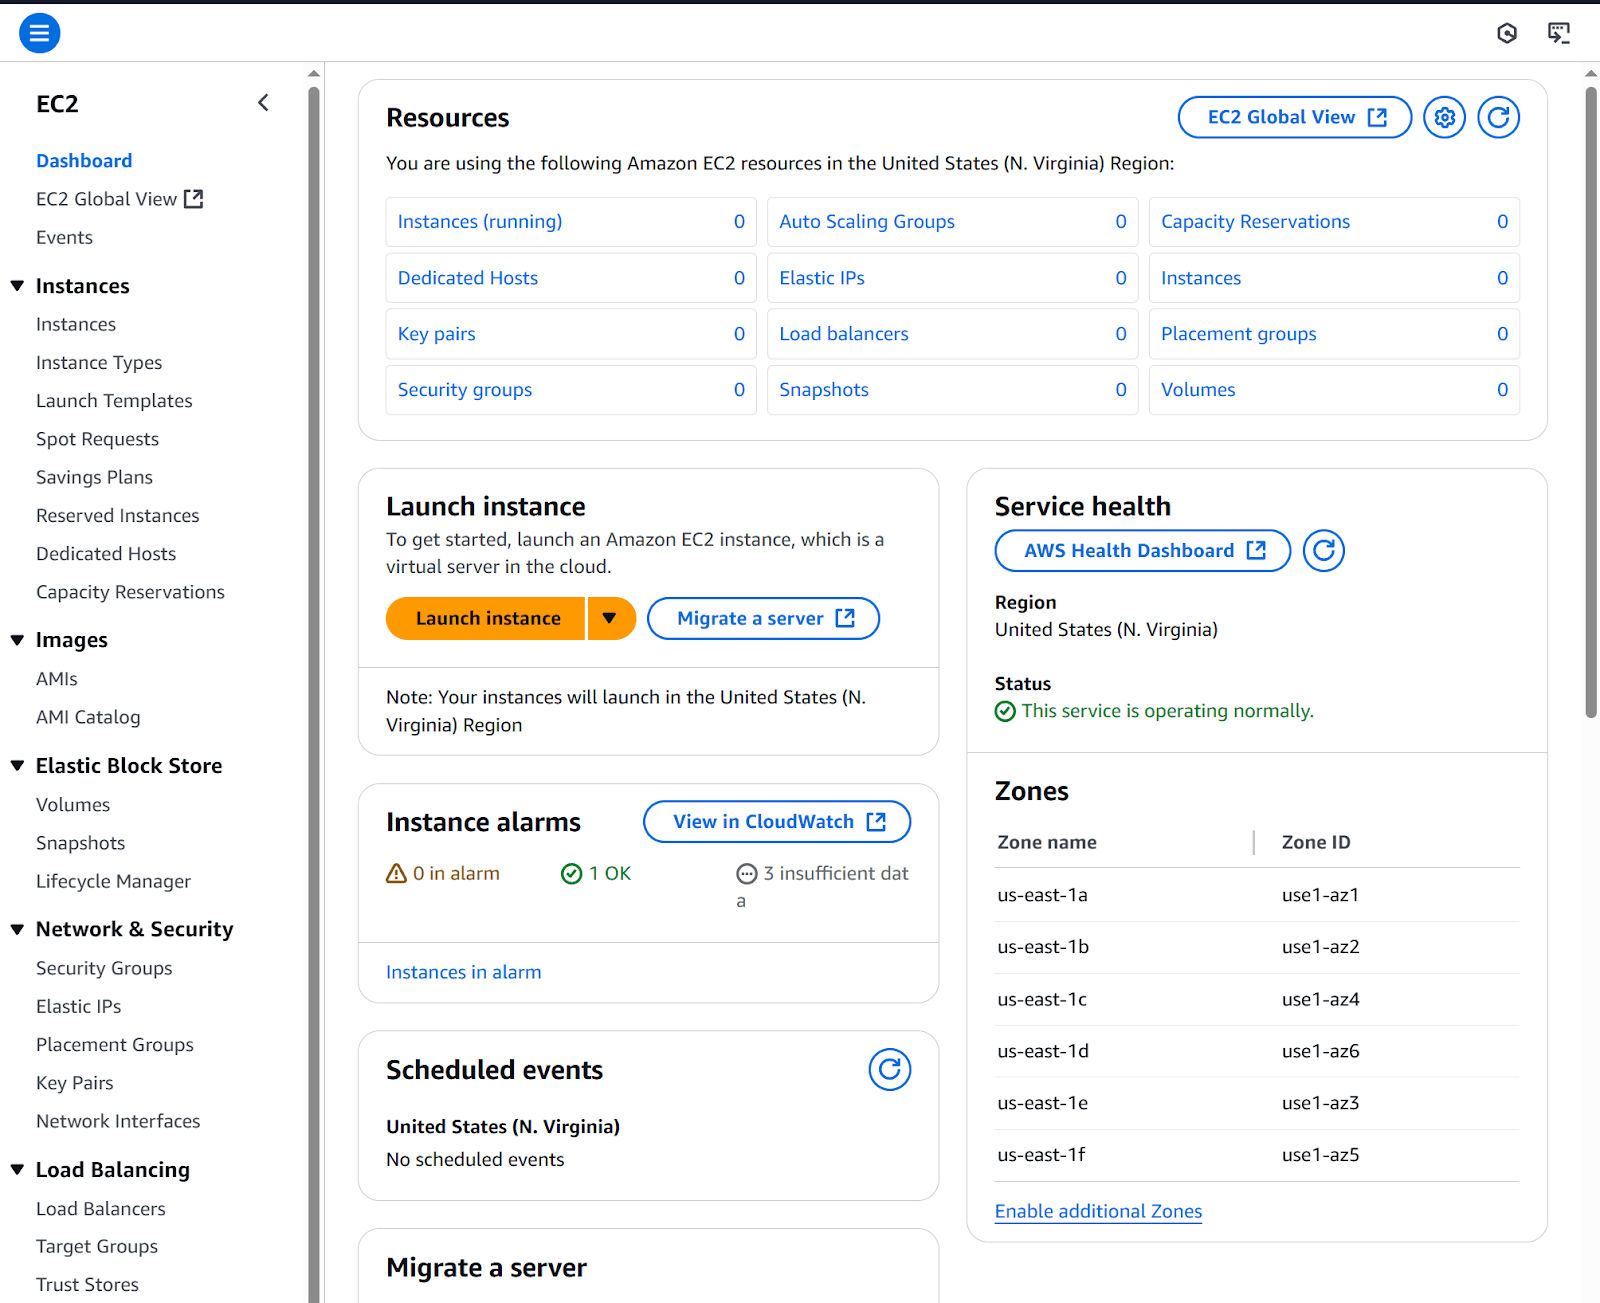
3. Click Launch instance.
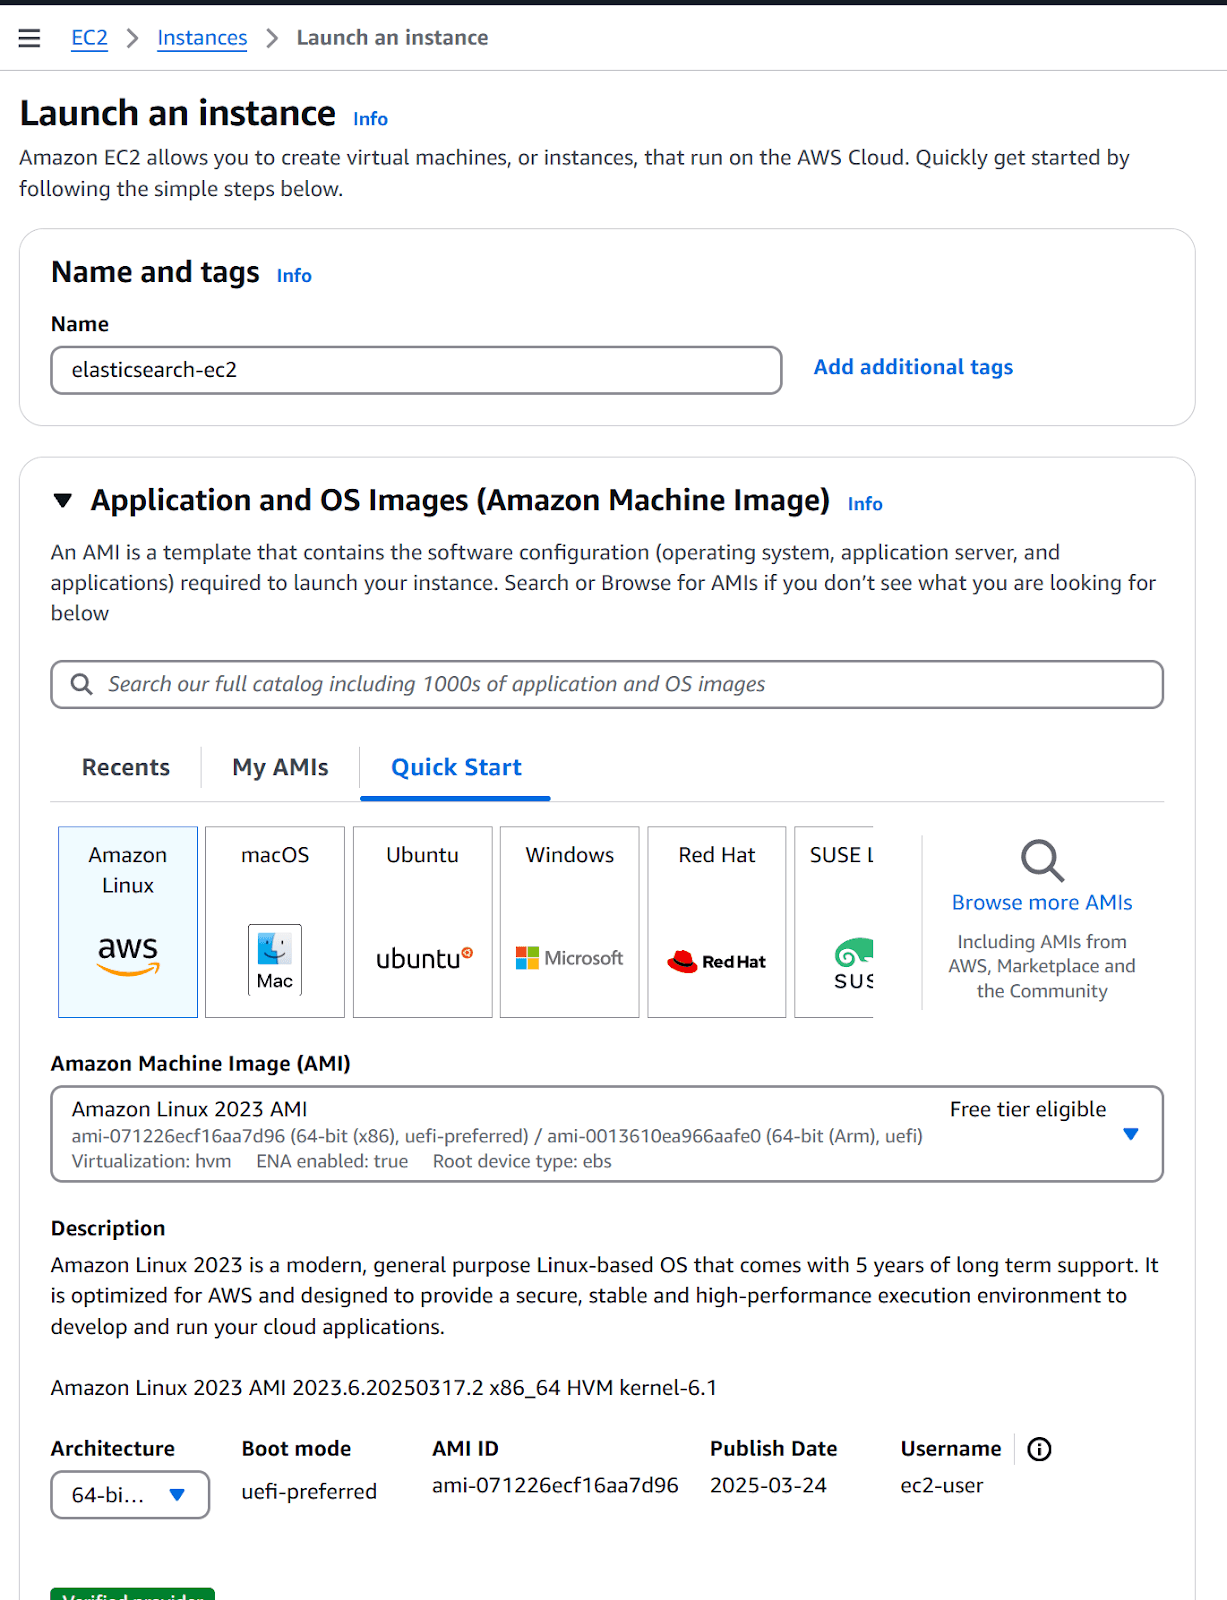
4. Configure a new instance
a. Name: elasticsearch-ec2.
b. Application and OS Images: Amazon Linux 2023 AMI.
c. Instance type: t2.large (according to requirements).
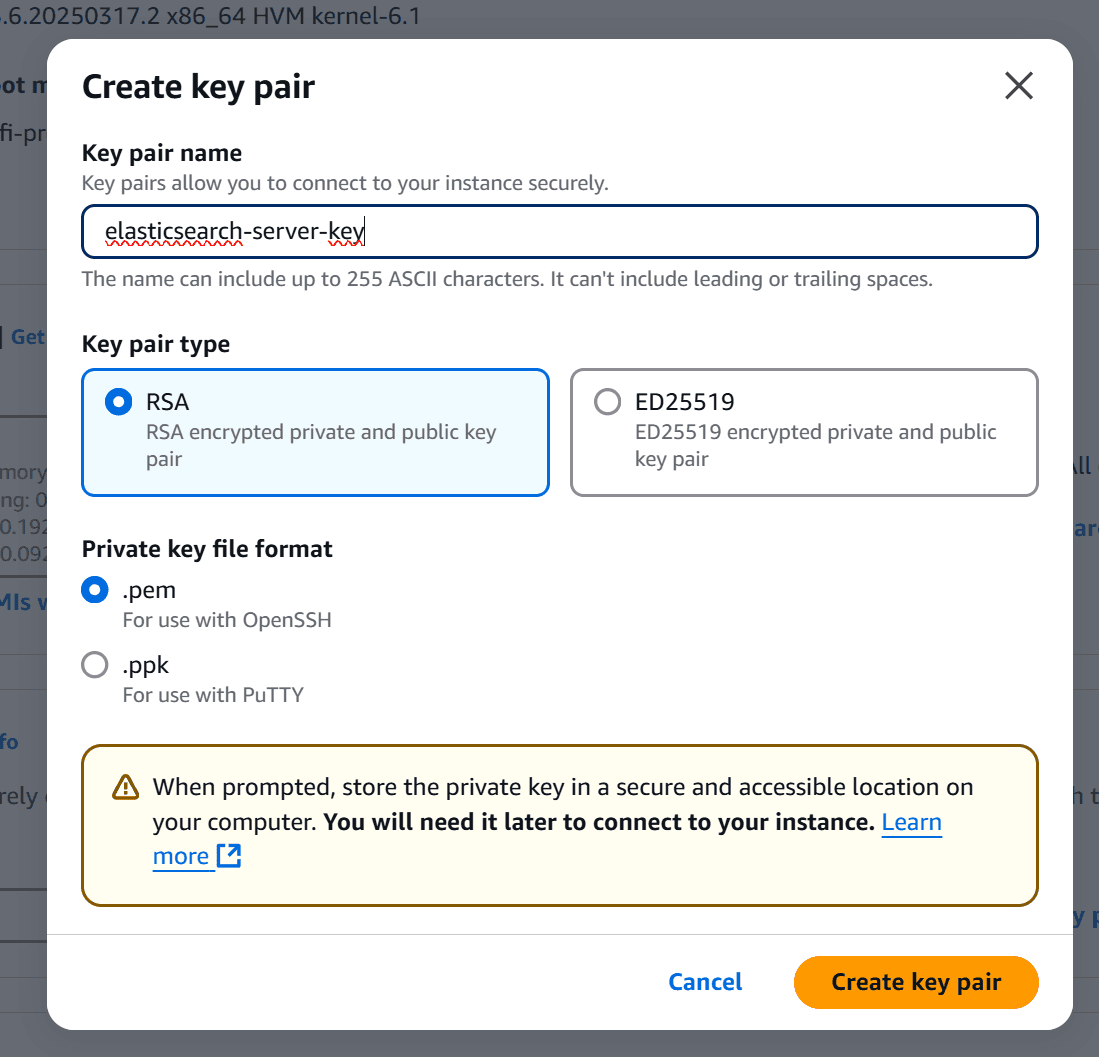
5. Click on Create a new key pair.
Key pair: Consists of a public key (stored on the EC2 instance) and a private key (your .pem file). They work together to securely log in without a password.
- Select RSA on Key pair type and .pem as Private key file format.
- Click Create key pair button. Save the downloaded file for later use.

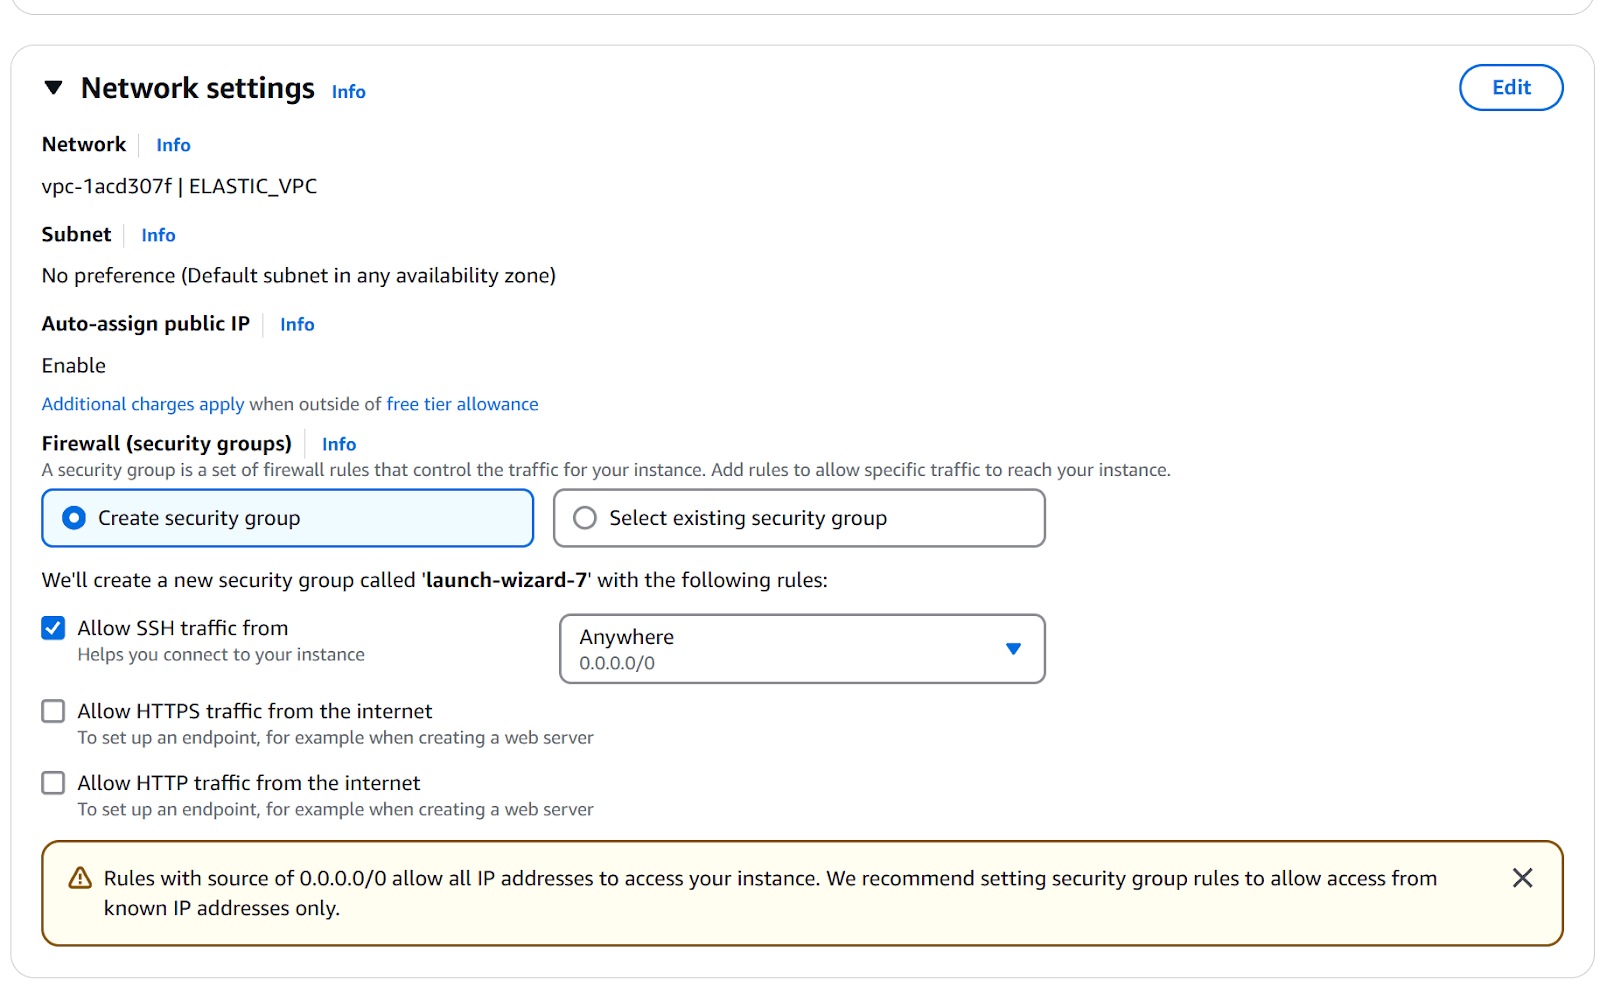
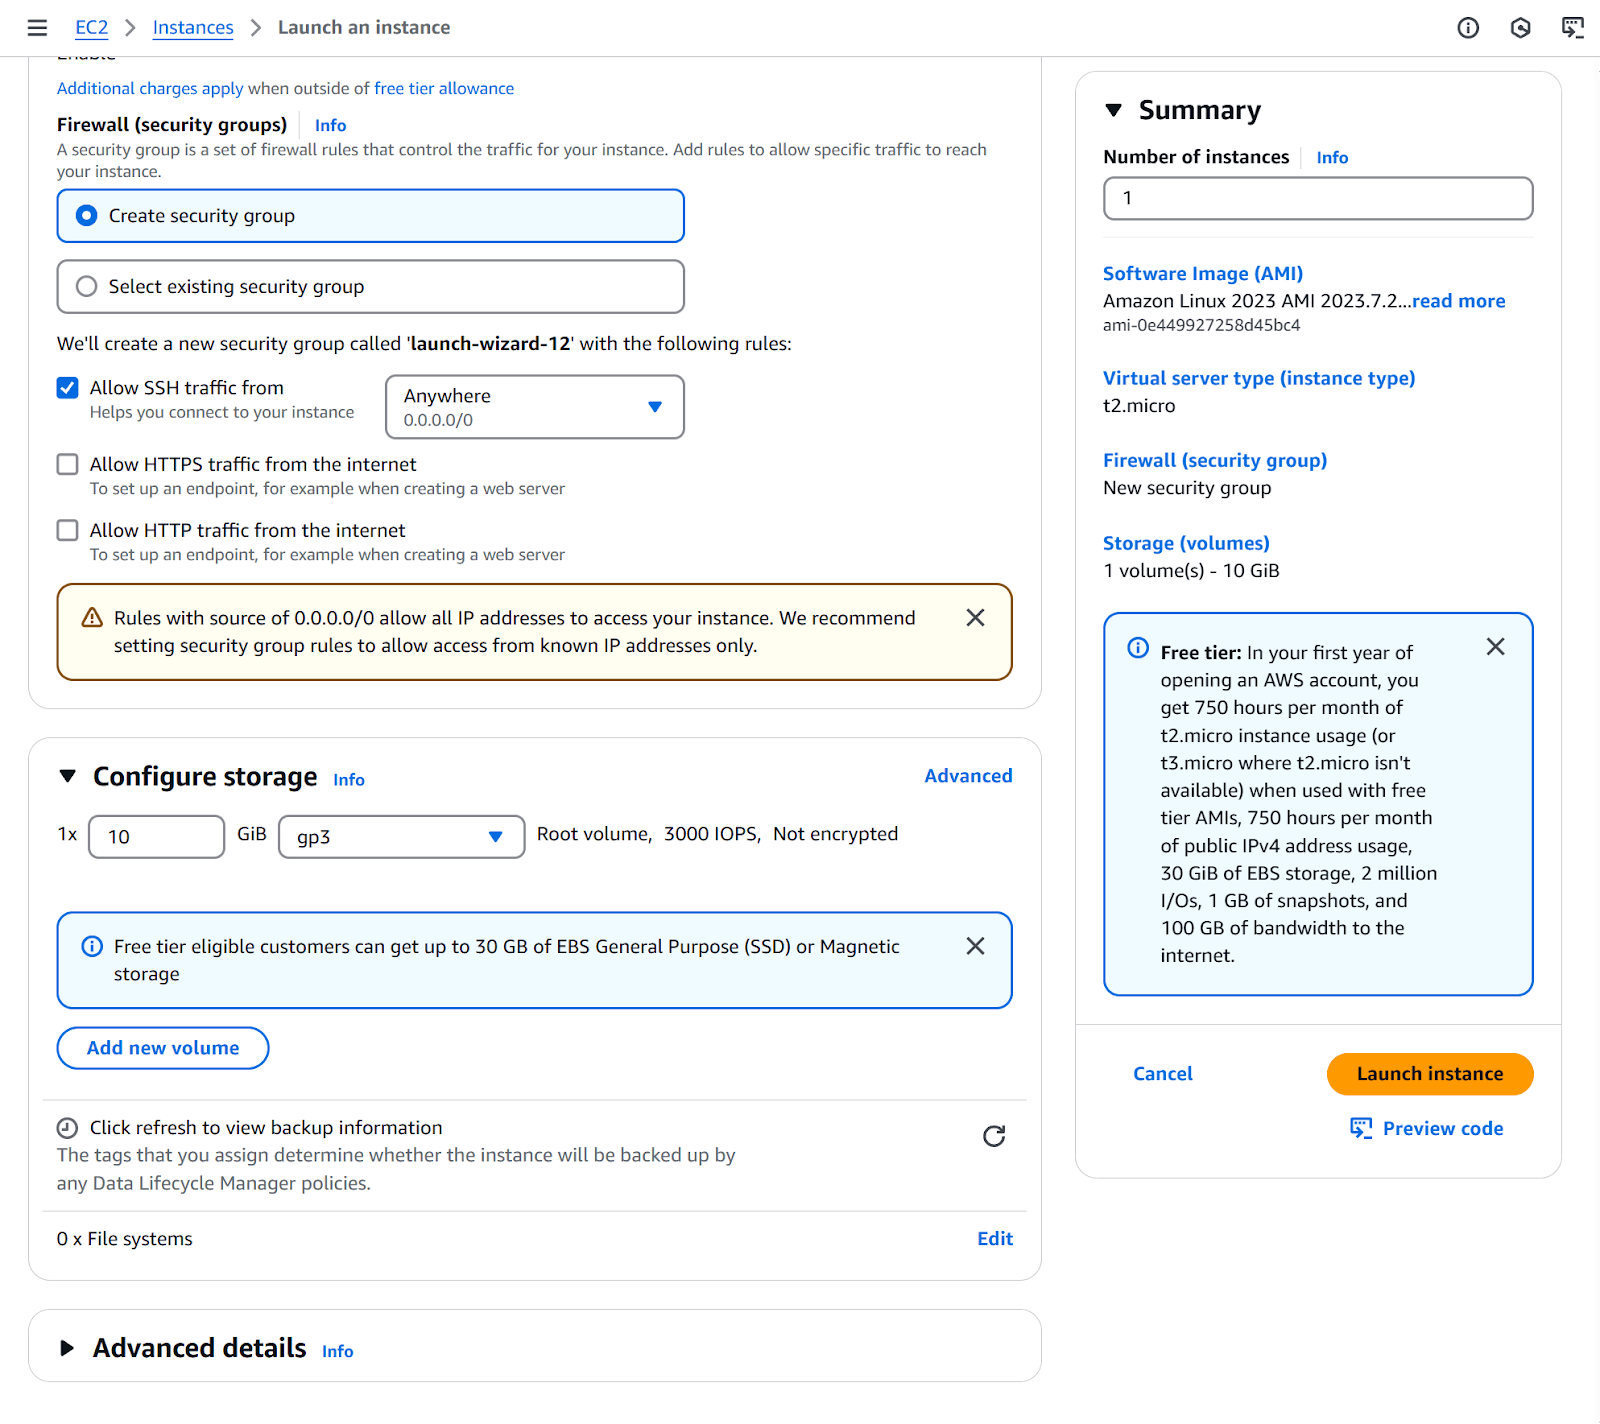
6. Continue configuring the instance.
a. Network settings: Default (refer to EC2 Get Started guide for details).
b. Configure Storage: 10GB gp3.
7. Click Launch instance.
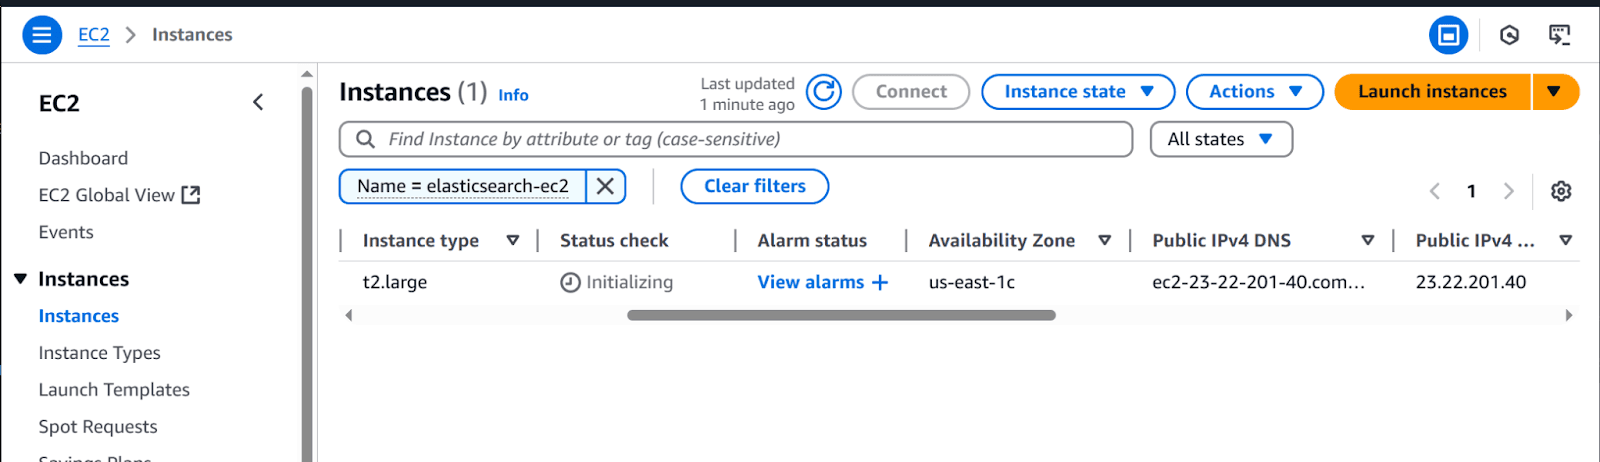
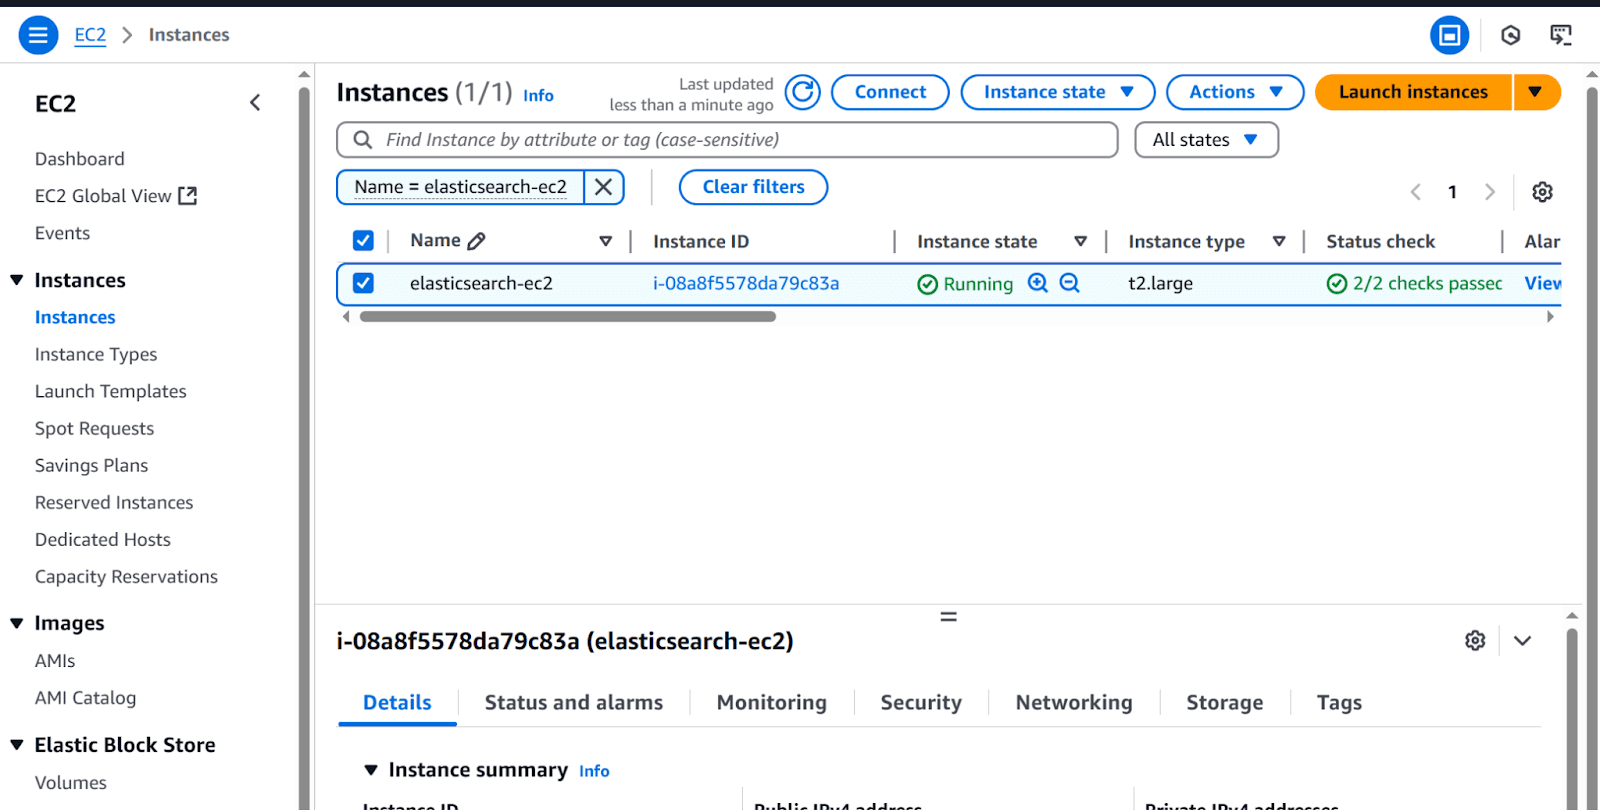
8. On the left menu, under the Instances section, click on Instances.
- Wait for the Instance state to be running.
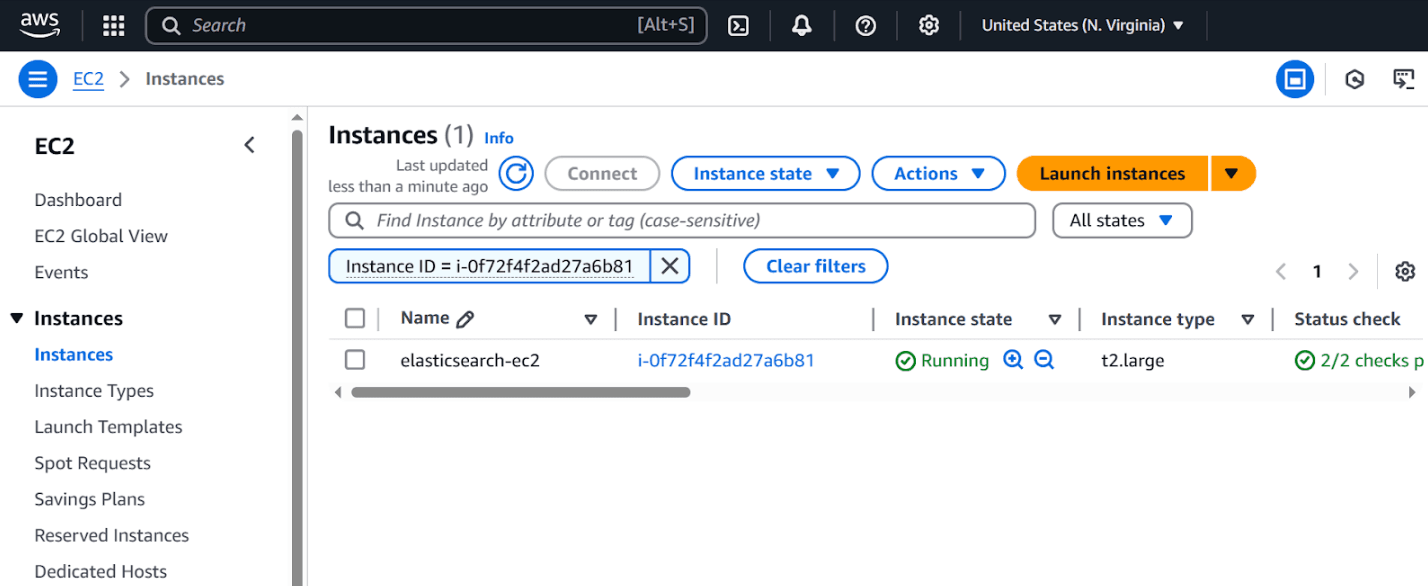
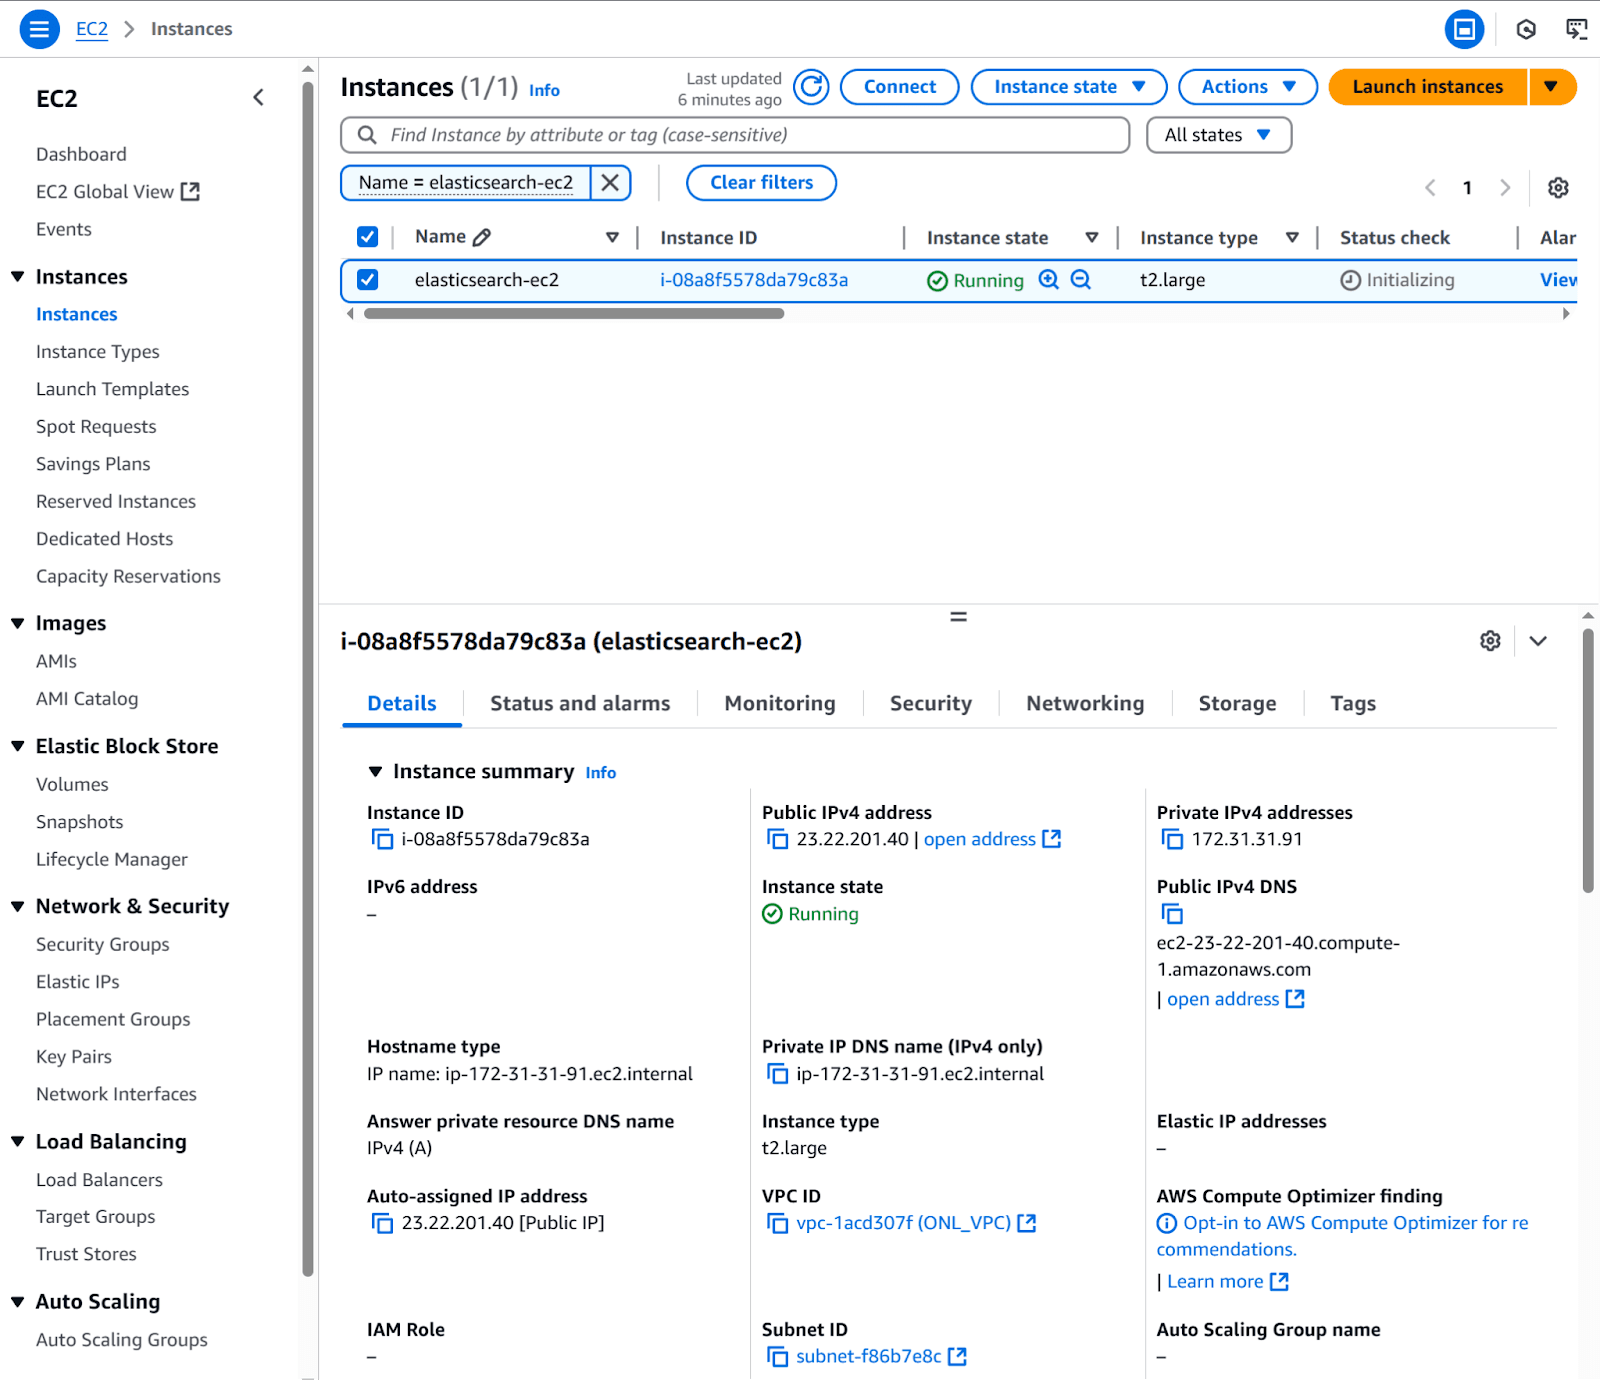
9. Copy the Instance public IPv4 address for later use.
Configure internet access to Kibana
By default, EC2 blocks incoming traffic for security. To open Kibana in your browser, we need to allow traffic on port 5601. We are going to add an inbound rule so we allow traffic from any host (0.0.0.0/0).
1. Go to EC2>Instances>Instances, then click on the recently created instance (elasticsearch-ec2).
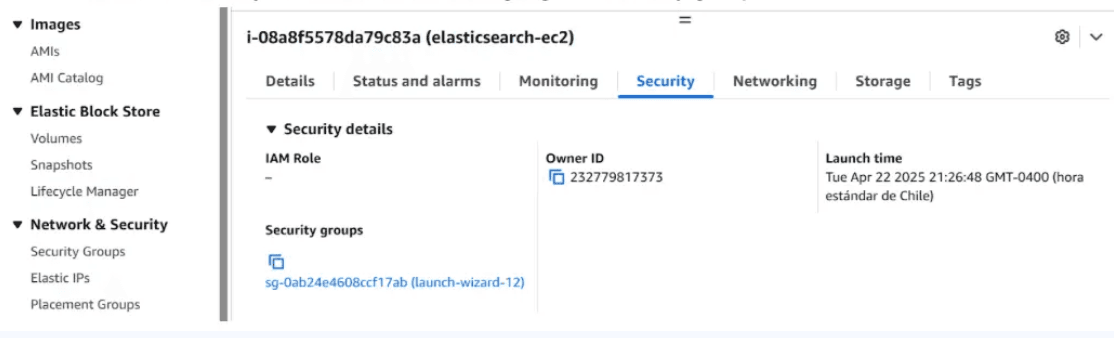
2. Click the Security tab and click on the highlighted security group.
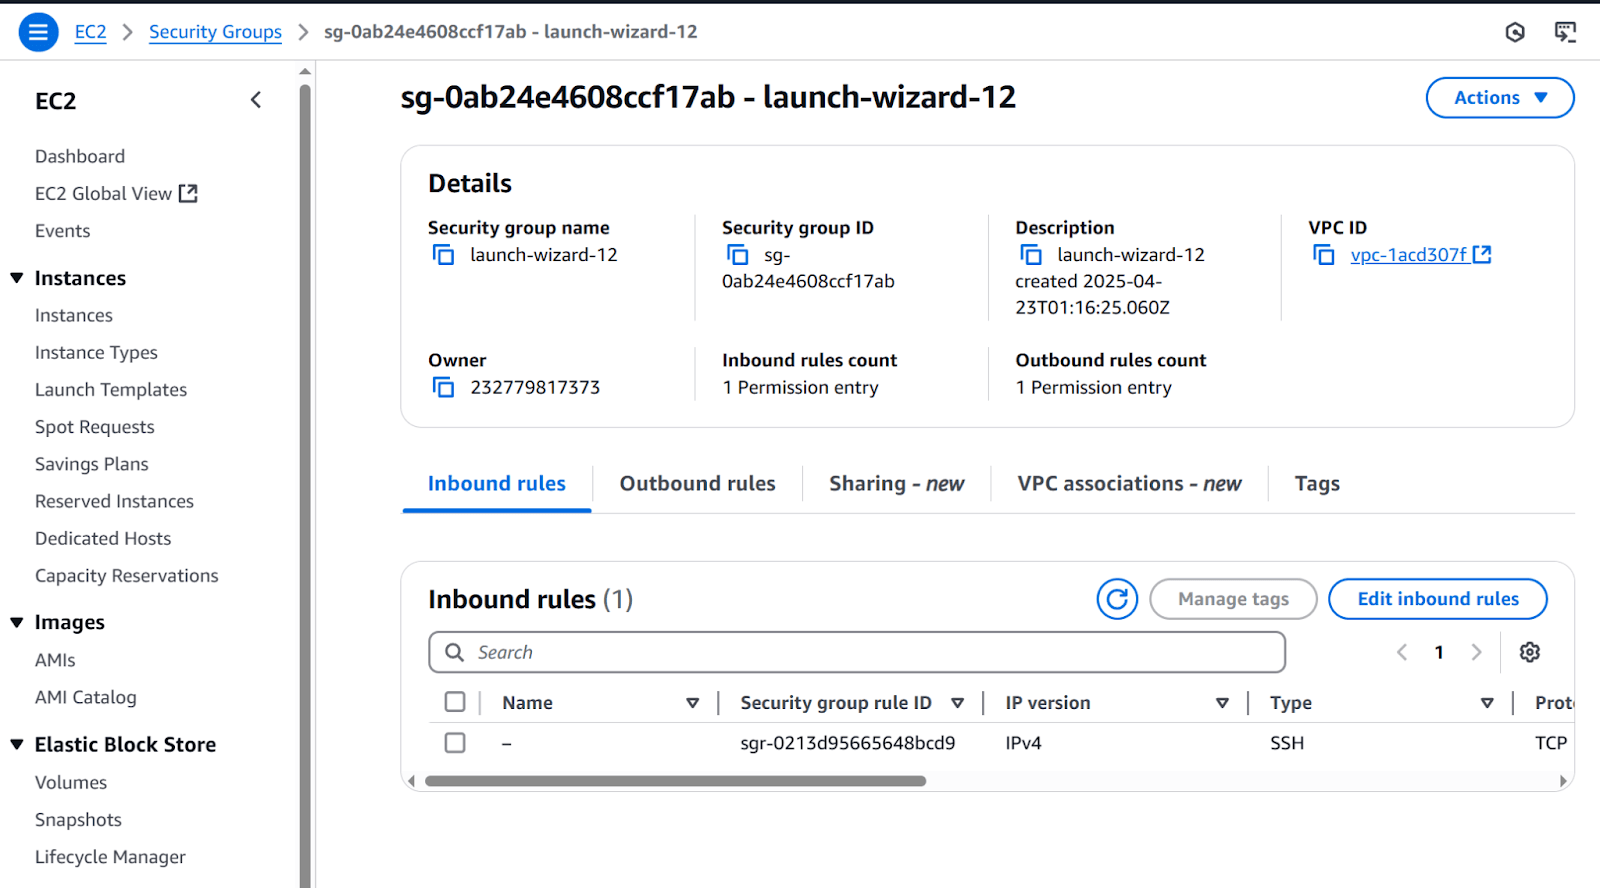
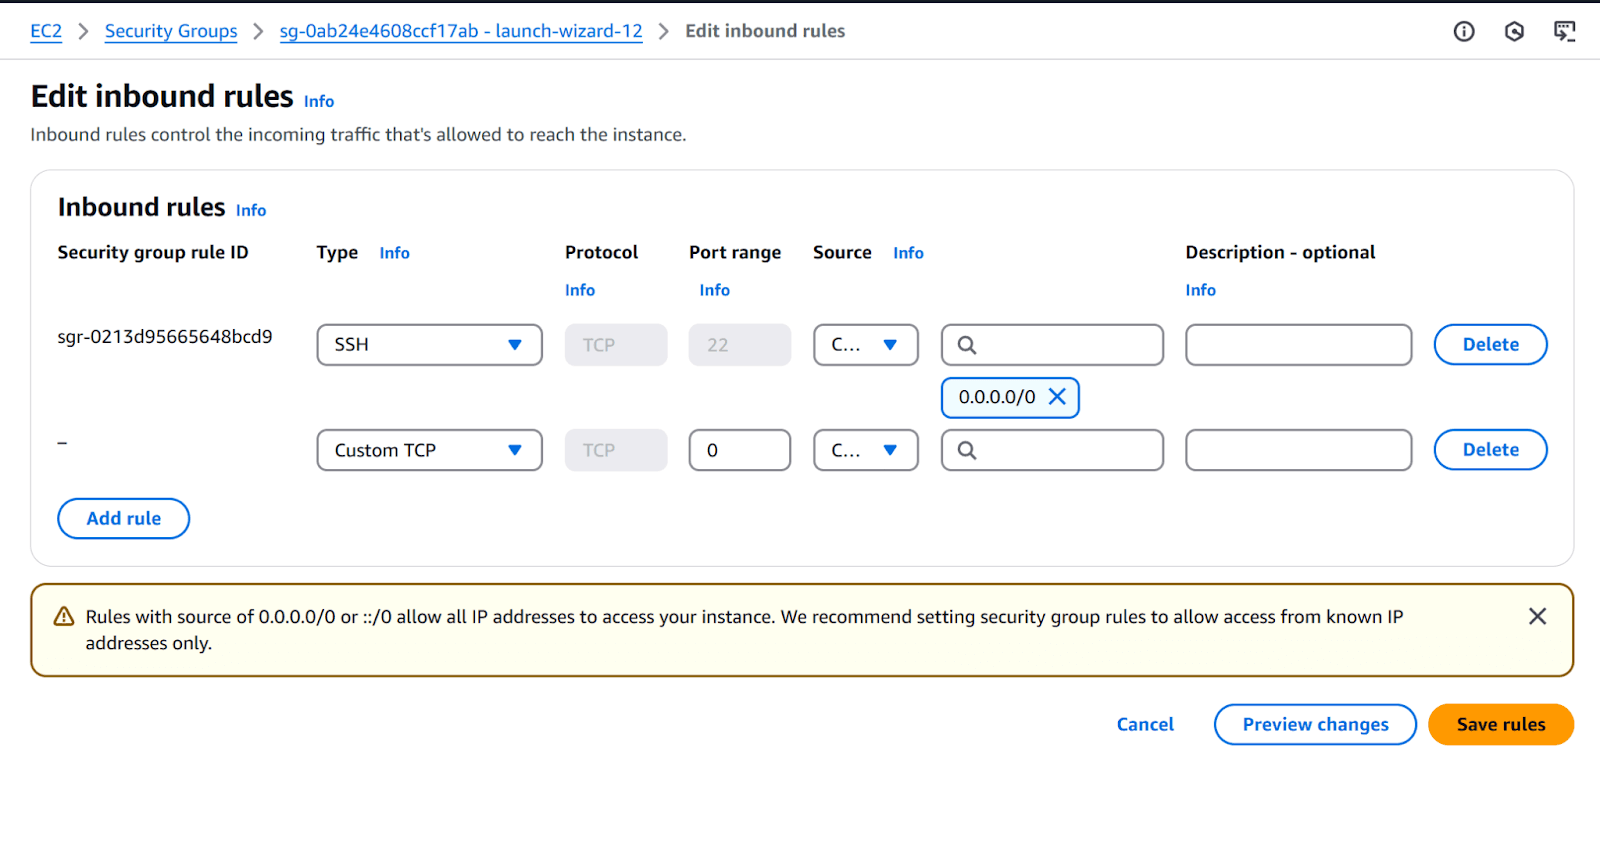
3. Click the Edit inbound rules button.
4. Click Add rule button. Complete row with:
a. Type: Custom TCP.
b. Port range: 5601.
c. Source:
i. Type: Custom.
ii. CIDR: 0.0.0.0/0.
To save the new rule, click the Save rules button.
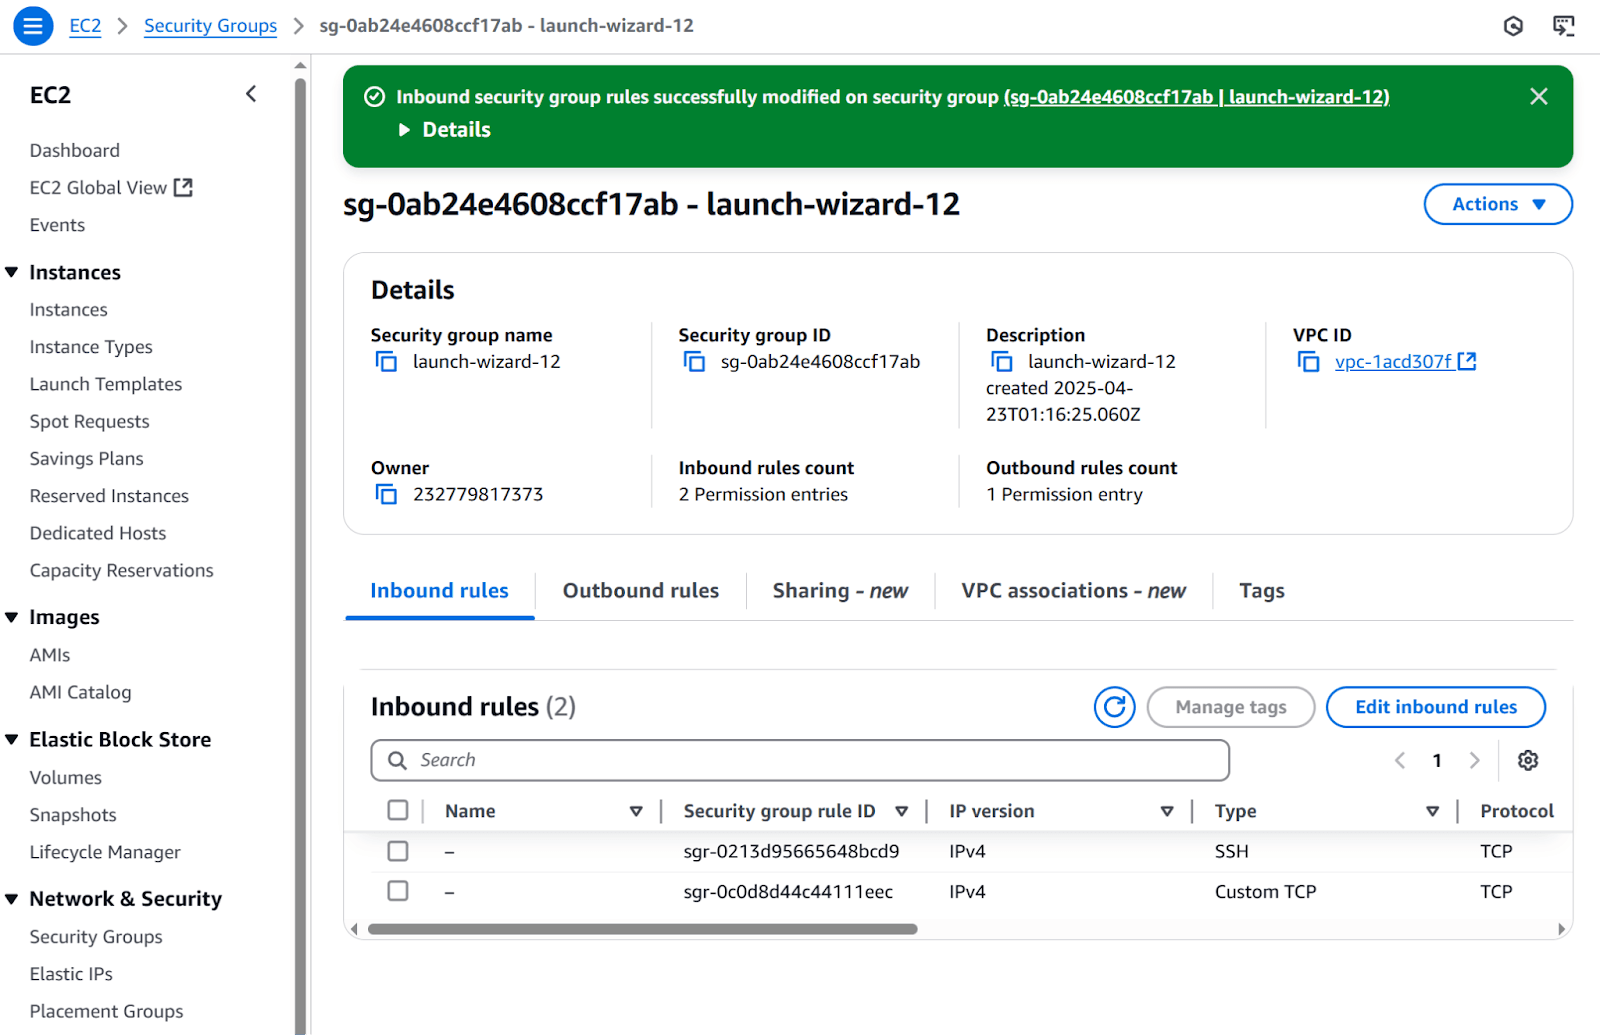
The inbound rule is now created:
Connect to the EC2 instance
1. Go to EC2>Instances>Instances, then click on the recently created instance and click the Connect button.
2. Use the default configuration and click the Connect button. After that, an instance terminal will open.
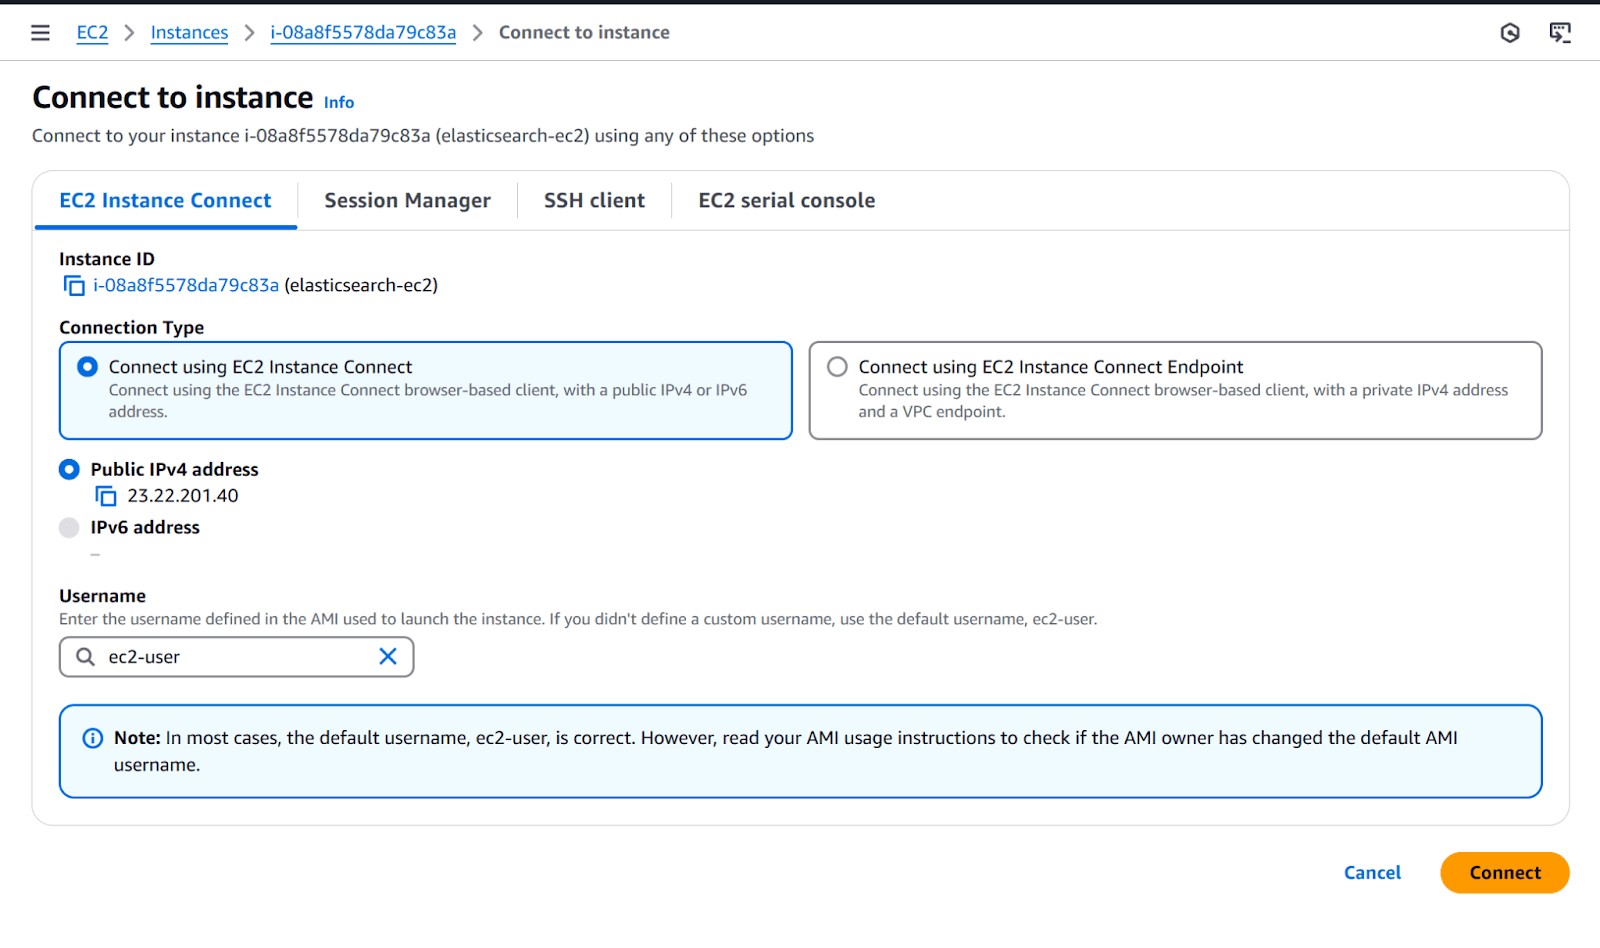
After connecting, you should see this terminal, where you will run the following commands:

Installing Elasticsearch
1. Download the latest Elasticsearch version and verify its integrity.
Verifying file integrity is a crucial security step. Always check the downloaded files to match the official checksums.
Note: If the shasum command is not found, install it:
2. Install perl-Digest.
3. Extract files.
4. Run Elasticsearch.
The first time you run Elasticsearch, it generates security certificates and credentials. Make sure to save these for future use.
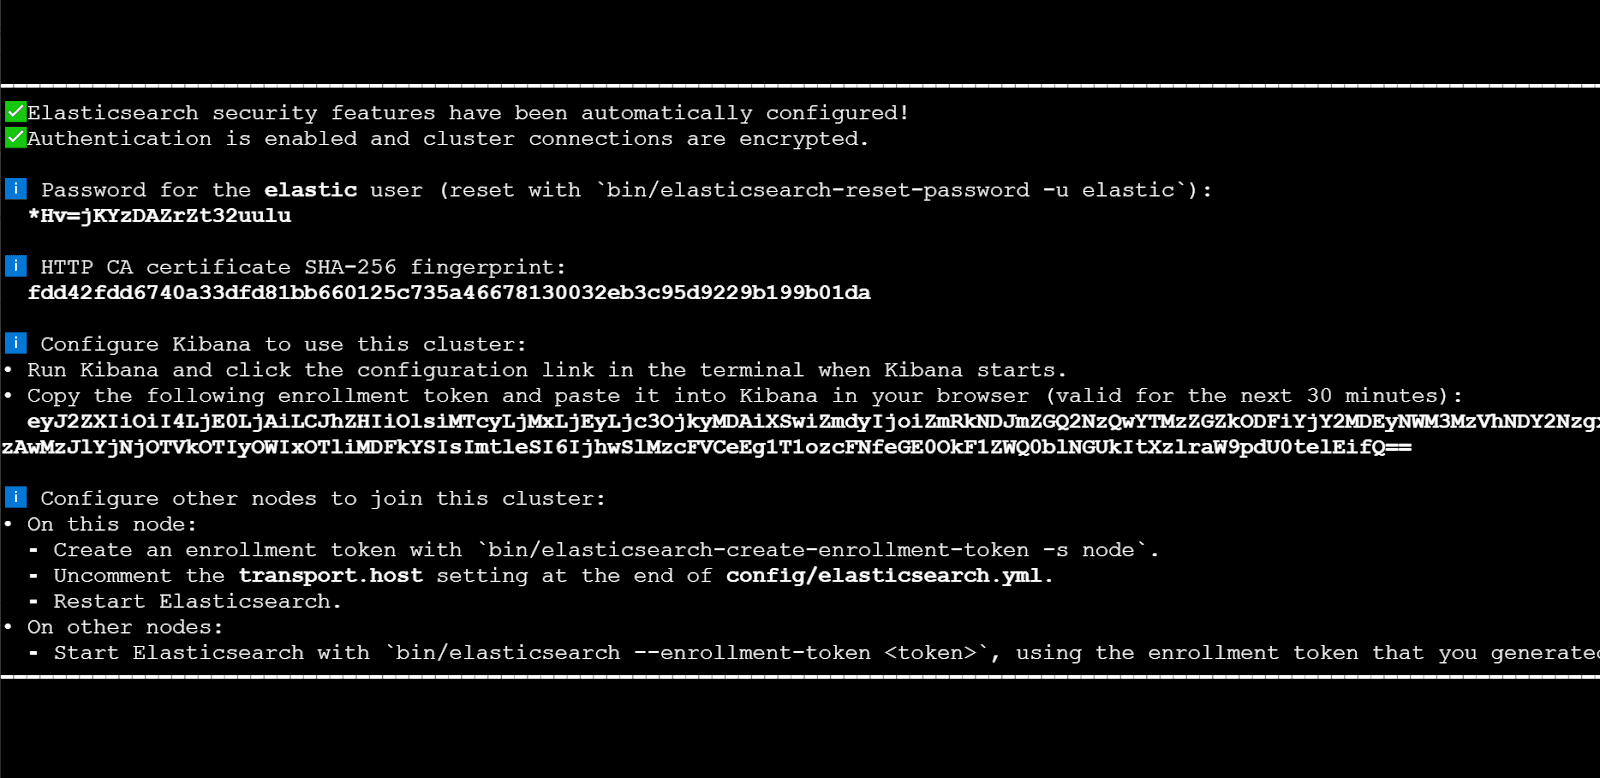
5. Copy the generated password, fingerprint, and enrollment token
6. In a separate terminal from where Elasticsearch is running, navigate to the directory where you installed Elasticsearch and run the elasticsearch-create-enrollment-token tool to generate an enrollment token for your new nodes.
If you want to add new nodes, follow this guide.
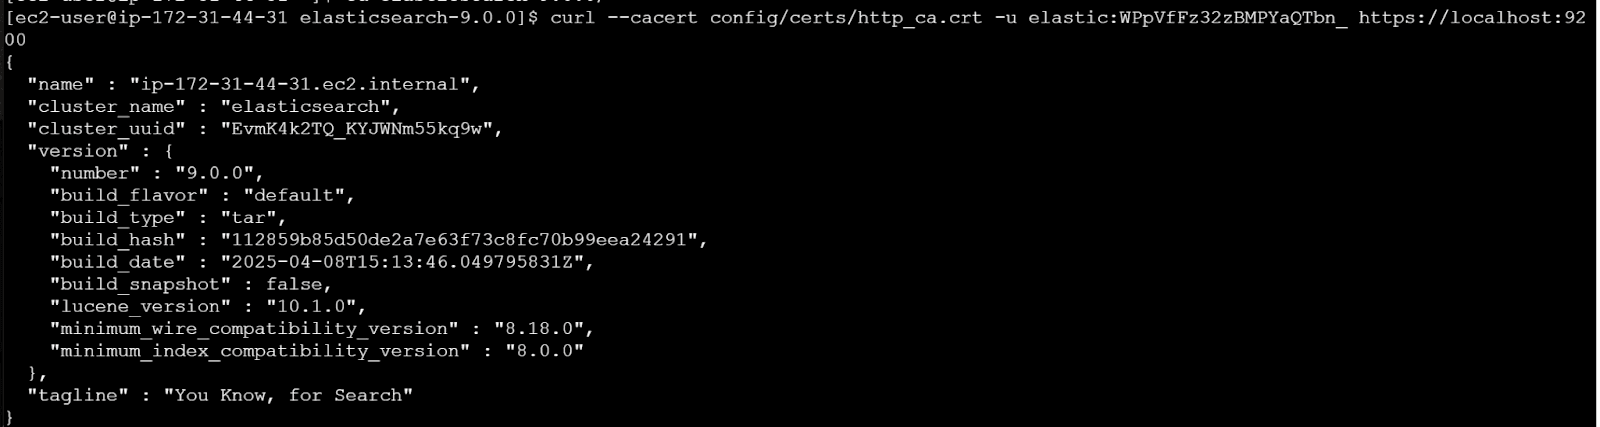
7. Let’s verify that Elasticsearch is running.
Replace $ELASTIC_PASSWORD with the generated password from step 3.
Installing Kibana
1. Download and extract Kibana:
For production environments, consider installing Kibana on a separate instance. Here we're installing it on the same instance for simplicity.
2. In order to access Kibana from internet, we’re going to configure a kibana.yaml file.
Look for the server.host setting and set it to:
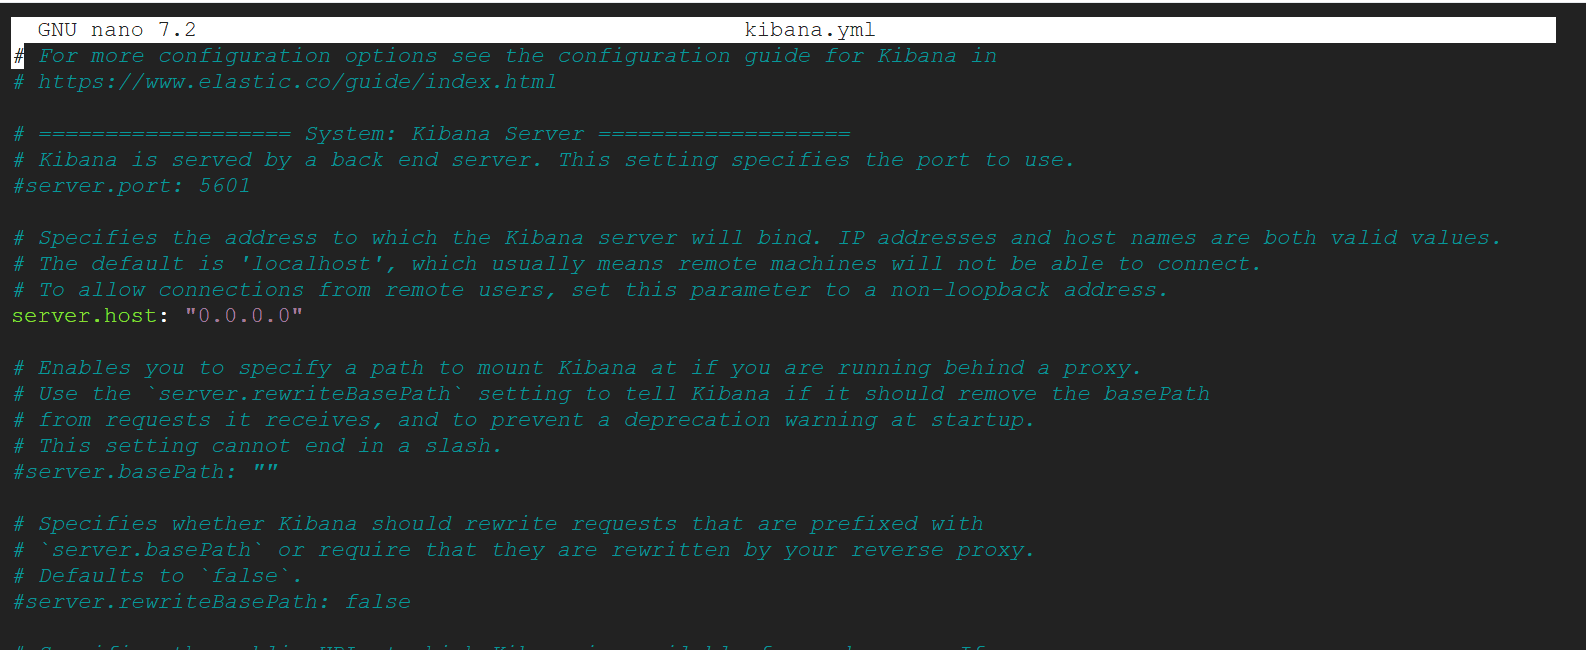
Exit and save.
3. Run Kibana.

4. Access from browser to Virtual Machine using public IP address with this format:. Public IP Address can be found on step 9 of Setting up an EC2 Instance.
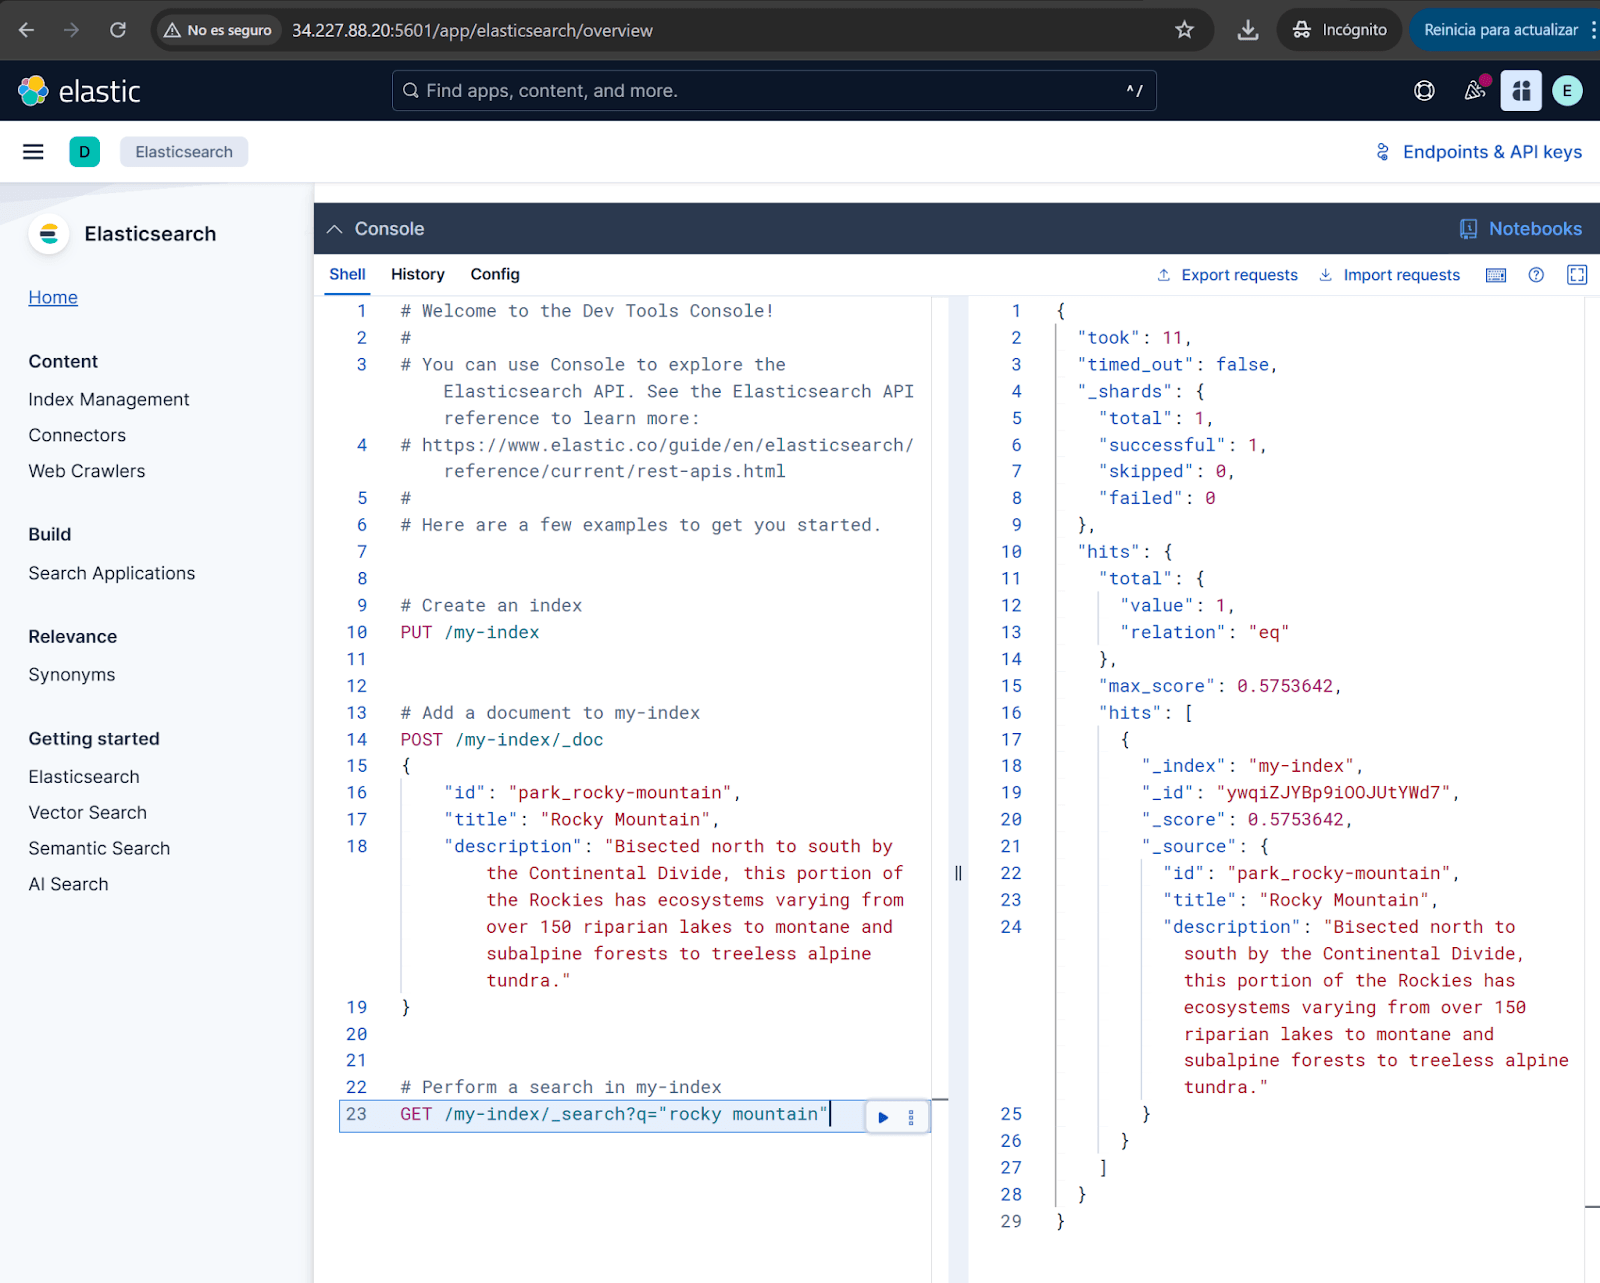
Now, access the Virtual machine Public IP Address and add the code shown above.
5. Run Kibana.
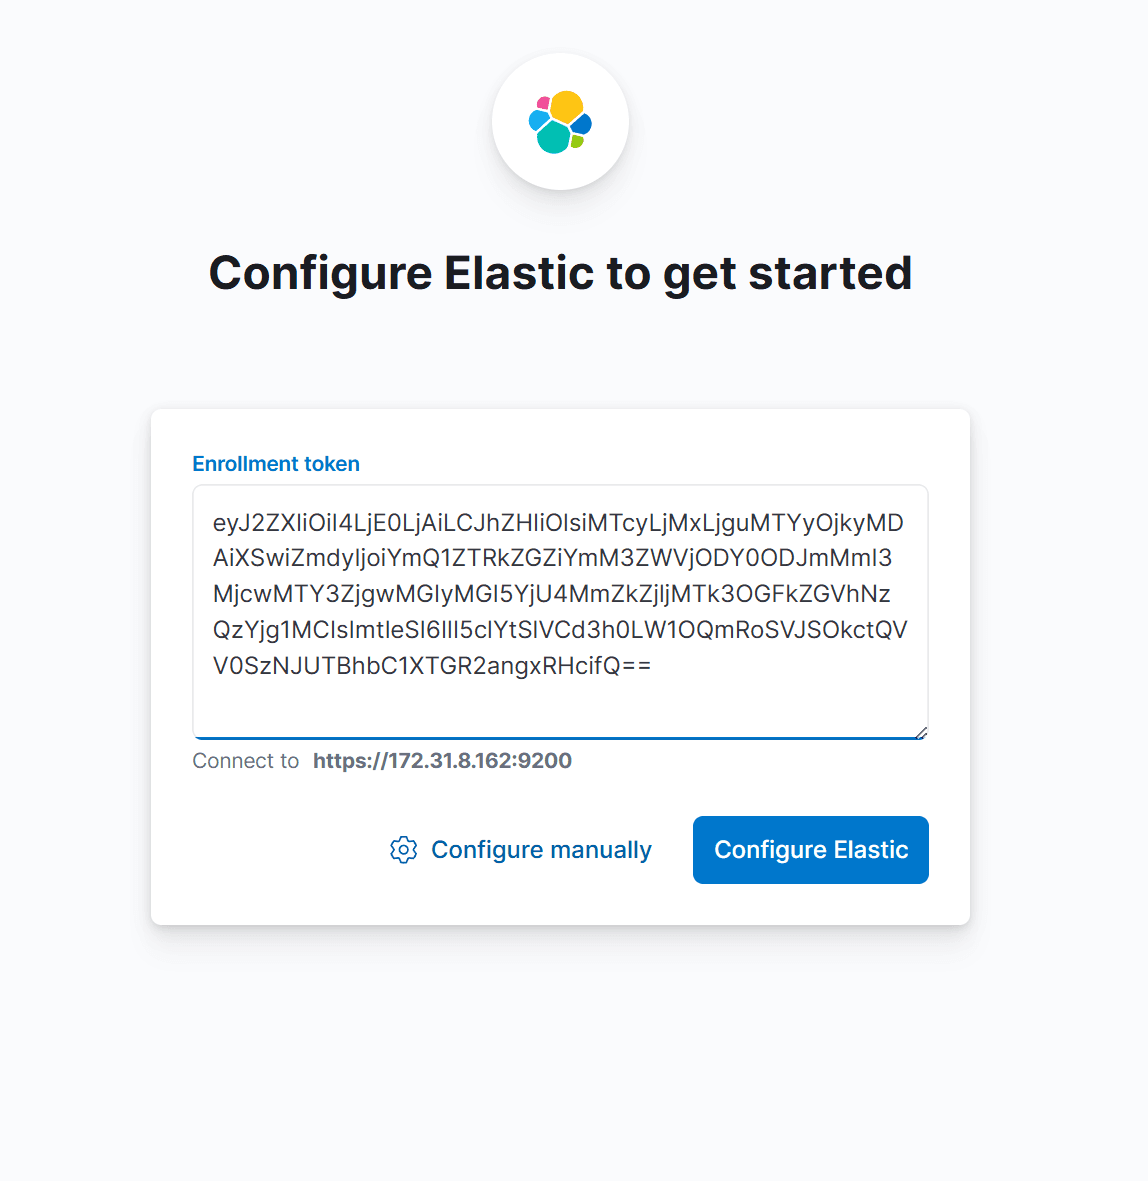
6. Follow the URL provided during the first installation.

7. Paste the Kibana enrollment token from step 3 when prompted.
8. Enter your Elasticsearch username and password.
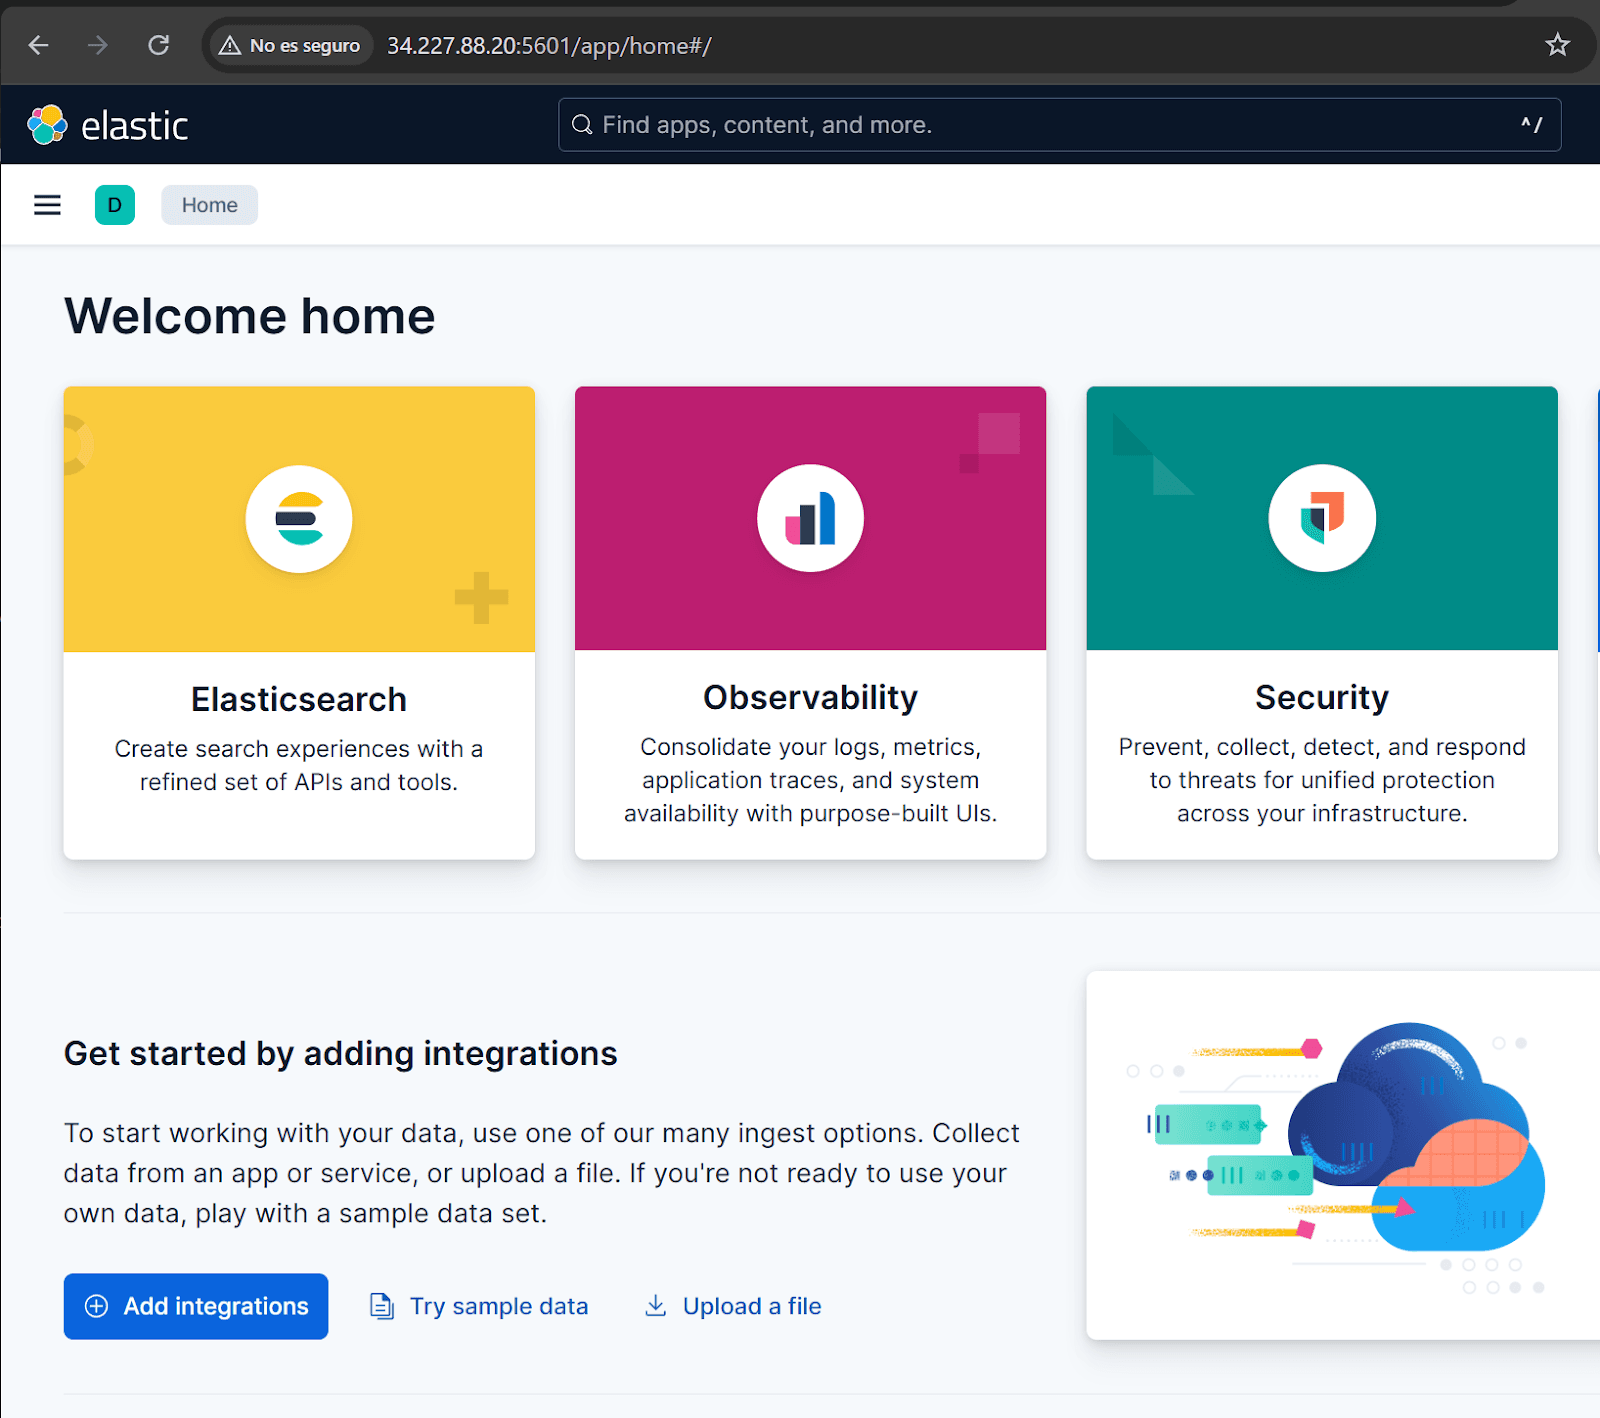
Kibana installation is complete!
After completing these steps, you'll have a working Elasticsearch deployment with Kibana running on AWS EC2. This setup gives you full control over your environment while leveraging AWS infrastructure.
Conclusion
In this article, we deployed Elasticsearch and Kibana on an AWS EC2 instance. With EC2, you manage the instance, storage, networking, and security, giving you full control over your environment. This approach requires more effort than using Elastic Cloud on AWS Marketplace, but it’s simpler than managing a full Kubernetes deployment with ECK. It’s useful if you want full flexibility, or if you want to understand how Elasticsearch works by managing all the infrastructure yourself.
Next steps
Consider implementing the following for production environments:
- Configure systemd services for automatic startup.
- Set up proper security groups and network ACLs.
- Implement a multi-node cluster for high availability.
Configure snapshot repositories for backups.
Related Content

December 19, 2025
Elasticsearch Serverless pricing demystified: VCUs and ECUs explained
Learn how Elasticsearch Serverless pricing works for Elastic’s fully-managed deployment offering. We explain VCUs (Search, Ingest, ML) and ECUs, detailing how consumption is based on actual allocated resources, workload complexity, and Search Power.
December 8, 2025
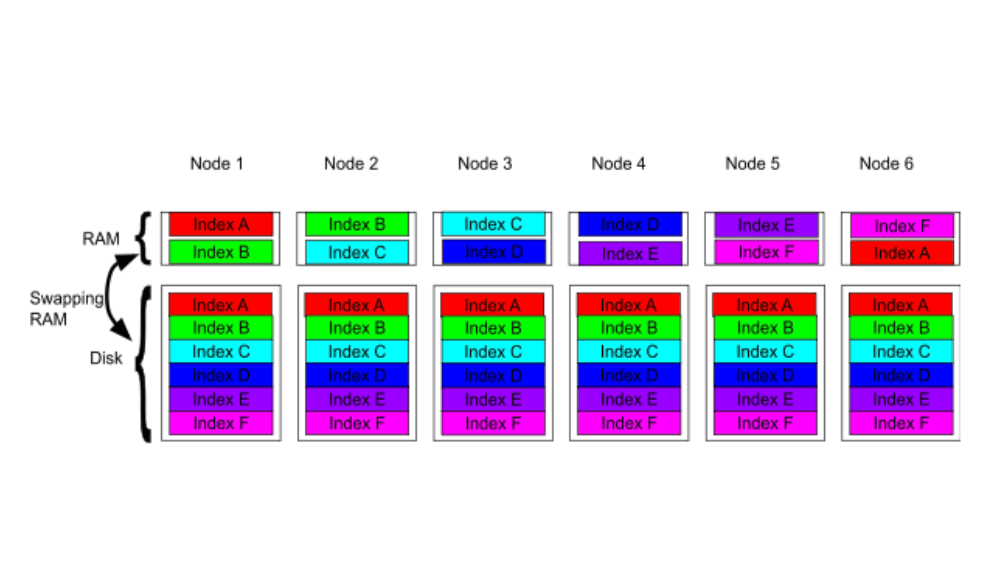
How excessive replica counts can degrade performance, and what to do about it
Learn about the impact of high replica counts in Elasticsearch, and how to ensure cluster stability by right-sizing your replicas.
November 14, 2025
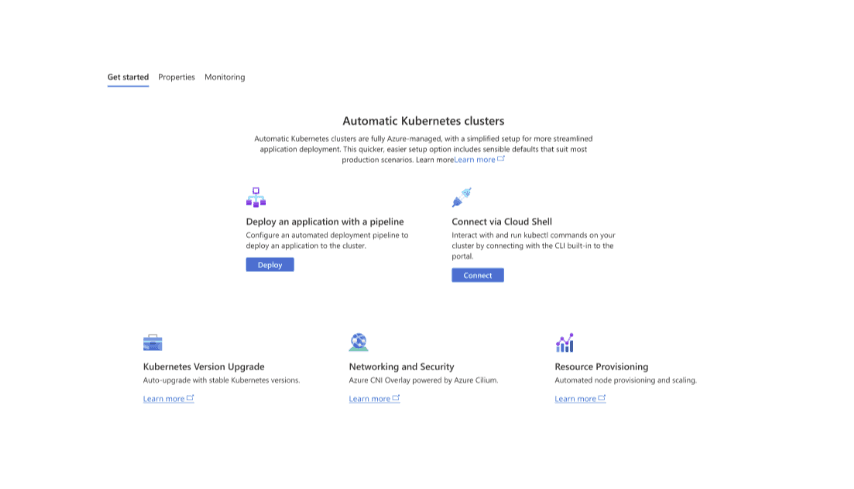
How to deploy Elasticsearch on Azure AKS Automatic
Learn how to deploy Elasticsearch with Kibana on Azure using AKS Automatic and ECK for a partially managed Elasticsearch setup configuration.

November 11, 2025
Configuring recursive chunking for structured documents in Elasticsearch
Learn how to configure recursive chunking in Elasticsearch with chunk size, separator groups, and custom separator lists for optimal structured document indexing.
November 10, 2025
How to deploy Elasticsearch and Kibana on AWS EKS auto mode with ECK
Learn how to deploy Elasticsearch and Kibana on Kubernetes using AWS EKS Auto Mode and ECK in this easy-to-follow guide.