New to Elasticsearch? Join our getting started with Elasticsearch webinar. You can also start a free cloud trial or try Elastic on your machine now.
A search engine’s job is to return relevant results. However, there are business needs that go beyond that,–like highlighting sales, prioritizing seasonal products, or showcasing sponsored items—and developers cannot always do this in the search query.
In addition, these use cases are usually time-sensitive, and going through the typical development stages (creating a code branch and then waiting for a new release) is a time-consuming process.
So, what if we could do this whole process with just an API call, or better yet, with just a few clicks in Kibana?
Query Rules UI
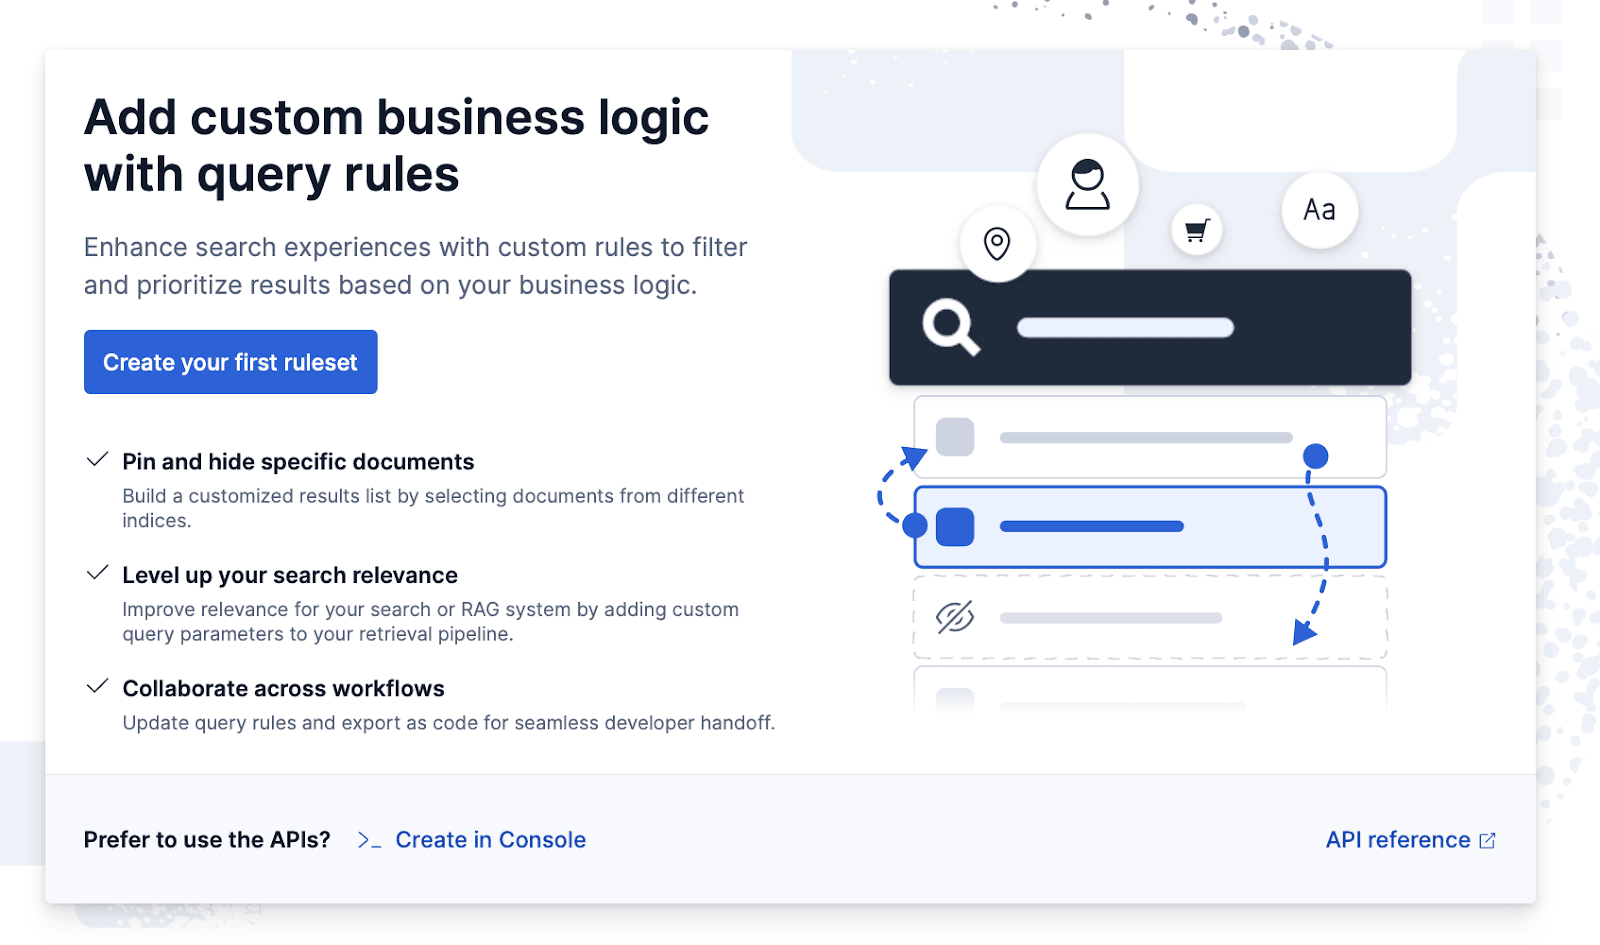
Elasticsearch 8.10 introduced Query Rules and Rule Retriever. These are tools designed to inject pinned results into the queries without impacting the organic results’ ranking based on rules. They only add business logic on top of the results in a declarative and simple way.
Some common use cases for Query Rules are:
- Highlighting promoted listings or sales: Showing on-sale or sponsored items on top.
- Excluding by context or geolocation: Hiding certain items when local regulations don’t allow you to show them.
- Prioritizing key results: Making sure popular or fixed searches are always on top, regardless of the organic ranking.
To access the interface and interact with these tools, you need to click on the Kibana side menu and go to Query Rules, under Relevance:
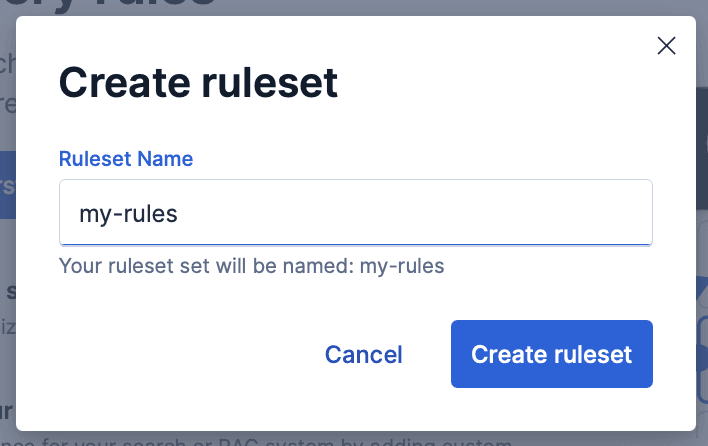
Once the query rules menu pops up, click on Create your first ruleset:
Next, you need to name your ruleset.
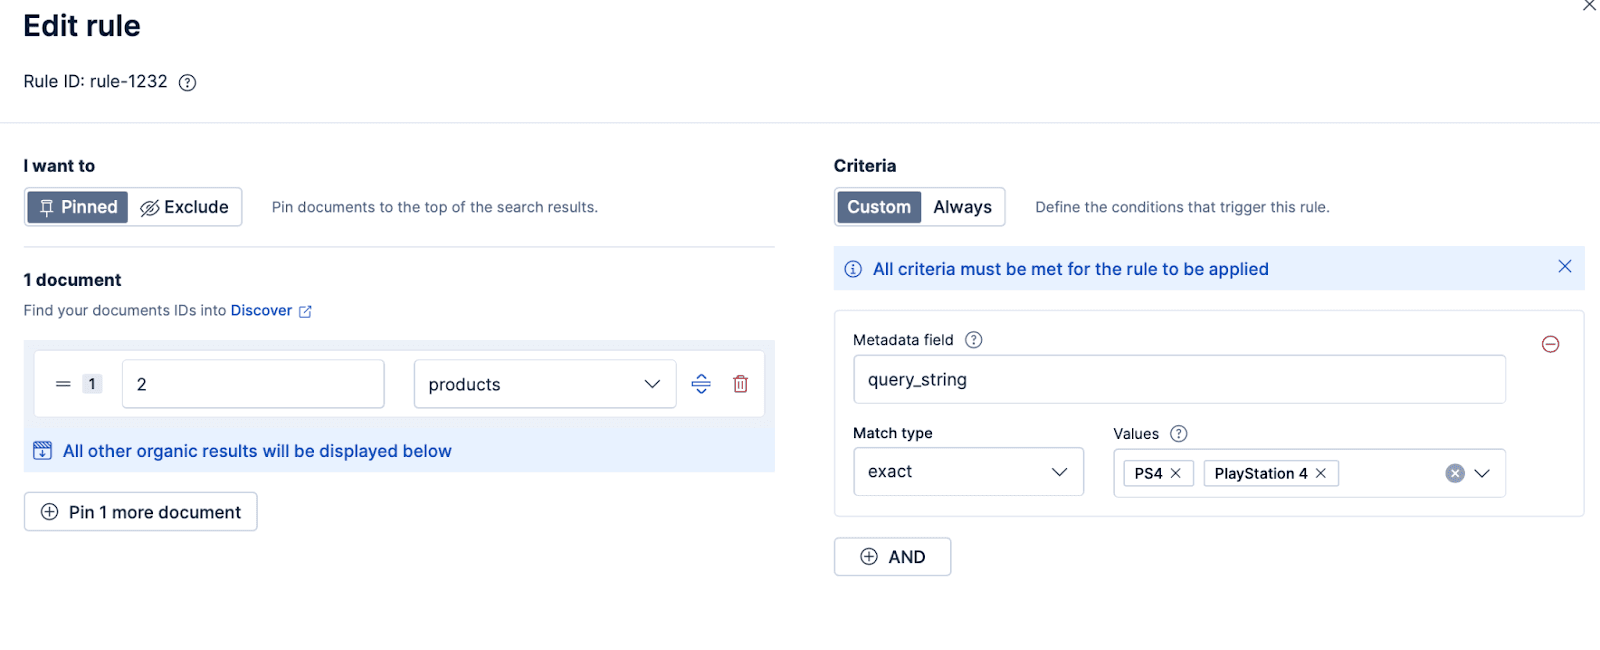
The form to define each rule has three key components:
- Criteria: The conditions that must be fulfilled for the rule to apply. For example, “when the query_string field contains the value Christmas” or “when the country field is CO.”
- Action: This is what you want to happen when the conditions are met. It can be pinned (fixing a document to the top results) or excluded (hiding a document).
- Metadata: These are the fields that go with the query when it runs. They can include the user’s information (like location or language) as well as search data (query_string). These are the values used by the criteria to decide whether or not to apply a rule.
Example: popular items
Let’s imagine that we have an e-commerce site with different items. When checking out the metrics, we notice that one of the most sold items in the console category is the “DualShock 4 Wireless Controller,” especially when users search for the keywords “PS4” or “PlayStation 4”. So, we decide to put this product on top of the results, whenever a user searches for those keywords.
First, let’s index the documents for each item using a Bulk API request:
If we don’t intervene in the query, the item usually appears in the fourth place. Here’s the query:
And here are the results
Let’s create a query rule to change this. First, let’s add it to the ruleset like this:
Or equivalent API request:
To use the ruleset in our query, we must use a query rule type. This kind of query is made up of two main parts:
- match_criteria: These are the metadata used to compare against the user’s query. In this example, the ruleset is activated when the query_string field has the value “PlayStation 4.”
- query: the actual query that will be used to search and get the organic results.
This way, you first run the organic query, and then Elasticsearch applies the rules from your rule set:
Example: user-based metadata
Another interesting application of Query Rules is to use metadata to show specific documents based on contextual information from the user or the webpage.
For example, let’s pretend that we want to highlight items or customized sales based on a user’s loyalty level, represented as a numeric value.
We can do this by ingesting this metadata directly into the query so that the rules activate when said value meets certain criteria.
First, we’ll index a document that only users with a high loyalty level can see:
Now, let’s create a new rule inside the same ruleset so that when the loyalty_level is equal to or higher than 80, the item will appear on top of the results.
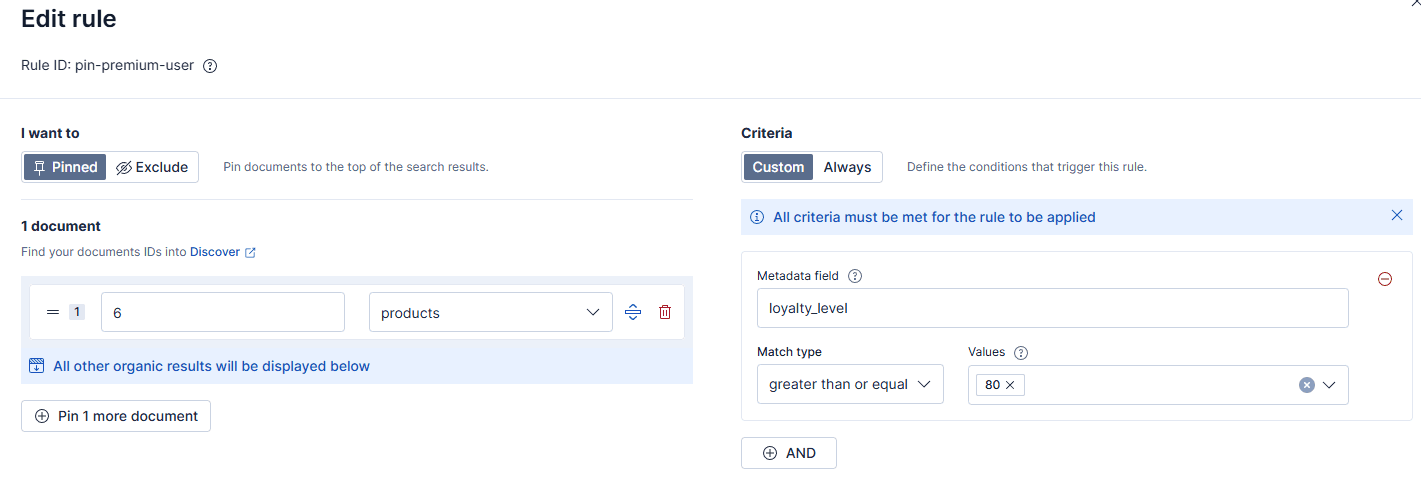
Save the rule and the ruleset.
Here is the equivalent REST request:
Now, when running a query, we need to include the new parameter loyalty_level in the metadata. If the condition in the rule is met, the new document will appear on top of the results.
For example, when sending a query where the loyalty_level is 80:
We’ll see the loyalty document on top of the results:
In the case below, since the loyalty level is 70, the rule is not met, and the item should not appear on top:
Here are the results:
Example: immediate exclusion
Let’s pretend that our DualShock 4 Wireless Controller (ID 2) is temporarily unavailable and cannot be sold. So, instead of manually deleting the document or waiting for some data process to kick in, the business team decides to remove it from the search results in the meantime.
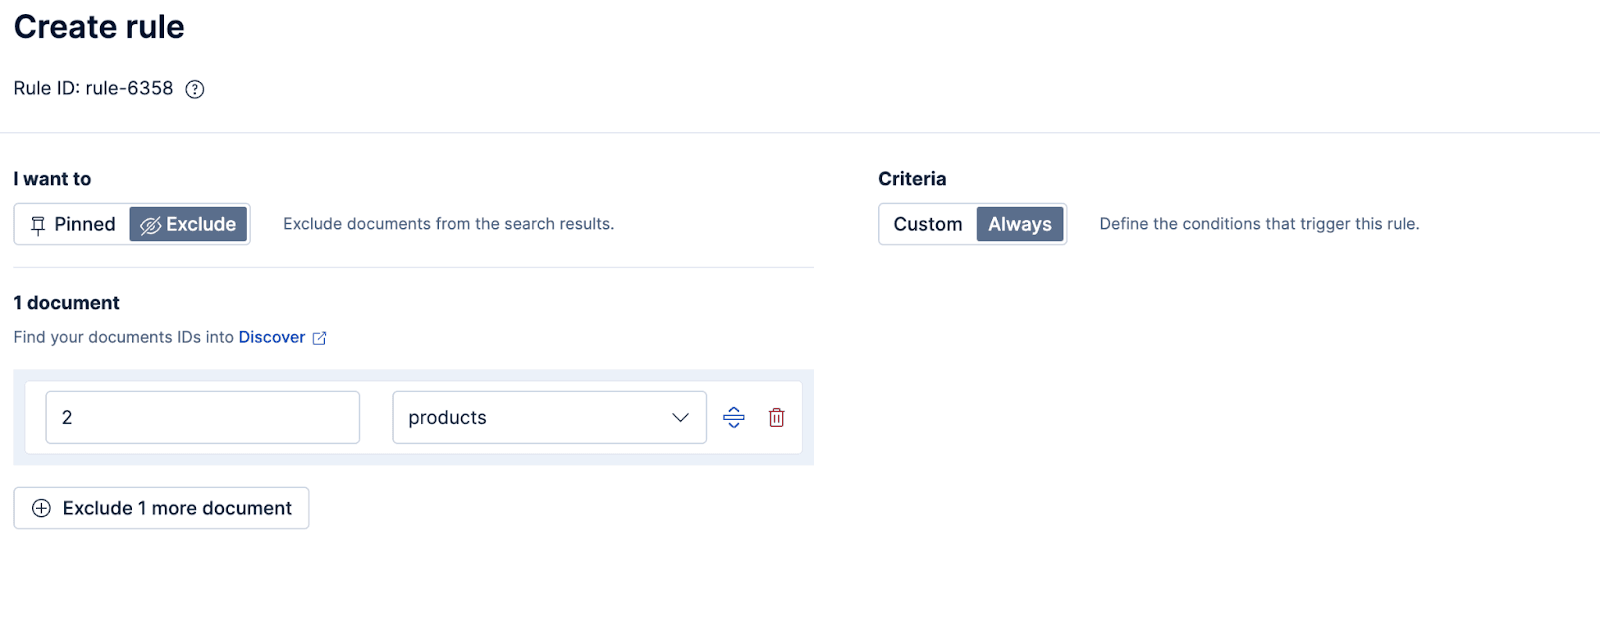
We’ll use a similar process to the one we’ve just applied to the popular items, but this time instead of selecting Pinned, we’ll choose Exclude. This rule works as a kind of blacklist. Change the criteria to Always so that the exclusion works every time the query runs.
The rule should look like this:
Save the rule and the ruleset to apply the changes. Here is the equivalent REST request:
Now, when we run the query again, you’ll see that the item is no longer in the results, even though the prior rule is to pin it. This is because exclusions have priority over pinning results.
Conclusion
Query Rules makes it very easy to adjust relevance without any code changes. The new Kibana UI allows you to make these changes in a matter of seconds, giving you and your business team more control over your search results.
Beyond e-commerce, Query Rules can power many other scenarios: highlighting troubleshooting guides in support portals, surfacing key internal documents in knowledge bases, promoting breaking stories in news sites, or filtering out expired job or content listings. They can even enforce compliance rules, like hiding restricted material by user role or region.
Related Content

February 2, 2026
Cookbook for a production-grade generative AI sandbox
Exploring the recipe for a generative AI sandbox, giving developers a secure environment to deploy application prototypes while enabling privacy and innovation.

December 30, 2025
NeurIPS 2025 highlights: From model merging to deep learning for code
Explore our NeurIPS 2025 highlights on model merging, task vectors, and VLM dynamics, plus our DL4C workshop presentation on Jina code embeddings.
December 29, 2025
Creating reliable agents with structured outputs in Elasticsearch
Explore what structured outputs are and how to leverage them in Elasticsearch to ground agents in the most relevant context for data contracts.

December 19, 2025
Elasticsearch Serverless pricing demystified: VCUs and ECUs explained
Learn how Elasticsearch Serverless pricing works for Elastic’s fully-managed deployment offering. We explain VCUs (Search, Ingest, ML) and ECUs, detailing how consumption is based on actual allocated resources, workload complexity, and Search Power.
December 8, 2025
How excessive replica counts can degrade performance, and what to do about it
Learn about the impact of high replica counts in Elasticsearch, and how to ensure cluster stability by right-sizing your replicas.