Query your data
editQuery your data
editQuerying your APM data is a powerful tool that can make finding bottlenecks in your code even easier. Imagine you have a user that complains about a slow response time in a specific service. With the query bar, you can easily filter the APM app to only display trace data for that user, or, to only show transactions that are slower than a specified time threshold.
Example APM app queries
edit-
Exclude response times slower than 2000 ms:
transaction.duration.us > 2000000 -
Filter by response status code:
context.response.status_code >= 400 -
Filter by single user ID:
context.user.id : 12
When querying in the APM app, you’re merely searching and selecting data from fields in Elasticsearch documents. Queries entered into the query bar are also added as parameters to the URL, so it’s easy to share a specific query or view with others.
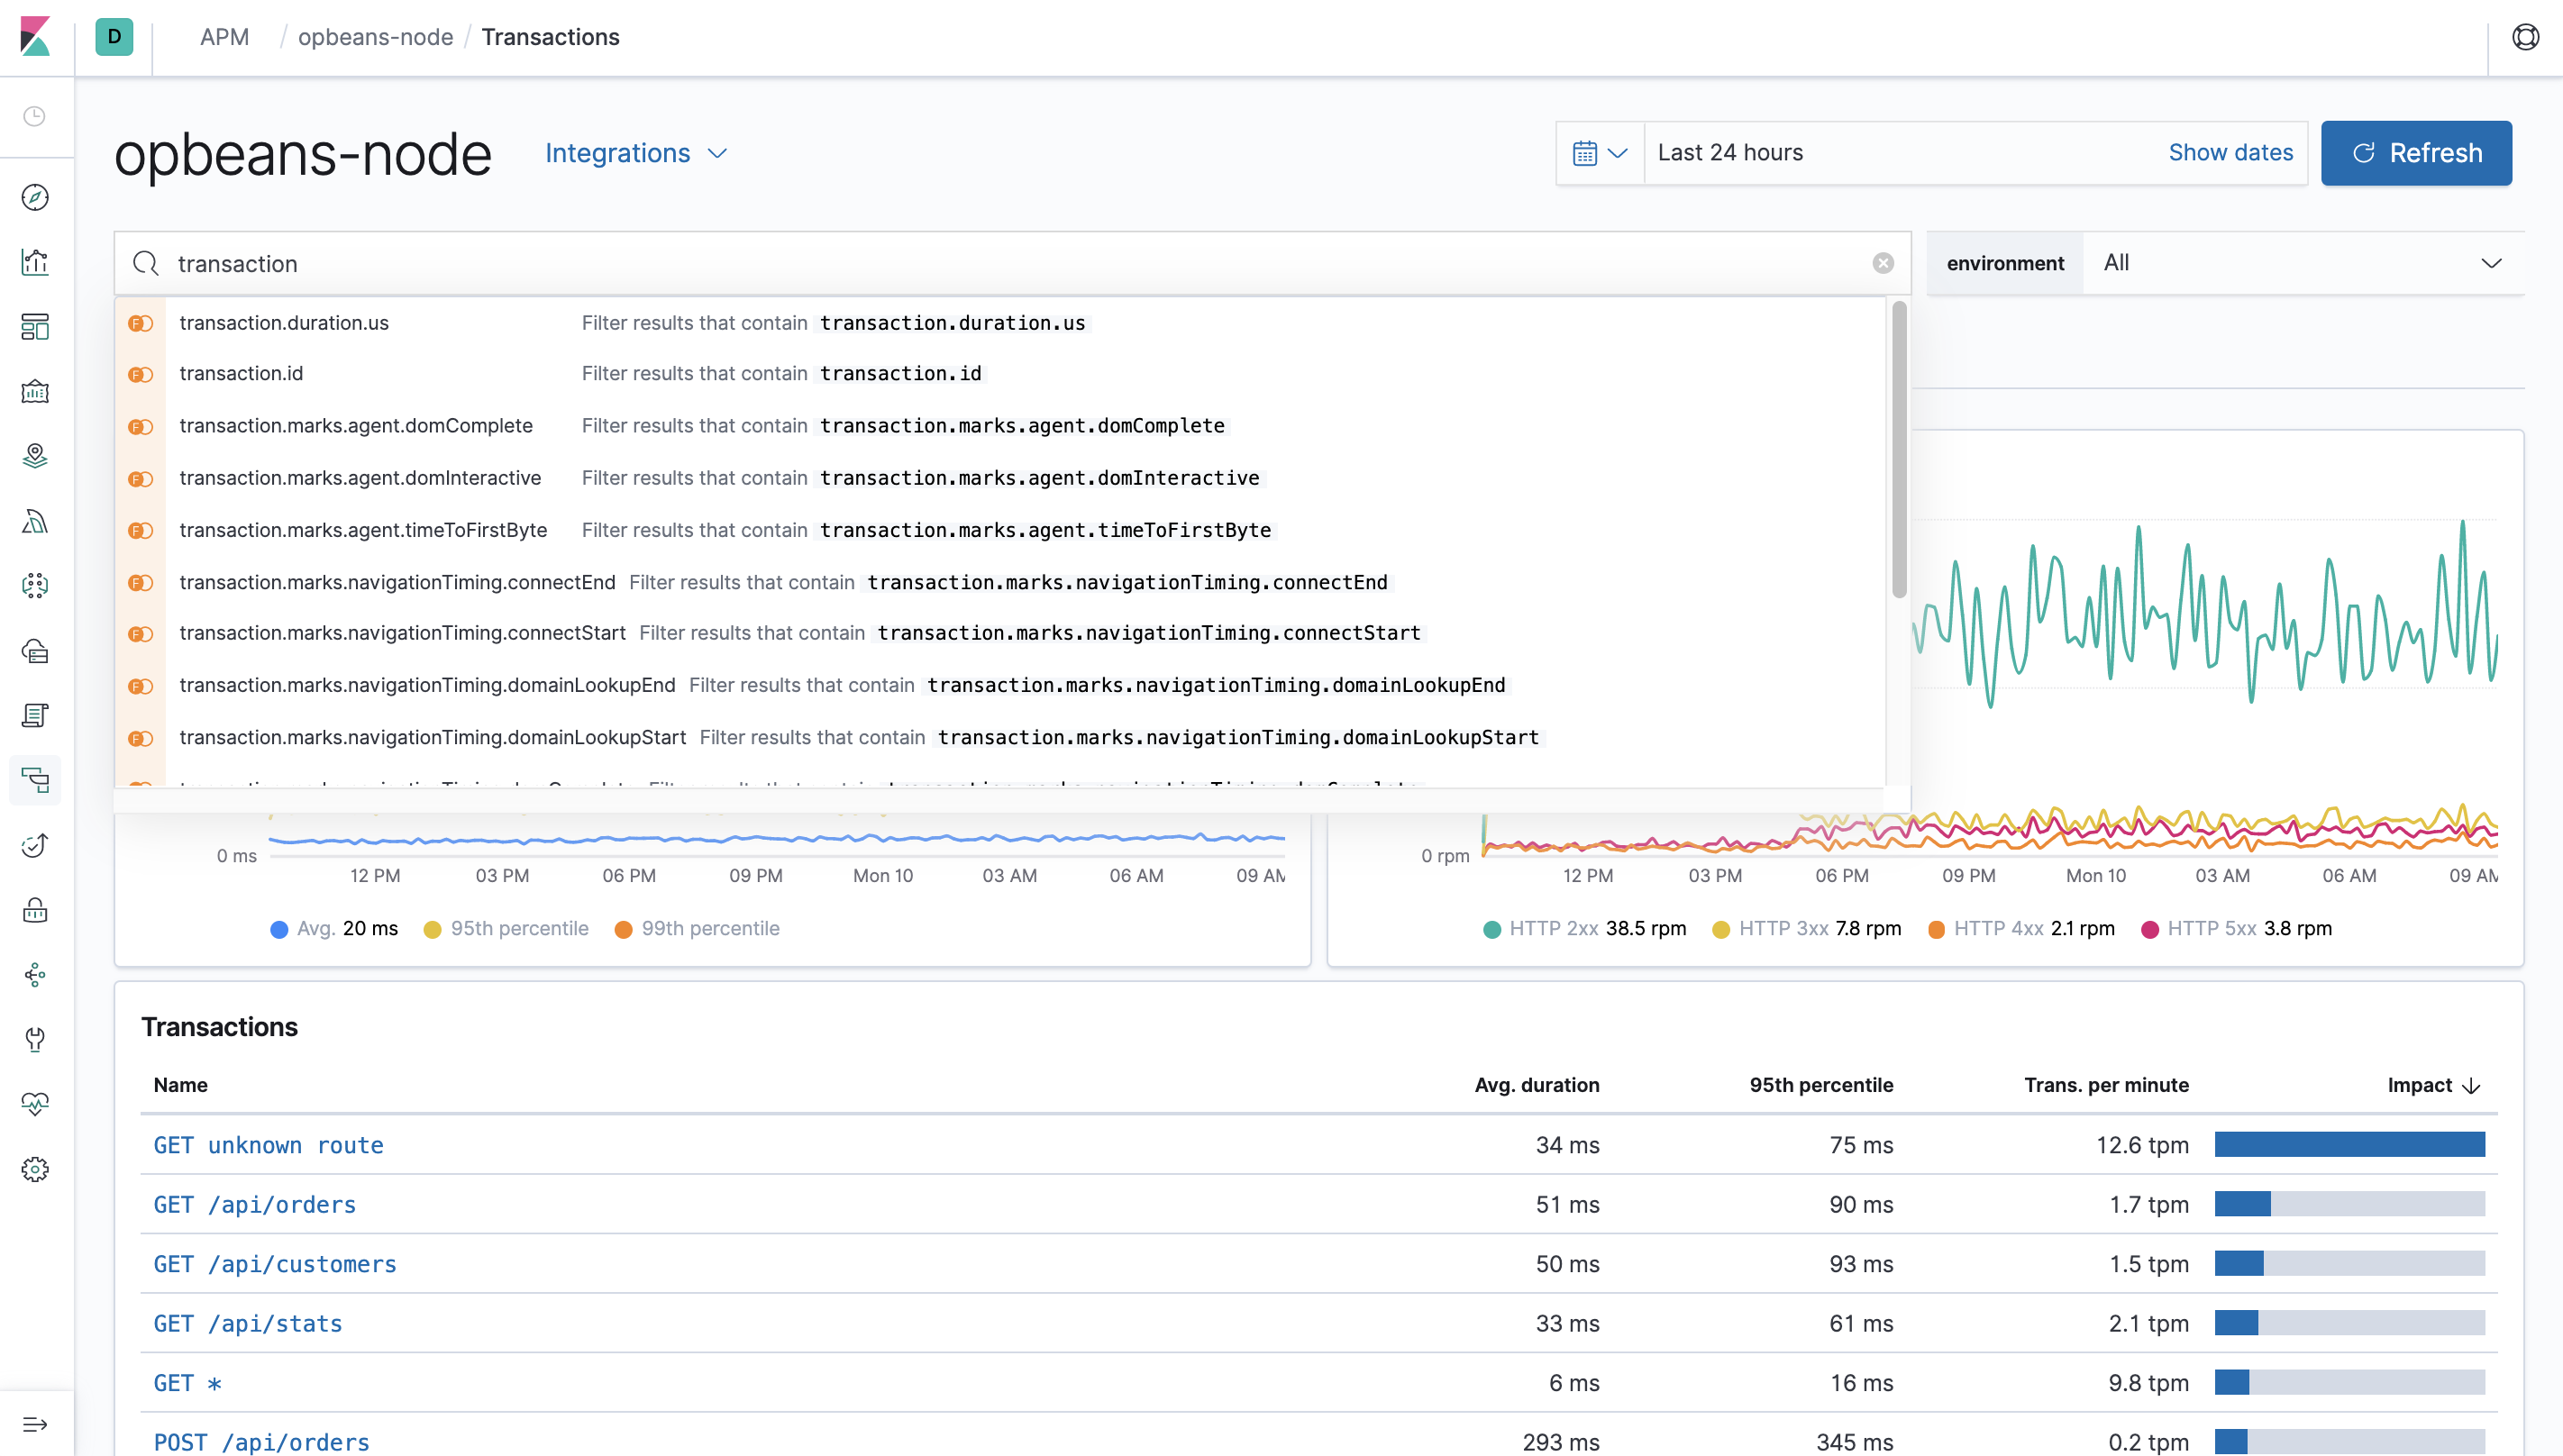
When you type, you can begin to see some of the transaction fields available for filtering:

Read the Kibana Query Language Enhancements documentation to learn more about the capabilities of the Kibana query language.
Querying in Discover
editAlternatively, you can query your APM documents in Discover. Querying documents in Discover works the same way as querying in the APM app, and Discover supports all of the example APM app queries shown on this page.
Example Discover query
editOne example where you may want to make use of Discover, is for viewing all transactions for an endpoint, instead of just a sample.
Starting in v7.6, you can view ten samples per bucket in the APM app, instead of just one.
Use the APM app to find a transaction name and time bucket that you’re interested in learning more about. Then, switch to Discover and make a search:
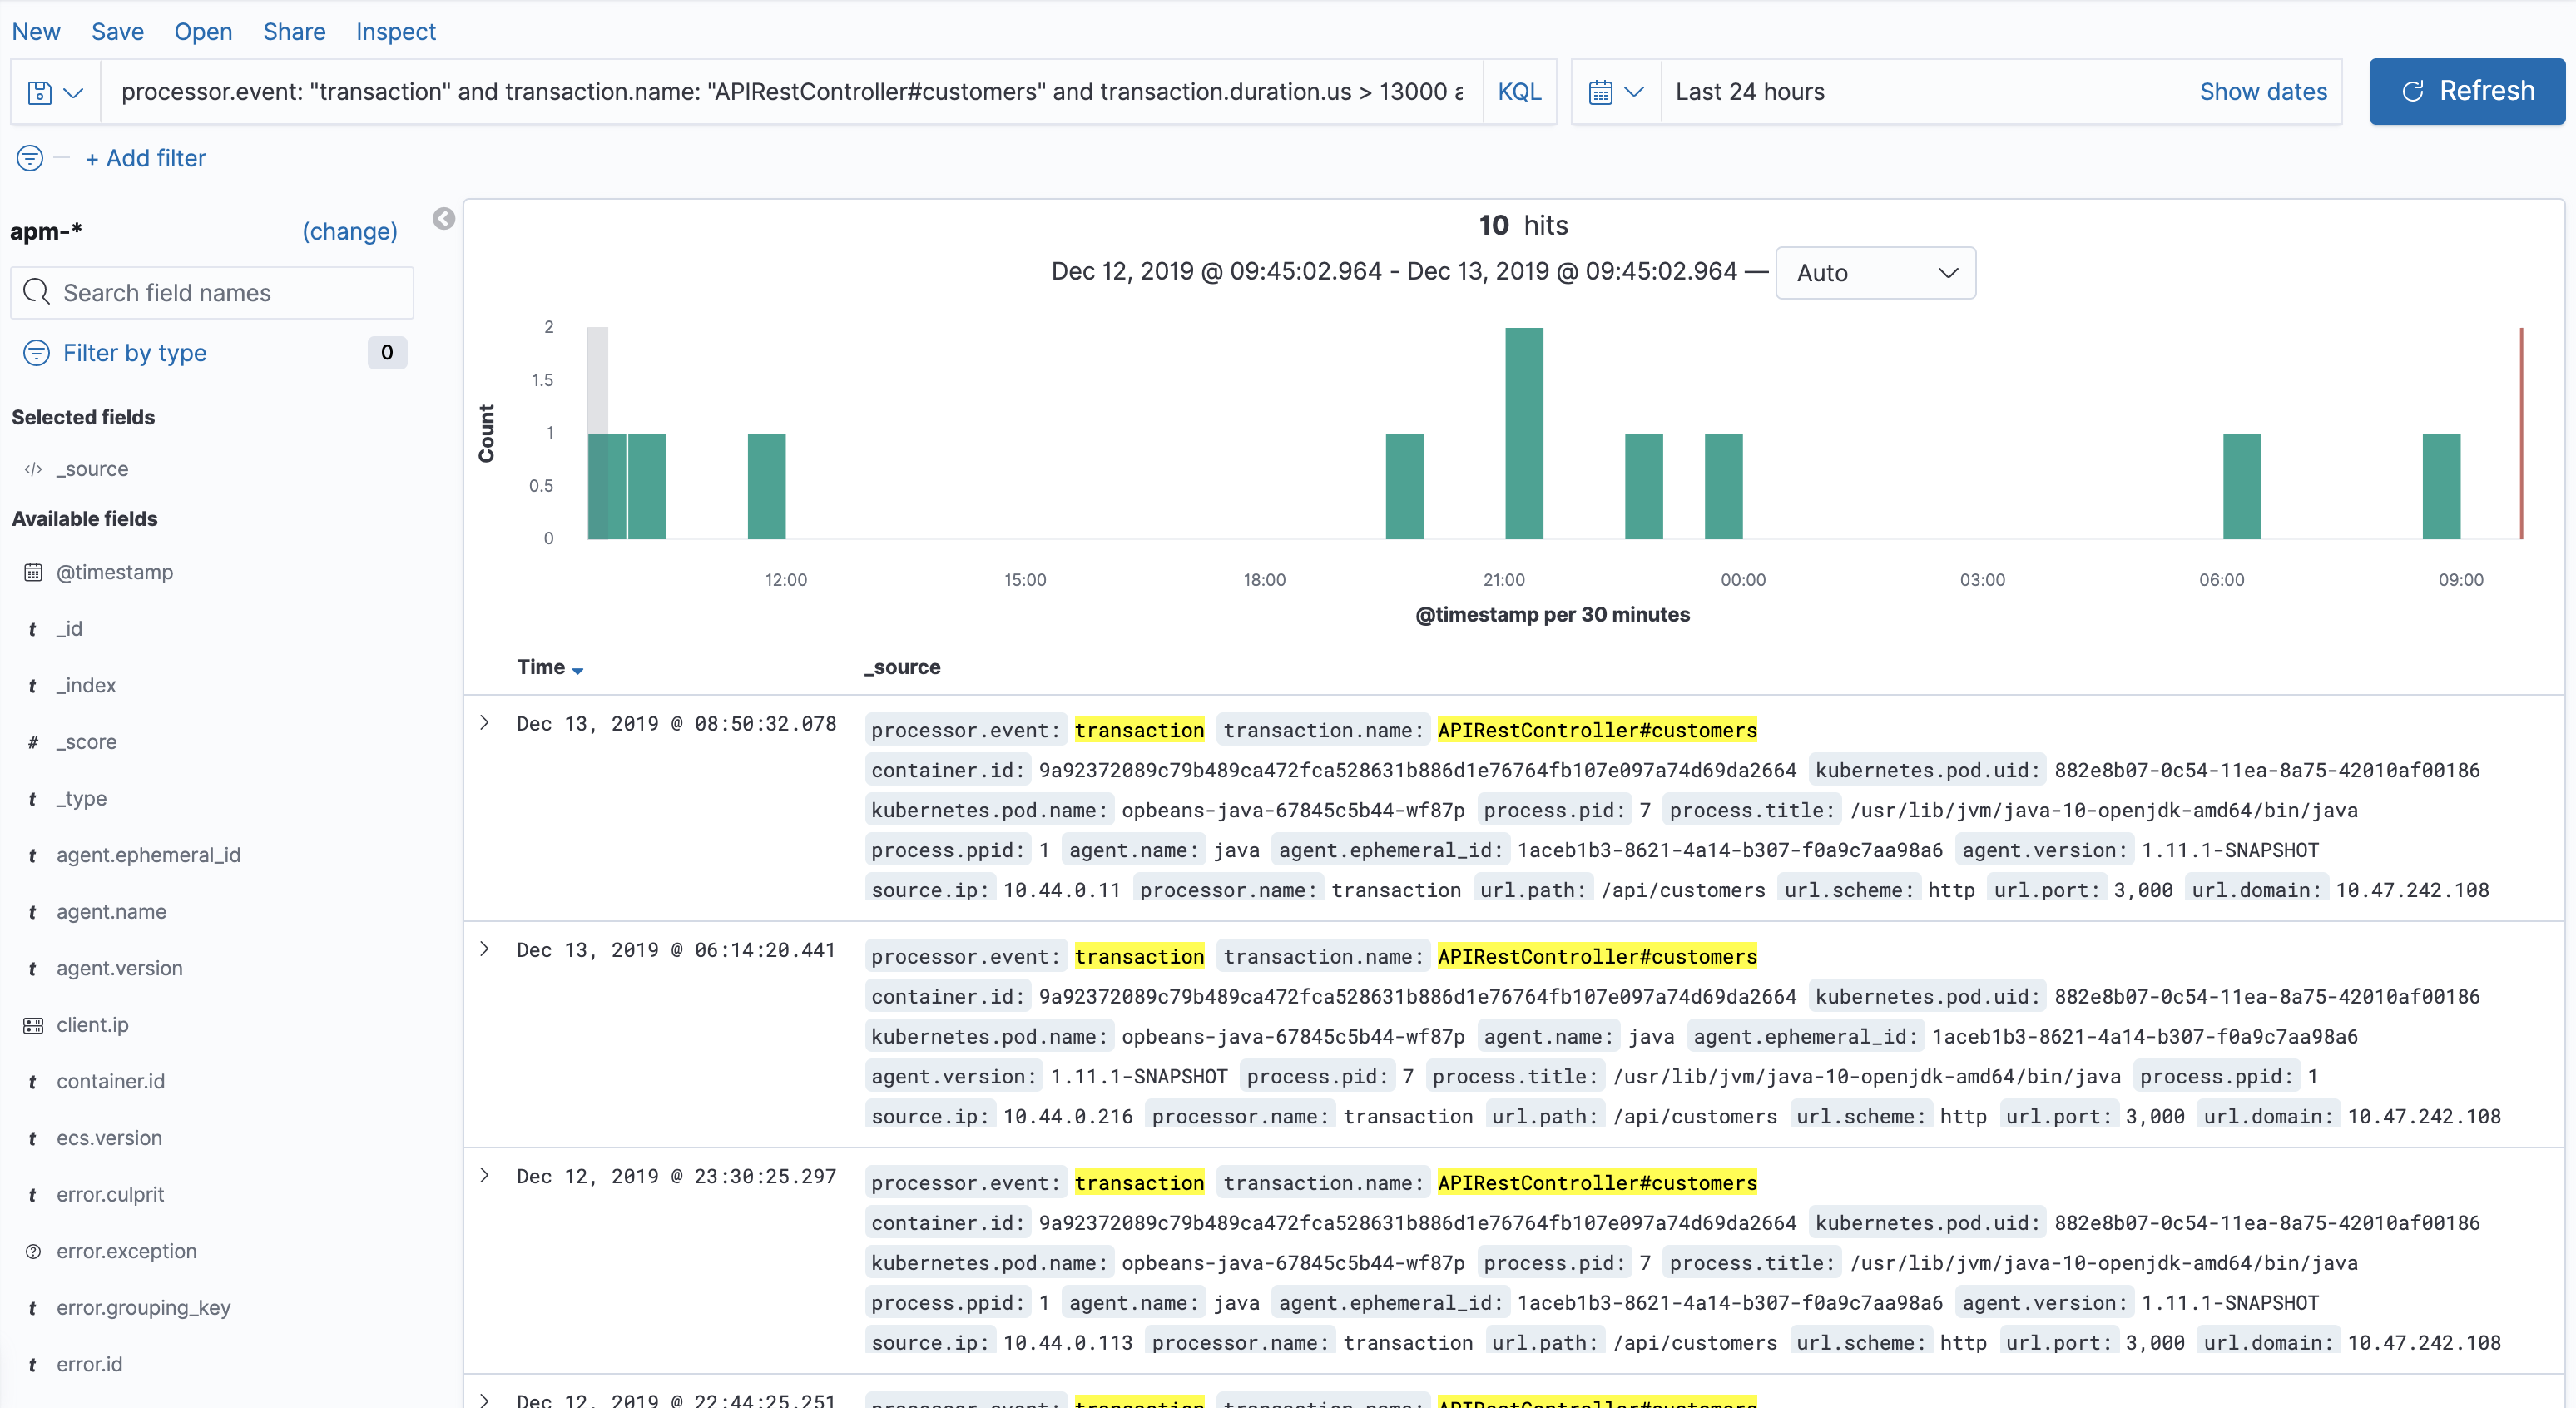
processor.event: "transaction" AND transaction.name: "<TRANSACTION_NAME_HERE>" and transaction.duration.us > 13000 and transaction.duration.us < 14000`
In this example, we’re interested in viewing all of the APIRestController#customers transactions
that took between 13 and 14 milliseconds. Here’s what Discover returns:

You can now explore the data until you find a specific transaction that you’re interested in.
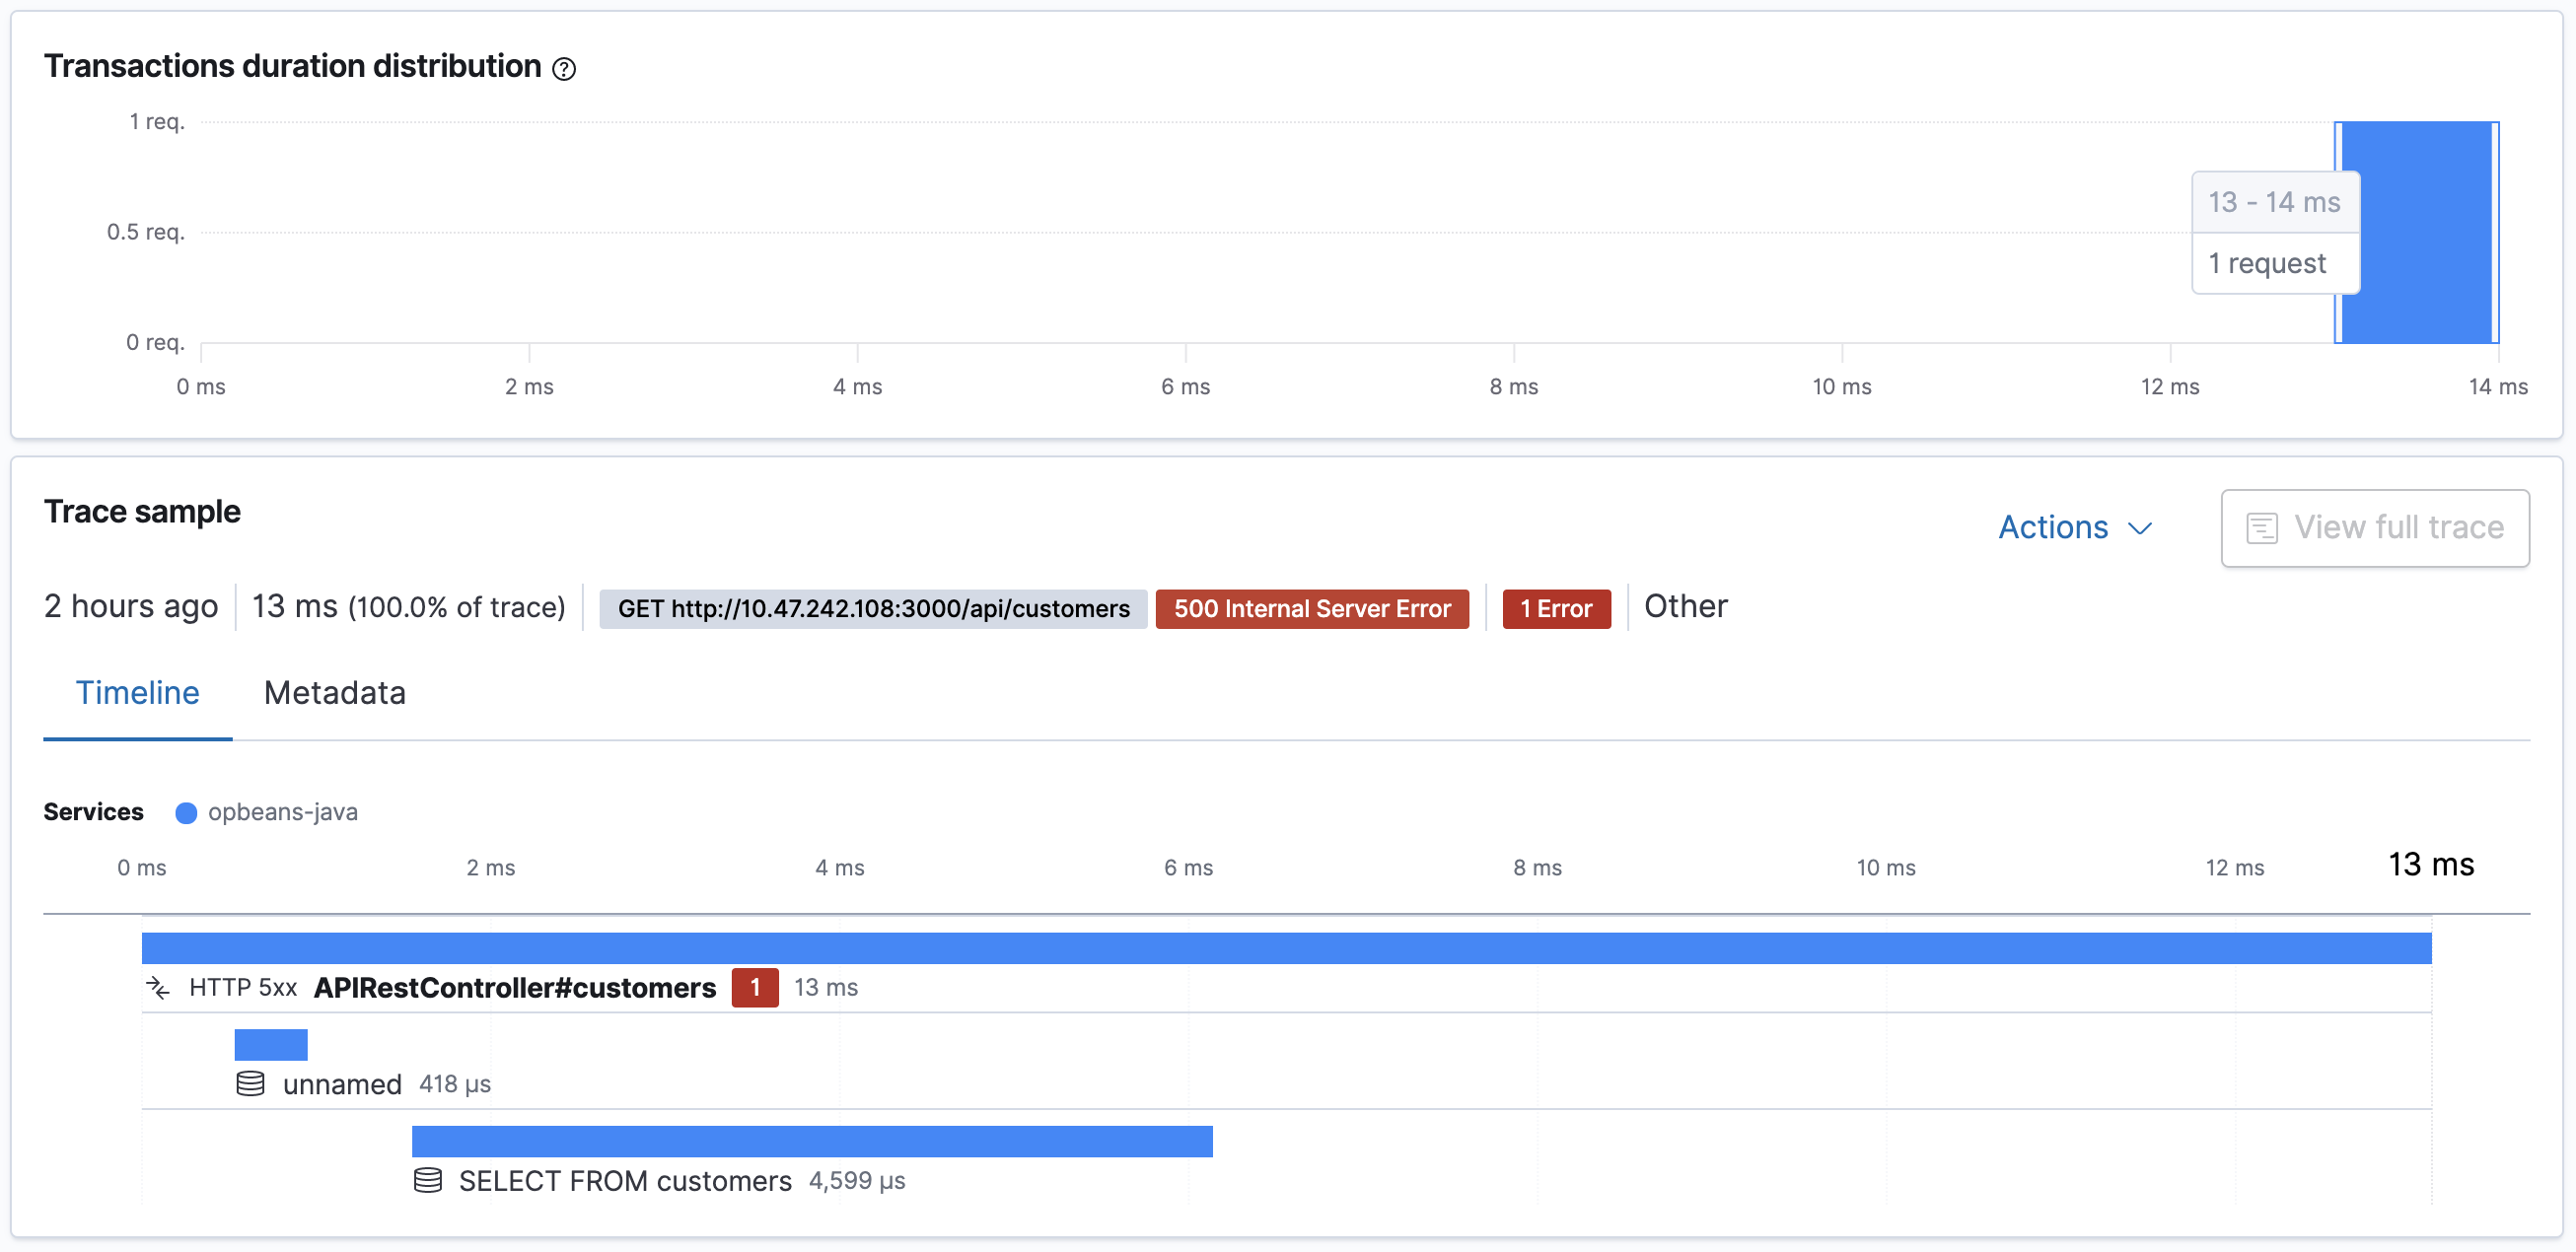
Copy that transaction’s transaction.id, and paste it into the APM app to view the data in the context of the APM app:

