WARNING: Version 5.5 of Kibana has passed its EOL date.
This documentation is no longer being maintained and may be removed. If you are running this version, we strongly advise you to upgrade. For the latest information, see the current release documentation.
Discovering Your Data
editDiscovering Your Data
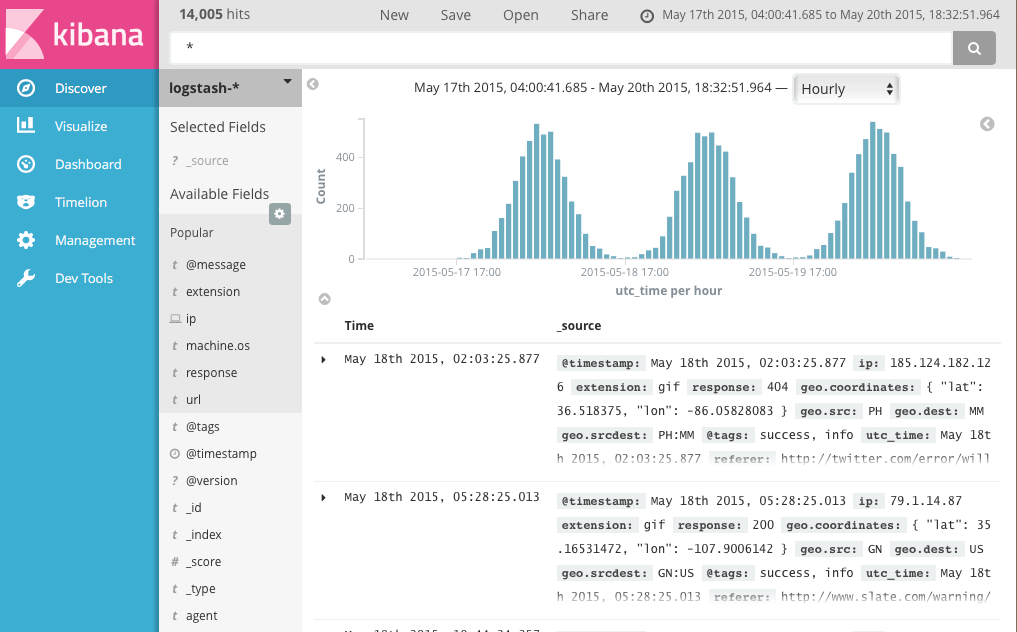
editClick Discover in the side navigation to display Kibana’s data discovery functions:

In the query bar, you can enter an Elasticsearch query to search your data. You can explore the results in Discover and create visualizations of saved searches in Visualize.
The current index pattern is displayed beneath the query bar. The index pattern determines which indices are searched when you submit a query. To search a different set of indices, select different pattern from the drop down menu. To add an index pattern, go to Management/Kibana/Index Patterns and click Add New.
You can construct searches by using the field names and the values you’re interested in. With numeric fields you can use comparison operators such as greater than (>), less than (<), or equals (=). You can link elements with the logical operators AND, OR, and NOT, all in uppercase.
To try it out, select the ba* index pattern and enter the following query string
in the query bar:
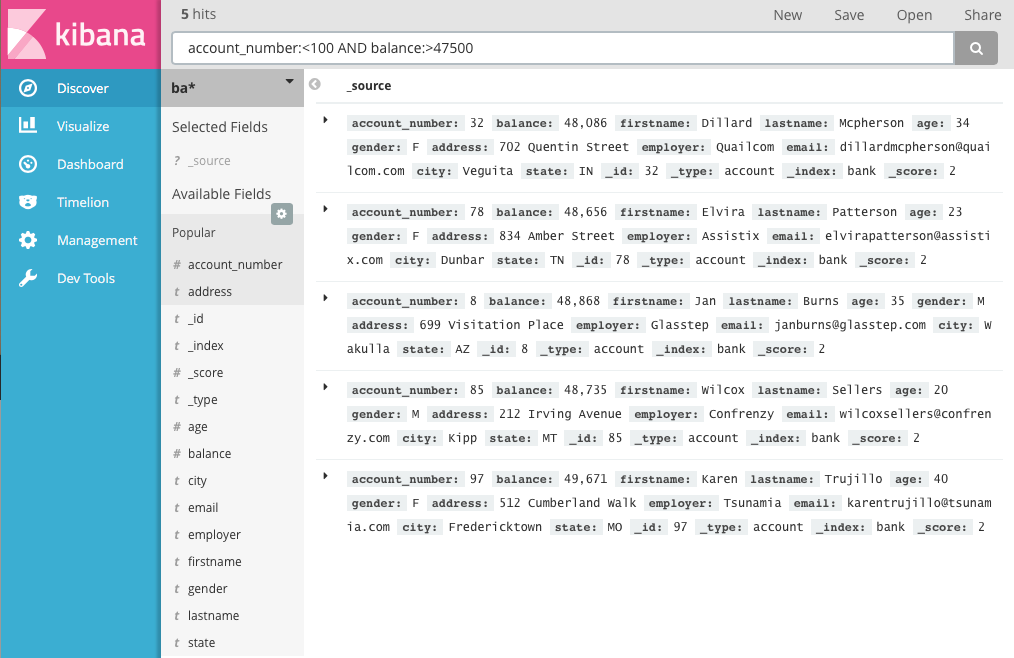
account_number:<100 AND balance:>47500
This query returns all account numbers between zero and 99 with balances in excess of 47,500. When searching the sample bank data, it returns 5 results: Account numbers 8, 32, 78, 85, and 97.

By default, all fields are shown for each matching document. To choose which
document fields to display, hover over the Available Fields list and click the
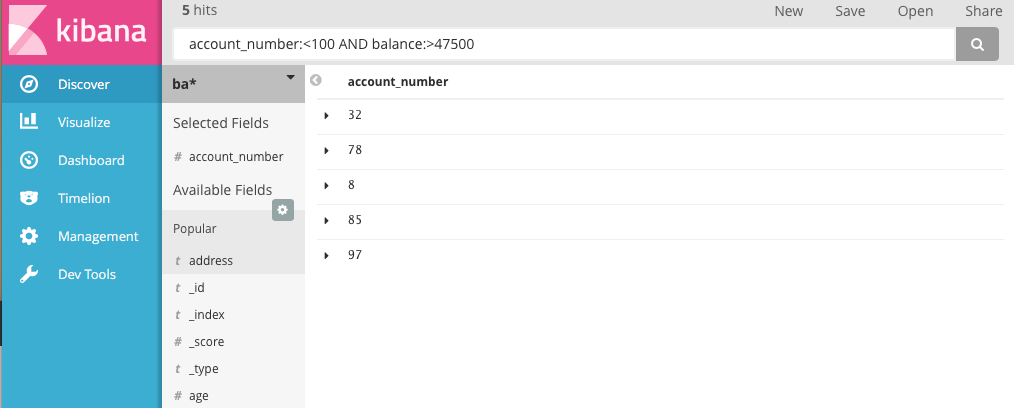
add button next to each field you want include. For example, if you add
just the account_number, the display changes to a simple list of five
account numbers:
