Install and run Elastic APMedit
To get started using Elastic APM, you need to have:
- an Elasticsearch cluster and Kibana (version 5.6 or above)
- APM Server
- APM agents installed in your services
For information about setting up an Elasticsearch cluster, see the Elasticsearch Getting Started.
The following sections show how to get started quickly with Elastic APM on a local machine.
Install and run APM Serveredit
First, download APM Server for your operating system and extract the package.
In a production environment you would put APM Server on its own machines, similar to how you run Elasticsearch. You can run it on the same machines as Elasticsearch, but this is not recommended, as the processes will be competing for resources.
To start APM Server, run:
./apm-server -e
It will try to connect to Elasticsearch on localhost port 9200 and expose an API to agents on port 8200. You can change the defaults by supplying different addresses on the command line:
./apm-server -e -E output.elasticsearch.hosts=ElasticsearchAddress:9200 -E apm-server.host=localhost:8200
Or you can update the apm-server.yml configuration file:
apm-server:
  host: localhost:8200

output:
  elasticsearch:
    hosts: ElasticsearchAddress:9200
If you are using an X-Pack secured version of Elastic Stack, you need to specify credentials in the config file:
output.elasticsearch:
  hosts: ["ElasticsearchAddress:9200"]
  username: "elastic"
  password: "elastic"
Secure access to the APIedit
If you change the listen address from localhost to something that is accessible from outside of the machine,
we recommend setting up firewall rules to ensure that only your own systems can access the API.
Alternatively,
you can use a secret token and TLS.
If you have APM Server running on the same host as your service, you can configure it to listen on a Unix domain socket.
Install the Kibana dashboardsedit
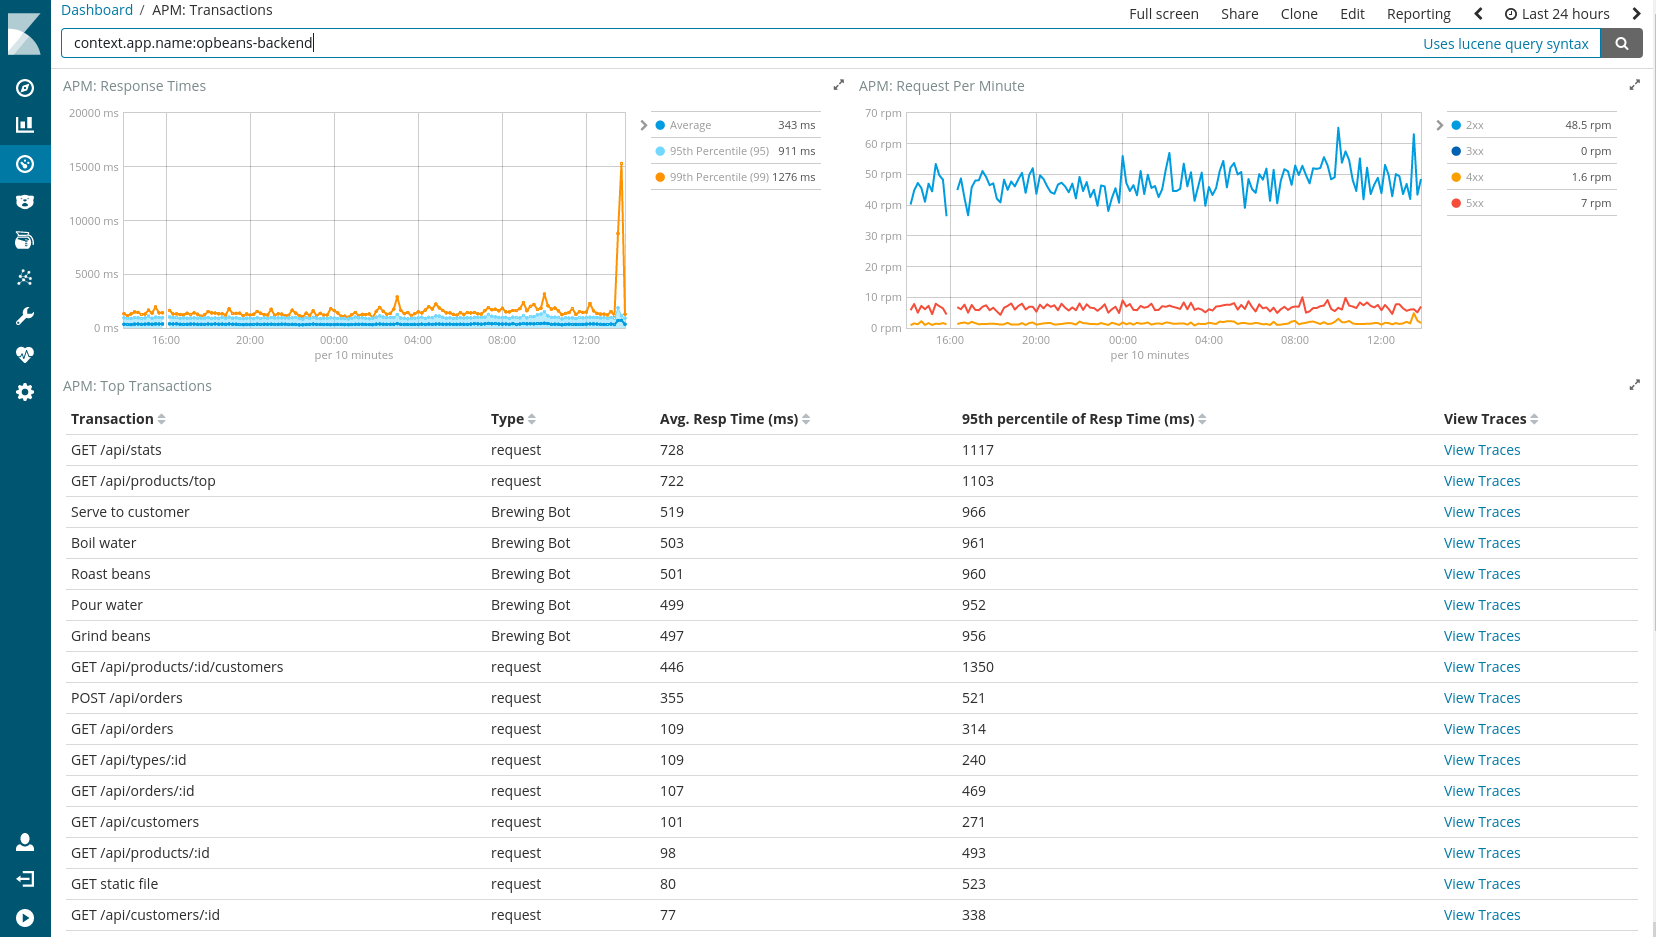
From APM Server and Kibana 6.4 on you can load dashboards directly via the APM Kibana UI.
See an example screenshot of a Kibana dashboard:

More informationedit
For detailed instructions on how to install and secure APM Server in your server environment, including details on how to run APM Server in a highly available environment, please see APM Server documentation.
Once APM Server is up and running, you need to install an agent in your service.
Install and configure APM agentsedit
Agents are written in the same language as your service. Currently Elastic APM has agents for Node.js, Python, Ruby, and JavaScript.
Setting up a new service to be monitored requires installing the agent, and configuring it with the address of your APM Server and the service name.
Choose a service nameedit
The service name is used by Elastic APM to differentiate between data coming from different services.
Elastic APM includes the service name field on every document that it saves in Elasticsearch. If you change the service name after using Elastic APM, you will see the old service name and the new service name as two separate services. Make sure you choose a good service name before you get started.
The service name can only contain alphanumeric characters,
spaces,
underscores,
and dashes (must match ^[a-zA-Z0-9 _-]+$).
Install the Node.js agentedit
Install the elastic-apm-node module from npm in your service:
npm install elastic-apm-node --save
Then configure the elastic-apm-node module by adding the following lines to the top of your code:
// Add this to the VERY top of the first file loaded in your app
var apm = require('elastic-apm-node').start({
  // Override service name from package.json
  // Allowed characters: a-z, A-Z, 0-9, -, _, and space
  serviceName: '',

  // Use if APM Server requires a token
  secretToken: '',

  // Set custom APM Server URL (default: http://localhost:8200)
  serverUrl: ''
})
The Node.js agent automatically instruments Express, hapi, Koa, and Restify out of the box. See the APM Node.js Agent documentation for more details.
Install the Python agentedit
Install the Elastic APM module from pypi:
pip install elastic-apm
The Python agent automatically instruments Django and Flask out of the box. See the APM Python Agent documentation for more details.
Install the Ruby agentedit
Add the gem to your Gemfile:
gem 'elastic-apm'
Create a config file config/elastic_apm.yml:
server_url: http://localhost:8200
secret_token: ''
The Ruby agent automatically instruments Rails out of the box. See the APM Ruby Agent documentation for more details.
Install the RUM JavaScript agentedit
Install the agent as a dependency to your application:
npm install elastic-apm-js-base --save
Configure the agent:
import { init as initApm } from 'elastic-apm-js-base'
var apm = initApm({

  // Set required service name (allowed characters: a-z, A-Z, 0-9, -, _, and space)
  serviceName: '',

  // Set custom APM Server URL (default: http://localhost:8200)
  serverUrl: 'http://localhost:8200',

  // Set service version (required for sourcemap feature)
  serviceVersion: ''
})
See the APM RUM JavaScript Agent documentation for more details.